Pumpkin Greek yogurt pancakes come out thick, tender, and lightly tangy with those warm pumpkin spice edges that make a stack disappear fast. The Greek yogurt keeps them soft without turning them cakey, and the pumpkin adds enough body that each bite tastes full and sturdy instead of thin or flat. They brown up with crisp edges and a fluffy middle, which is exactly what I want from a weekend pancake stack.
The trick is in the balance. Pumpkin puree brings moisture, so the batter needs enough flour and leavening to lift it, while the Greek yogurt adds both protein and acidity for a better rise. I like using full-fat yogurt here because it gives the pancakes a richer crumb and keeps the texture from drying out on the skillet. Letting the batter rest for a few minutes matters too; that short pause gives the flour time to hydrate and helps the pancakes cook up more evenly.
Below, I’ll show you the small details that keep the batter from getting gummy, how to know when it’s ready to flip, and a few useful swaps if you want to adjust the dairy or make the stack a little more filling.
The batter rested just long enough to thicken, and the pancakes cooked up fluffy with no raw center. The pumpkin and Greek yogurt tasted balanced, not heavy, and the honey on top was perfect.
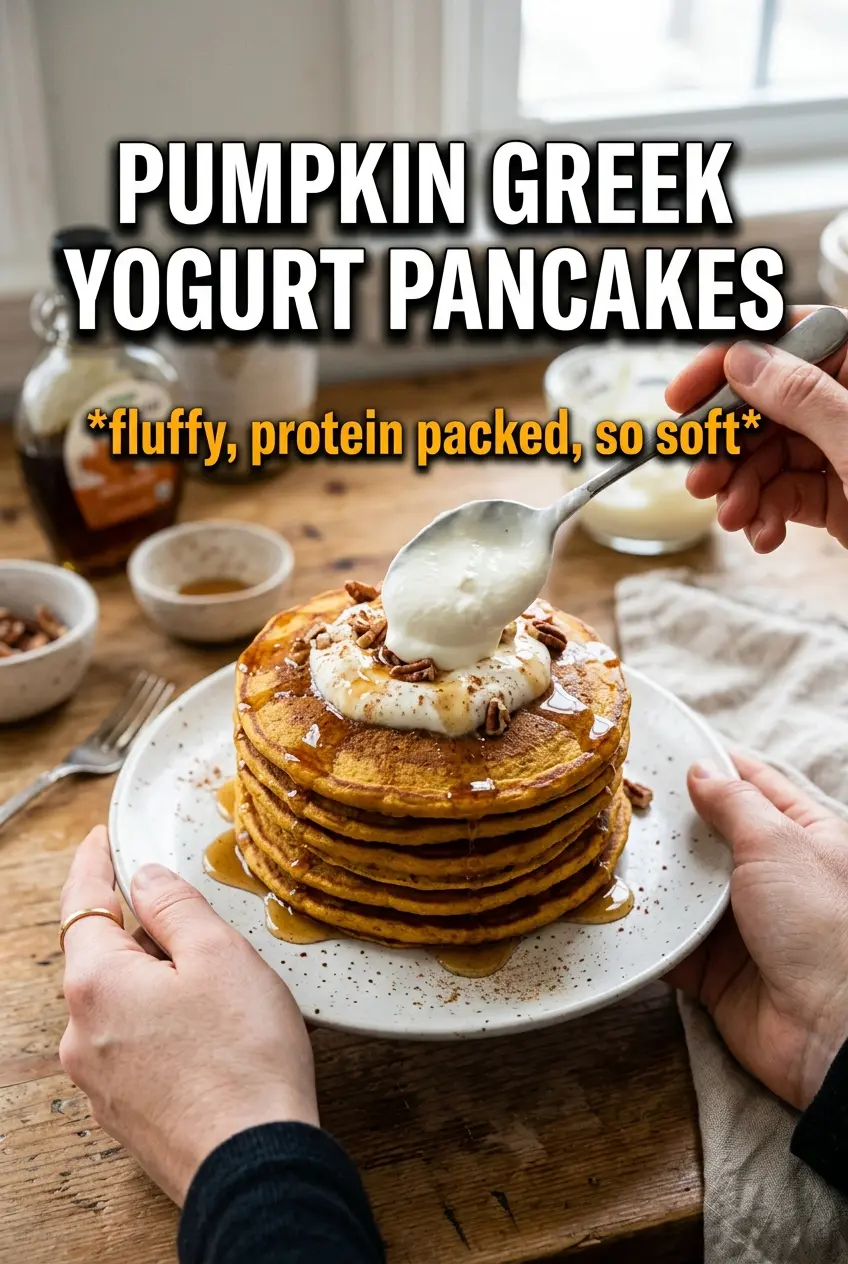
Save these pumpkin Greek yogurt pancakes for a fluffy breakfast stack with a tangy, protein-rich crumb and maple syrup on top.
The Part That Keeps Pumpkin Pancakes From Turning Dense
Pumpkin pancakes go wrong when the batter gets overmixed or the pan runs too hot. Pumpkin puree is heavy and humid, and if you beat the batter until it looks perfectly smooth, you push out the air the baking powder and baking soda are trying to create. The batter should look a little shaggy when it goes into the skillet. That’s what gives you lift instead of a compact, muffin-like center.
Heat matters just as much. A medium skillet gives the pancakes time to cook through before the outside gets too dark. If the first pancake browns in under a minute, the pan is too hot and the middle will stay wet. You’re looking for bubbles on the surface and edges that look set and slightly matte before flipping.
- Don’t chase a perfectly smooth batter. A few small streaks of flour are better than overworked pancake batter.
- Let the batter rest for 5 minutes. It thickens slightly and cooks more evenly.
- Use medium heat, not high. Pumpkin and yogurt brown fast, but the center still needs time.
- Flip once. A second flip can knock out the rise you just built.
What the Greek Yogurt Is Doing Here
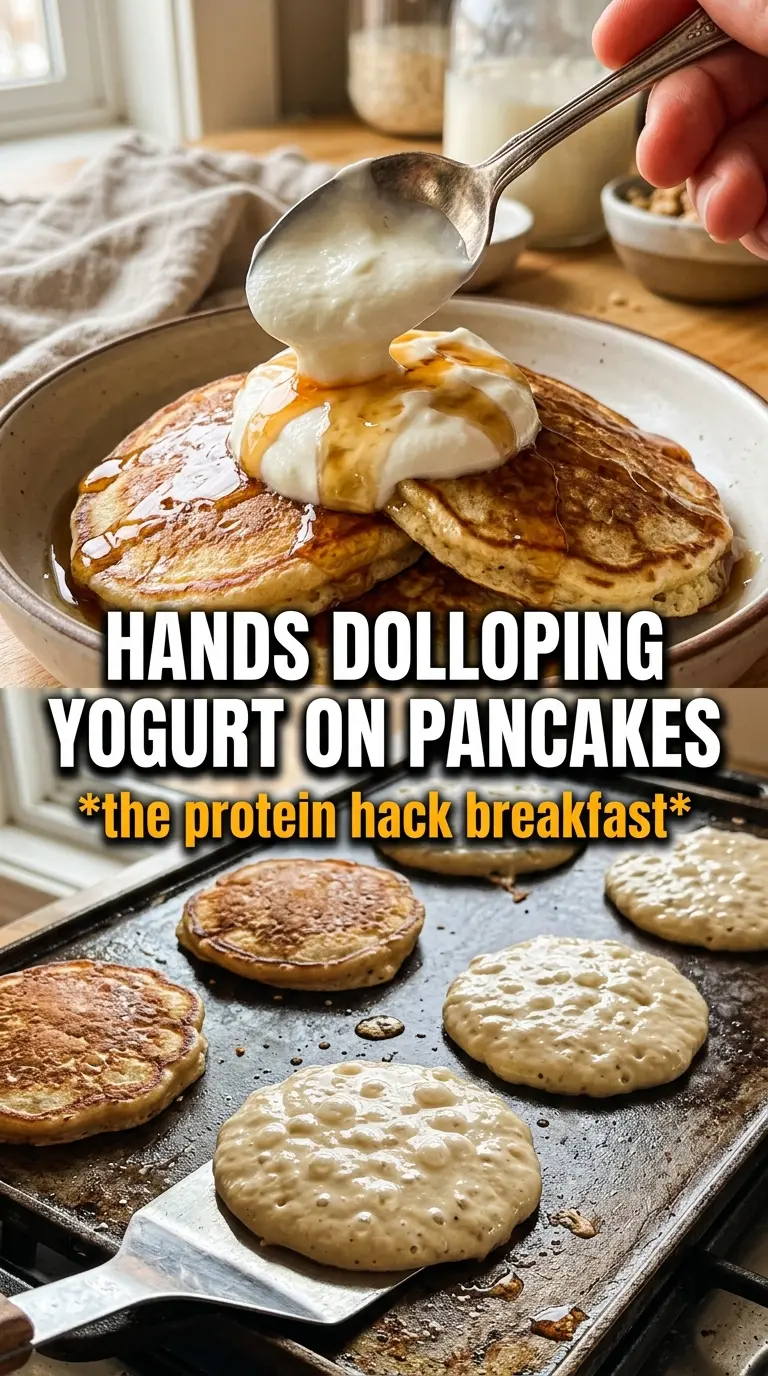
- Plain Greek yogurt — This is the ingredient that gives the pancakes their tang and extra-rich crumb. Full-fat works best because it keeps the batter from tasting dry or chalky, especially once the pumpkin goes in. If you only have low-fat yogurt, use it, but expect a slightly lighter texture and a little less richness.
- Pumpkin puree — Use plain pumpkin puree, not pumpkin pie filling. The puree adds moisture and body without extra sweetness or spices getting in the way. If your puree looks watery, drain it briefly in a fine sieve so the batter doesn’t turn loose.
- Baking soda and baking powder — Both matter here. The yogurt gives the baking soda something acidic to react with, while the baking powder gives you additional lift once the pancakes hit the heat. Leaving one out makes the stack flatter.
- Butter — Melted butter adds flavor and helps the pancakes brown with those crisp, buttery edges. Neutral oil works in a pinch, but you lose some of the depth that makes these taste finished.
Building the Batter and Cooking the First Side
Mix the dry ingredients first
Whisk the flour, baking powder, baking soda, spices, sugar, and salt together before anything wet goes in. That step keeps the leavening and spices distributed evenly, which matters because pumpkin batter can hide pockets of flour easily. If you skip this, the first few pancakes may taste too salty or too spiced while the last ones taste bland.
Bring the wet ingredients together until smooth
Whisk the pumpkin puree, Greek yogurt, milk, eggs, melted butter, and vanilla until the mixture looks uniform and creamy. The batter should smell warm and slightly tangy, and the yogurt should be fully blended so there aren’t streaks. If the melted butter is too hot, it can scramble the eggs a little, so let it cool for a minute before whisking it in.
Fold, rest, and watch the thickness change
Add the dry ingredients to the wet and fold just until combined. The batter should be thick but spoonable, not pourable like crepe batter. After a 5-minute rest, it will thicken a bit more; that’s normal and helpful, because it gives you taller pancakes that hold their shape in the pan.
Cook until the edges set
Spoon about 1/4 cup batter per pancake onto a lightly greased skillet over medium heat. Let the first side cook until bubbles break across the surface and the outer edge looks dry and set. If the pancakes spread too quickly, the pan is too cool; if they darken before the center firms up, the heat is too high.
Flip once and finish gently
Turn the pancakes and cook the second side until golden and springy to the touch, about 2 minutes more. The second side always cooks faster, so stay close. Pressing them down with the spatula squeezes out the air you worked to build, so leave them alone once they’re flipped.
How to Adjust These Pancakes Without Losing the Texture
Make them dairy-free
Swap the Greek yogurt for a thick, unsweetened dairy-free yogurt and use milk you normally keep for pancakes. The texture will still be tender, but you’ll lose a little of the tang and protein that make the original version stand out. Choose a yogurt that’s not runny, or the batter may spread too much in the pan.
Use whole wheat flour for a heartier stack
Replace up to half of the all-purpose flour with white whole wheat flour. The pancakes will taste nuttier and a little denser, but they still stay soft if you don’t overmix. Beyond that, the batter starts to need more liquid and the crumb gets too heavy for this recipe.
Turn them into a bigger-batch freezer breakfast
Cook the pancakes a shade lighter than you normally would, then cool them completely before freezing in a single layer. They reheat best when they haven’t been taken all the way to deep brown in the skillet. That leaves room for them to warm through later without drying out.
Storage and Reheating
- Refrigerator: Store cooked pancakes in an airtight container for up to 4 days. They soften a bit in the fridge, but they hold up well.
- Freezer: Freeze in a single layer, then move to a freezer bag with parchment between layers. They keep for about 2 months and reheat nicely.
- Reheating: Warm in a toaster oven, skillet, or 300°F oven until heated through. The mistake people make is blasting them in the microwave, which turns the centers rubbery and the edges limp.
Questions I Get Asked About This Recipe
Pumpkin Greek Yogurt Pancakes
Ingredients
Equipment
Method
- Whisk all-purpose flour, baking powder, baking soda, pumpkin pie spice, cinnamon, sugar, and salt in a mixing bowl until evenly combined and no dry streaks remain.
- Whisk pumpkin puree, plain Greek yogurt, milk, eggs, melted butter, and vanilla extract together until smooth and glossy.
- Fold the wet mixture into the dry mixture until just combined, then rest the batter for 5 minutes to thicken slightly before cooking.
- Heat a lightly greased skillet over medium heat until hot enough that a small drop of batter sizzles immediately.
- Pour 1/4 cup batter per pancake and cook for 2-3 minutes, until bubbles form on the surface and the edges look set.
- Flip the pancakes and cook for 2 minutes more, until the second side is golden and springy to the touch.
- Serve the pancakes with a dollop of Greek yogurt, then drizzle honey and maple syrup over the top.