Pumpkin magic bars bake up into chewy, layered squares with a spiced pumpkin center, a buttery gingersnap crust, and a top that turns toasted and craggy in all the right places. The magic here is in the contrast: crisp edges, a soft middle, and enough texture from coconut, pecans, toffee bits, and chips to keep every bite interesting.
What makes this version work is the way the pumpkin gets folded into sweetened condensed milk before it ever hits the pan. That gives the filling enough body to set without tasting dense, and it spreads cleanly through the layers instead of sitting in one heavy pocket. The gingersnap crumbs also do more than add spice — they hold up better under the pumpkin layer than a plain graham crust and give the bars a deeper, warmer base.
Below, I’ve included the one place people usually go wrong with magic bars, plus a few smart swaps if you want to change up the chips or make the bars fit what’s in your pantry.
The pumpkin layer set up beautifully and the gingersnap crust stayed firm under all the toppings. I cut them after a full cool-down and they came out clean with those little toffee bits on top.
Pumpkin Magic Bars are the kind of layered dessert worth keeping close when you want a chewy crust, a spiced filling, and that toasted coconut-and-toffee finish.
The Part Most Magic Bars Get Wrong: Pressing Too Hard
The biggest mistake with magic bars is compacting the layers into a dense slab. You want the toppings to sit together, not get mashed flat, or the bars bake up heavy and the top loses that uneven, crackly texture that makes them good. A gentle press is enough to help the chips and nuts settle into the pumpkin layer without forcing all the richness to the bottom.
Another thing that matters here is the bake. Pull the pan when the edges are golden and the center looks set but still has a little give. If you wait until the middle looks completely dry, the bars usually end up overbaked once they cool. These firm up a lot as they rest, so don’t chase a fully rigid center in the oven.
What Each Layer Is Actually Doing Here
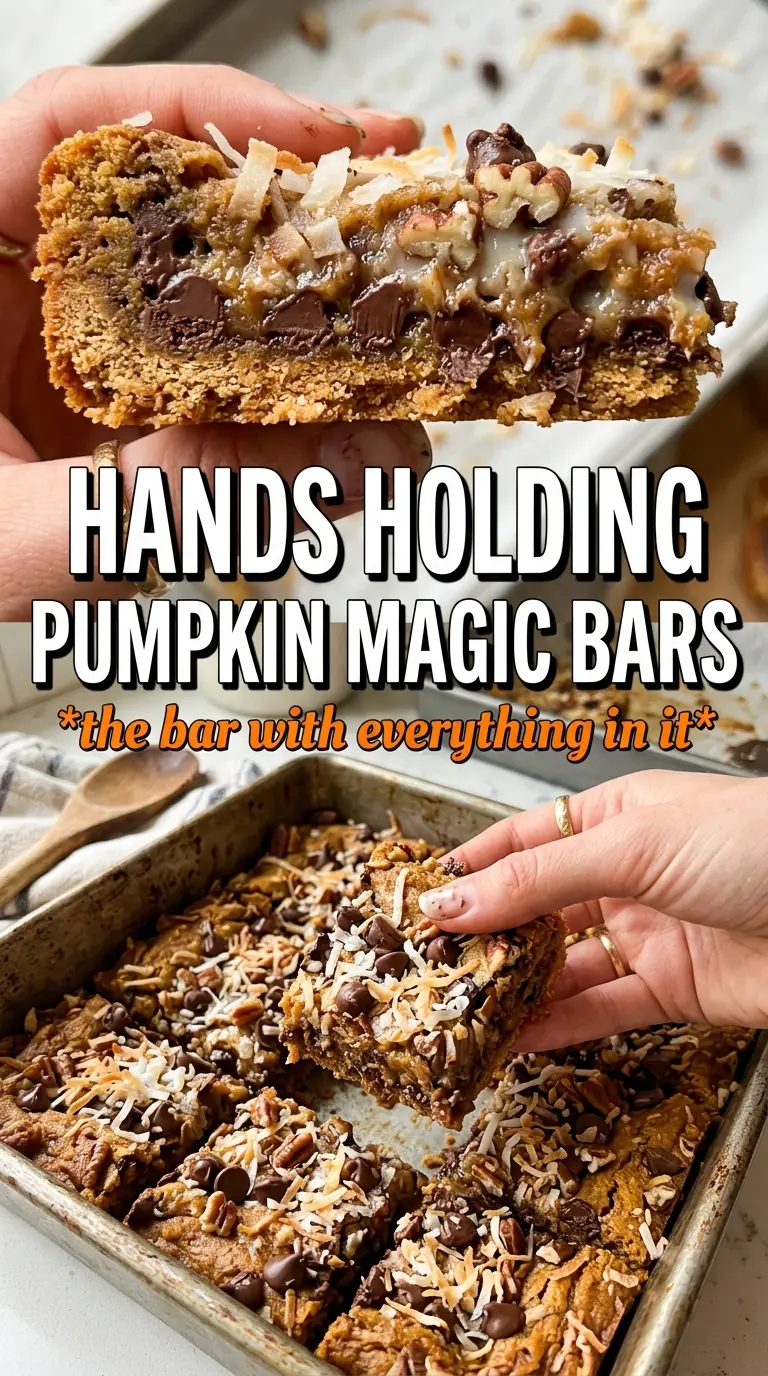
- Gingersnap crumbs — These bring more spice and structure than a plain cookie crumb crust. Graham crackers work in a pinch, but they’ll give you a milder base and less of that warm snap against the pumpkin.
- Sweetened condensed milk — This is what binds the bars and gives them their chewy set. There isn’t a clean substitute that behaves the same way, so keep it in the mix unless you’re making a different dessert entirely.
- Pumpkin puree — Use pure pumpkin, not pumpkin pie filling. Pie filling already has sugar and spices added, which throws off the balance and can make the bars bake up too soft.
- Sweetened coconut, chips, pecans, and toffee bits — These add the layered bite that magic bars are known for. If you swap any of them out, keep the total volume about the same so the filling can still reach every corner of the pan.
Building the Layers So They Bake Into Clean Squares
The buttered base
Pour the melted butter into the pan first, then scatter the gingersnap crumbs evenly over it. The butter needs to soak into the crumbs before the filling goes on, or you’ll get dry patches that crumble apart when you slice the bars. Press the crumbs just enough to make an even layer, but don’t pack them down hard.
The pumpkin filling
Whisk the sweetened condensed milk, pumpkin puree, pumpkin pie spice, and cinnamon until the mixture looks smooth and even. That extra whisking matters because pumpkin can sit in streaks if you rush it, and those streaks bake into uneven pockets. Pour the filling slowly over the crust so it spreads without digging holes in the crumbs.
The topping and final press
Scatter the coconut, white chocolate chips, butterscotch chips, pecans, and toffee bits across the surface in an even layer. Then press down gently with your hands so the pieces cling to the pumpkin layer. If you press too firmly, the top gets compressed and the bars lose that layered look; if you skip the press entirely, the toppings can slide after baking.
Baking and cooling
Bake until the edges are golden and the center is just set, usually 30 to 35 minutes. The middle should no longer look wet, but it doesn’t need to look dry all the way across. Cool the pan completely before cutting, or the bars will smear and the layers won’t hold their shape.
How to Adapt These Bars Without Losing the Chewy Center
Gluten-Free Pumpkin Magic Bars
Swap in certified gluten-free gingersnap cookies for the crust. The texture stays close to the original as long as you crush them finely and keep the butter amount the same, which helps the base set instead of crumbling when sliced.
Dairy-Free Version
Use a dairy-free sweetened condensed milk alternative and dairy-free white chocolate and butterscotch chips. The bars will still set, but the flavor will be a little less rich and the top may brown a bit faster, so watch the pan near the end of baking.
Nut-Free Swap
Leave out the pecans and replace them with extra coconut, chips, or crushed pretzels for crunch. You’ll lose the buttery nut flavor, but the bars still bake up with plenty of texture and a saltier edge if you use pretzels.
Storage and Reheating
- Refrigerator: Store in an airtight container for up to 5 days. The bars firm up in the fridge and the crust stays sturdy.
- Freezer: These freeze well. Wrap individual bars tightly and freeze for up to 2 months, then thaw in the fridge so the filling doesn’t sweat and soften the crust.
- Reheating: These are best served at room temperature, not warm. If you want the chips a little softer, let a bar sit out for 15 to 20 minutes instead of microwaving it, which can make the filling greasy and the topping uneven.
Answers to the Questions Worth Asking
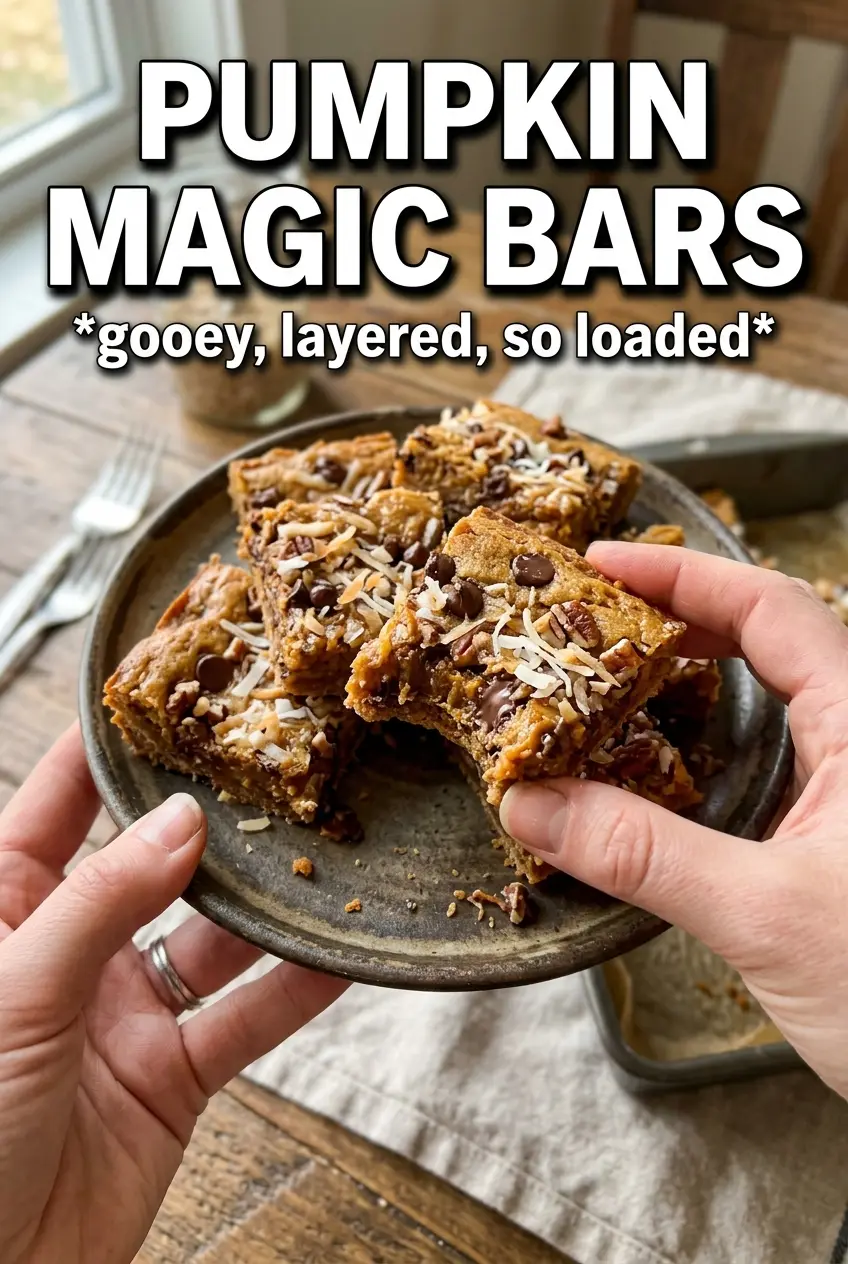
Pumpkin Magic Bars
Ingredients
Equipment
Method
- Preheat the oven to 350F, then pour the melted unsalted butter into a 9x13 baking pan so it coats the bottom evenly.
- Sprinkle the gingersnap cookie crumbs evenly over the butter, creating a uniform crust layer across the pan.
- Whisk the sweetened condensed milk, pumpkin puree, pumpkin pie spice, and cinnamon until smooth and pour evenly over the crumbs.
- Layer the sweetened shredded coconut, white chocolate chips, butterscotch chips, pecans, and toffee bits evenly over the top.
- Press down gently with your hands so the layers make contact and settle into the pumpkin layer.
- Bake for 30-35 minutes at 350F until the edges are golden and the center is set.
- Cool completely before cutting into bars so the layers hold their shape.