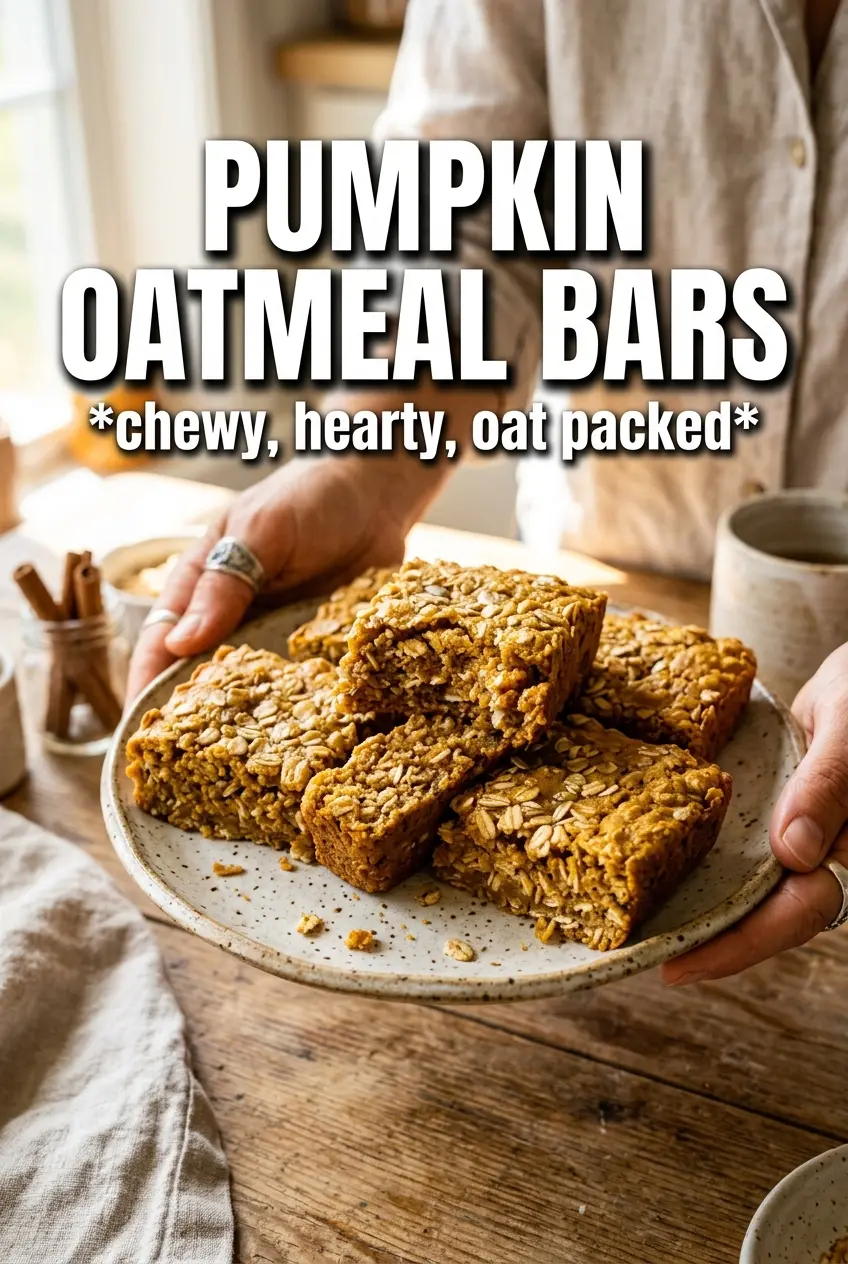
Pumpkin oatmeal bars land in that sweet spot between breakfast and snack: sturdy enough to hold in your hand, soft in the middle, and loaded with warm spice and chewy oat texture. They taste like a cross between baked oatmeal and a breakfast bar, but they slice cleaner than either one when you let them cool all the way down. The pumpkin keeps the crumb moist, while the oats give the bars enough structure to feel hearty instead of cakey.
This version works because the batter is built to stay balanced. Pumpkin puree brings moisture, but it also needs enough flour and oats to keep the bars from turning heavy. Maple syrup adds a round sweetness that fits the spice mix, and the melted coconut oil or butter helps the bars set with a tender bite. I like that the recipe uses both baking soda and baking powder here; that little bit of lift keeps the bars from baking up dense.
Below, I’ll walk through the one part that matters most for a clean slice, plus a few smart swaps if you want to use honey, change the mix-ins, or make the bars a little more breakfast-desk friendly.
The bars baked up soft but not mushy, and the edges set just like you described. I used maple syrup and the drizzle on top made them taste like a coffee shop breakfast.
Save these pumpkin oatmeal bars for a chewy breakfast bake with maple drizzle and just enough spice to feel special.
The Trick to Bars That Slice Clean Instead of Falling Apart
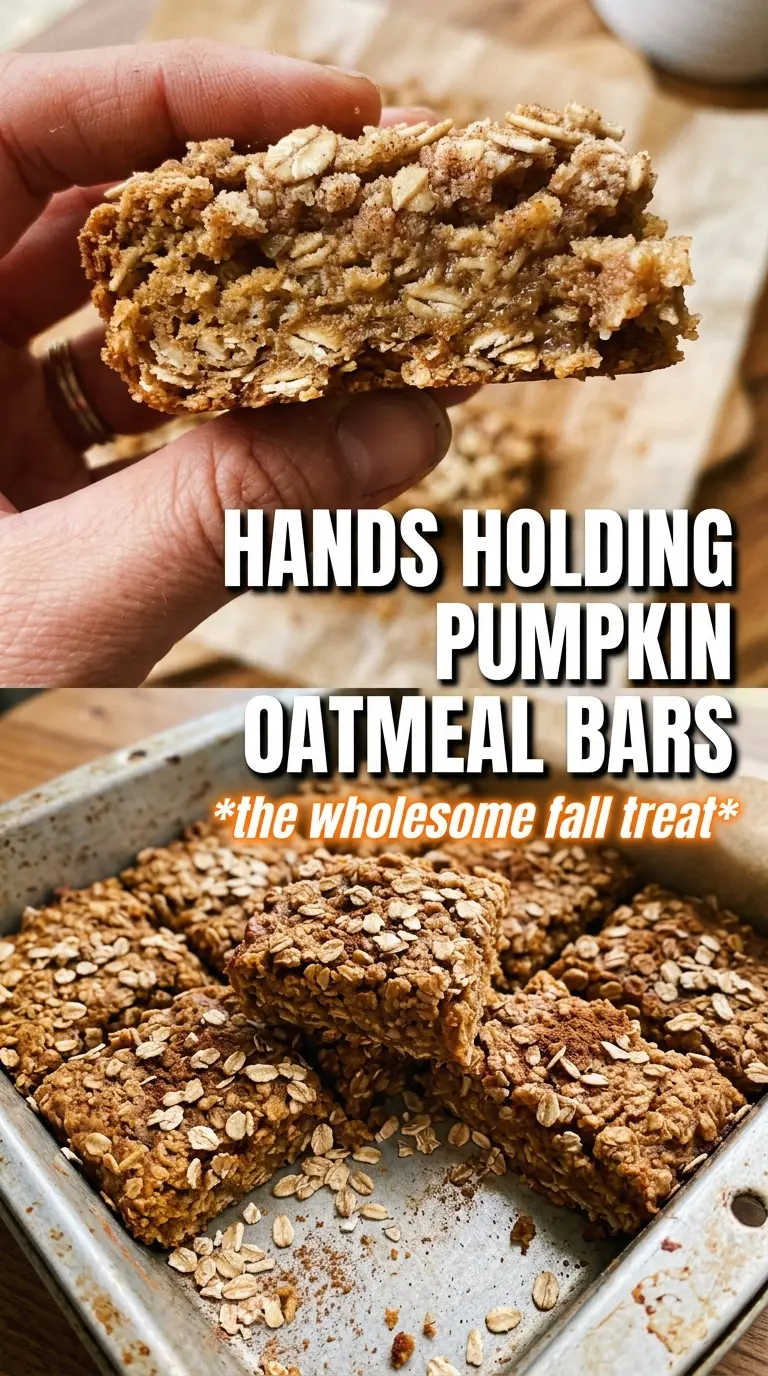
The biggest mistake with bars like these is cutting them while they’re still warm. The center needs time to set as it cools, and that rest is what gives you neat edges instead of a crumbly middle. If you want tidy squares, line the pan with parchment, let the bars cool completely, and only then add the drizzle and slice.
- Oats — Rolled oats give the bars their chew and visible texture. Quick oats turn softer and blur into the batter, which changes the whole feel of the finished bar.
- Pumpkin puree — Use plain pumpkin puree, not pumpkin pie filling. Pie filling already has sugar and spices added, which throws off the balance and can make the bars too sweet or too loose.
- Maple syrup or honey — Maple syrup gives the cleanest fall-spice flavor, while honey makes the bars a little firmer and more floral. Either one works, but maple tastes more at home with the pumpkin.
- Coconut oil or butter — Melted coconut oil keeps the bars dairy-free and sets up with a soft crumb. Butter brings a richer finish and a slightly more tender bite. Both should be melted, not hot, so they don’t scramble the eggs.
- Chocolate chips or raisins — These are optional, but they add pockets of sweetness that work well against the spice. Fold them in at the end so they don’t sink and so the batter stays evenly mixed.
What Each Bowl Is Doing Before the Pan Goes In
- Dry ingredients — Stir the oats, flour, leaveners, spices, and salt together first so the baking soda and baking powder are distributed evenly. If they stay in one pocket, you’ll get uneven rise and a few bitter bites.
- Wet ingredients — Whisk the pumpkin, sweetener, fat, eggs, and vanilla until the mixture looks smooth and glossy. That step helps the eggs blend in before they hit the dry ingredients, which keeps the batter from turning streaky.
- Mix-in timing — Fold in chocolate chips or raisins after the wet and dry ingredients are combined. Stirring them in too early can break the batter down and make the bars tougher.
- Drizzle — The glaze is thin on purpose. It should flow off the spoon in ribbons, not sit like frosting, so it sets with a neat finish instead of soaking into the bars.
Building the Batter So the Center Stays Soft
Combining the Dry Base
Start by mixing the oats, flour, baking soda, baking powder, spices, and salt in a large bowl. You want the cinnamon and pumpkin pie spice distributed all the way through, because pockets of spice can taste harsh while other bites taste flat. A quick stir with a whisk works better than a spoon here since it breaks up any clumps in the flour and leaveners. The goal is an even base before the wet ingredients go in.
Bringing the Wet Ingredients Together
Whisk the pumpkin puree, maple syrup or honey, melted coconut oil or butter, eggs, and vanilla until the mixture looks smooth and unified. If the melted fat is hot, let it cool for a minute first so the eggs don’t start cooking on contact. The batter should look loose at this stage, and that’s correct. Pumpkin-heavy batters always tighten up once the oats and flour absorb the moisture.
Baking Until Just Set
Spread the batter evenly into a greased 9×13-inch pan and bake at 350°F until the edges are set and the center feels just firm when you press it lightly. If the middle still looks wet and shiny, it needs a few more minutes; if it looks dry and deeply browned, the bars will bake up crumbly. Pull them when they still have a little give in the center. They finish setting as they cool, which is what keeps the texture soft instead of dry.
Cooling Before the Drizzle
Let the bars cool completely before adding the maple glaze. If you drizzle too soon, the glaze melts into the top instead of sitting in clean lines. Once cooled, whisk the powdered sugar, maple syrup, and milk until smooth, then drizzle and let it set for a few minutes before cutting. A sharp knife wipes cleaner through fully cooled bars, and that matters if you want distinct squares.
Make them dairy-free without losing the tender crumb
Use coconut oil instead of butter and keep the milk in the drizzle plant-based. The bars stay soft and cohesive, and the coconut flavor is mild once the pumpkin and spice take over.
Swap honey for maple syrup if that’s what you have
Honey works, but it bakes a little firmer and adds a more floral sweetness. The bars will still be moist, though the maple drizzle will taste a little less integrated than it does with maple syrup in the batter.
Skip the mix-ins for a cleaner breakfast bar
Leave out the chocolate chips or raisins if you want a more straightforward pumpkin-oat slice. The texture stays hearty, and the bars are easier to pack in lunchboxes or eat on the go without extra sweetness.
Use gluten-free oats and a 1:1 gluten-free flour blend
This swap works well if your flour blend is meant for baking and already contains xanthan gum. The bars may be a touch more delicate, so let them cool fully before slicing.
Storage and Reheating
- Refrigerator: Store in an airtight container for up to 5 days. The bars stay moist, and the oat texture gets a little denser after chilling.
- Freezer: Freeze well, wrapped individually or separated with parchment, for up to 2 months. Thaw overnight in the fridge or at room temperature for a few hours.
- Reheating: Warm a bar for 10 to 15 seconds in the microwave if you want it soft and just slightly warm. Don’t overheat it or the glaze will melt and the edges will dry out.
Questions I Get Asked About This Recipe
Pumpkin Oatmeal Bars
Ingredients
Equipment
Method
- Preheat the oven to 350F and grease a 9x13 pan.
- Combine rolled oats, all-purpose flour, baking soda, baking powder, pumpkin pie spice, cinnamon, and salt in a bowl.
- Whisk pumpkin puree, maple syrup or honey, melted coconut oil or butter, eggs, and vanilla extract until smooth.
- Fold the wet mixture into the dry ingredients until combined, then fold in chocolate chips or raisins if using.
- Spread the batter in the prepared pan.
- Bake at 350F for 25-28 minutes, until the edges are set and the center is just firm.
- Cool completely before drizzling with the maple glaze.
- Whisk powdered sugar, maple syrup, and milk until smooth, then drizzle over the cooled bars.
- Cut into bars and serve.