Pumpkin pancakes land best when they’re tender in the middle, lightly crisp at the edges, and scented all the way through with cinnamon and spice. The pumpkin gives them a deeper, more custardy crumb than standard pancakes, and the cinnamon honey butter melts into every ridge of the stack instead of just sitting on top. With a hot griddle and a light hand, you get pancakes that taste like a diner breakfast upgraded by someone who knows exactly where to stop mixing.
What makes this version work is the balance: enough pumpkin puree for flavor and color, but not so much that the batter turns dense. Buttermilk and baking soda keep the pancakes fluffy and help tame the sweetness, while the cinnamon butter brings in a smooth finish that tastes richer than plain maple alone. The batter only needs a short rest, just long enough for the flour to hydrate and the baking powder to wake up.
Below you’ll find the trick for keeping the pancakes light, the reason the butter is worth making first, and a few practical swaps for mornings when the pantry is missing one thing.
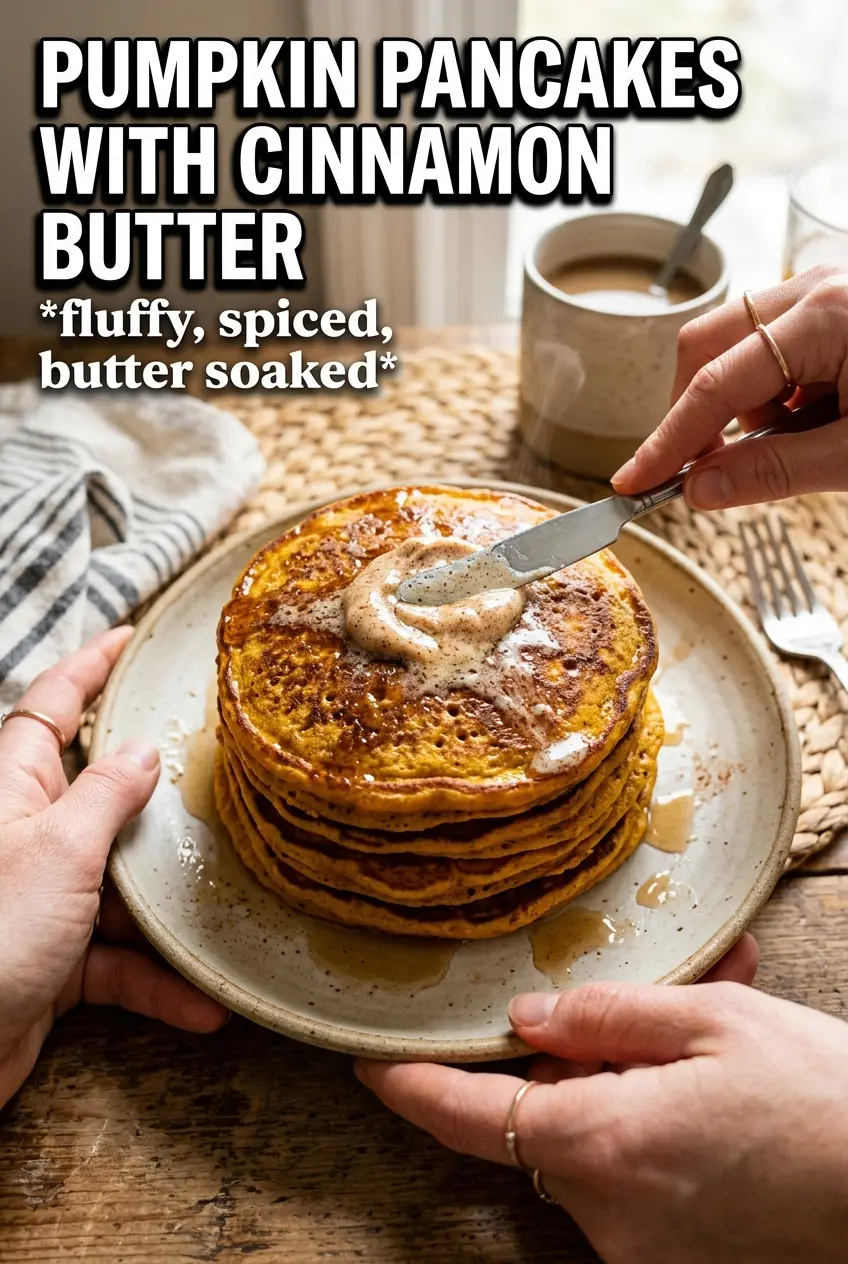
The pancakes stayed fluffy even with the pumpkin, and the cinnamon honey butter melted into the stack exactly like the photo. I had no trouble getting them cooked through without burning the outside.
Save these pumpkin pancakes with cinnamon butter for the mornings when you want a fluffy stack and a melt-on-contact topping.
The Difference Between Fluffy Pancakes and Pumpkin Paste
Pumpkin puree adds moisture fast, and that’s where a lot of pumpkin pancake recipes go wrong. Too much flour gets added to compensate, and the batter turns heavy before it ever hits the griddle. The better fix is to keep the flour amount steady, use buttermilk for lift, and stop mixing as soon as the dry streaks disappear.
The batter should look thick but spoonable, not pourable like crepe batter and not stiff like muffin dough. If it seems a little lumpy, that’s normal. Those lumps are part of what keeps the pancakes tender, and they’ll cook out on the griddle.
- Don’t overmix the batter — Gluten tightens fast in pancake batter. A few streaks of flour are better than a smooth batter that bakes up tough.
- Let it rest for 5 minutes — That short rest gives the flour time to absorb the liquid and helps the baking powder start working before the batter hits the pan.
- Keep the heat at medium — Pumpkin pancakes brown faster than plain ones because of the spice and sugar. If the heat is too high, the outside darkens before the center sets.
What the Pumpkin, Buttermilk, and Cinnamon Butter Are Each Doing Here
- Pumpkin puree — Use plain pumpkin puree, not pumpkin pie filling. Pie filling is already sweetened and spiced, which throws off both the texture and the seasoning.
- Buttermilk — This is what keeps the pancakes soft while helping the baking soda lift the batter. If you don’t have it, use milk mixed with 1 tablespoon lemon juice or vinegar, then let it sit 5 minutes before mixing.
- Baking powder and baking soda — You need both here. Baking powder gives the initial rise, and baking soda reacts with the buttermilk for extra tenderness and a better browning finish.
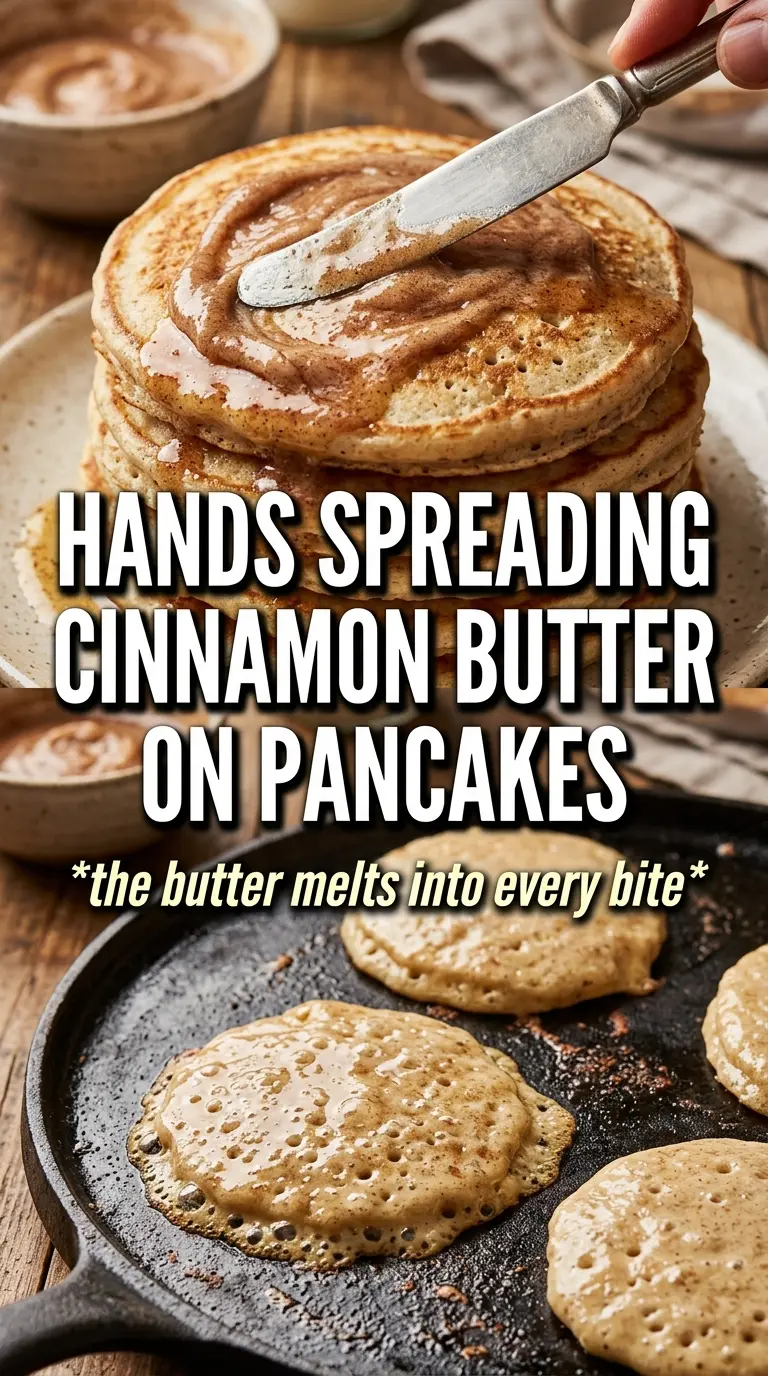
- Cinnamon honey butter — Softened butter beats into a smooth, spoonable topping that melts into the stack instead of sliding off. If the butter is cold, it stays grainy and won’t spread well.
How to Keep the Center Cooked Without Burning the Edges
Mix the Butter First
Beat the softened butter with honey, cinnamon, vanilla, and a pinch of salt until it looks pale and fluffy. That extra air helps it melt evenly over hot pancakes instead of clumping into a thick cold blob. Refrigerating it for a few minutes firms it up just enough to sit nicely on the stack, but don’t chill it so long that it turns hard.
Build the Batter in Two Bowls
Whisk the dry ingredients in one bowl and the wet ingredients in another, then fold them together gently. This keeps the baking powder distributed and prevents streaky pockets of pumpkin puree. Stop as soon as the flour disappears. The batter should look a little rough, and that’s the right place to stop.
Cook Until the Bubbles Hold Their Shape
Scoop about 1/4 cup batter per pancake onto a lightly greased griddle over medium heat. The first side is ready when bubbles form and start to stay open at the surface and the edges look set and matte. Flip once, then cook the second side until it’s golden and springs back lightly when touched; if the griddle is too hot, lower the heat before the next batch goes on.
Serve While the Butter Is Still Soft
Put a generous knob of cinnamon honey butter on the hot stack as soon as the pancakes come off the pan. It should begin melting down the sides within seconds. Maple syrup on the side is enough, but the butter does most of the work here, so serve immediately while the texture is still soft and the edges are crisp.
How to Adapt These Pumpkin Pancakes When the Pantry Is Thin
Dairy-Free Pumpkin Pancakes
Use a full-fat dairy-free milk with 1 tablespoon lemon juice or vinegar in place of the buttermilk, and swap the butter in both the batter and topping for a good plant-based stick butter. The pancakes stay tender, though the cinnamon butter will be a touch less rich and won’t melt quite as silkily.
Gluten-Free Version
A 1:1 gluten-free baking flour blend works best here because the recipe leans on a pancake-style batter, not yeast or kneading. Let the batter rest the full 5 minutes so the starches hydrate; that step matters more with gluten-free flour and helps keep the texture from feeling gritty.
Make It Less Sweet
Cut the sugar in the batter to 1 tablespoon and leave the cinnamon butter as written. That keeps the pancakes balanced while the topping still gives you the warmth and maple-like finish that makes the stack feel complete.
Storage and Reheating
- Refrigerator: Store cooked pancakes in an airtight container for up to 3 days. They soften a little as they sit, but they still reheat well.
- Freezer: Freeze pancakes in a single layer, then transfer to a freezer bag with parchment between layers. The cinnamon butter can be frozen separately, but it’s best whipped fresh if you want the fluffiest texture.
- Reheating: Warm pancakes in a toaster oven, skillet, or 300°F oven until heated through. The common mistake is using the microwave too long, which makes them rubbery instead of restoring the edges.
Answers to the Questions Worth Asking
Pumpkin Pancakes With Cinnamon Butter
Ingredients
Equipment
Method
- Beat the softened unsalted butter with honey, cinnamon, vanilla, and a pinch of salt until smooth and fluffy (about 1–2 minutes), with a noticeably lighter color and texture.
- Refrigerate the cinnamon honey butter to firm slightly, 10 minutes, so it can hold its shape when dolloped on the pancakes.
- Whisk together the all-purpose flour, sugar, baking powder, baking soda, pumpkin pie spice, cinnamon, and salt until evenly combined.
- Whisk the pumpkin puree, buttermilk, eggs, melted butter, and vanilla in a separate bowl until smooth.
- Fold the wet ingredients into the dry ingredients until just combined, stopping as soon as no dry streaks remain.
- Rest the batter for 5 minutes to hydrate the flour for tender pancakes.
- Heat a greased griddle over medium heat, then pour batter using 1/4 cup per pancake and look for bubbles forming on the surface (about 2–3 minutes).
- Flip and cook the second side until golden brown and set in the center, 2–3 minutes, with edges that look lightly dry.
- Serve each stack with a generous knob of cinnamon honey butter on top so it melts and drips slightly down the sides.
- Add maple syrup on the side and let it pool at the base before eating.