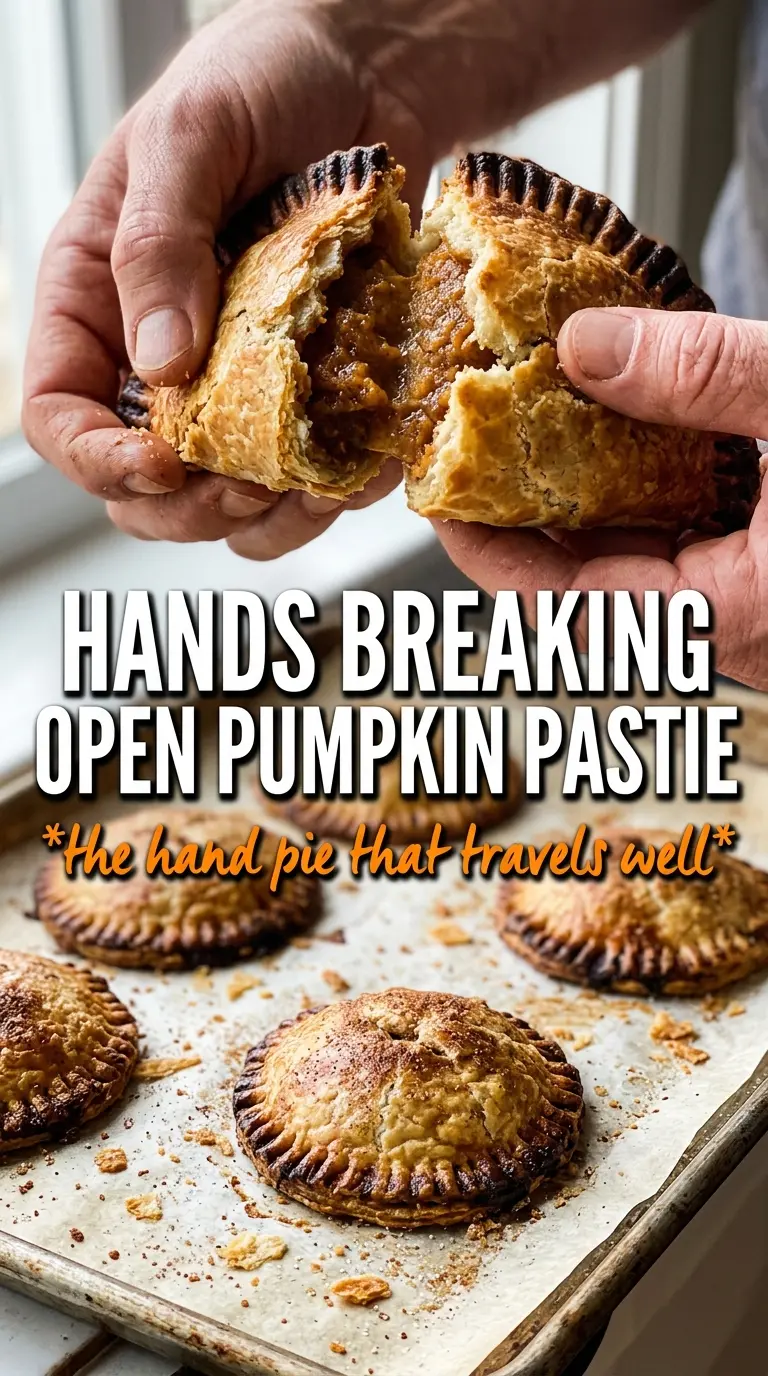
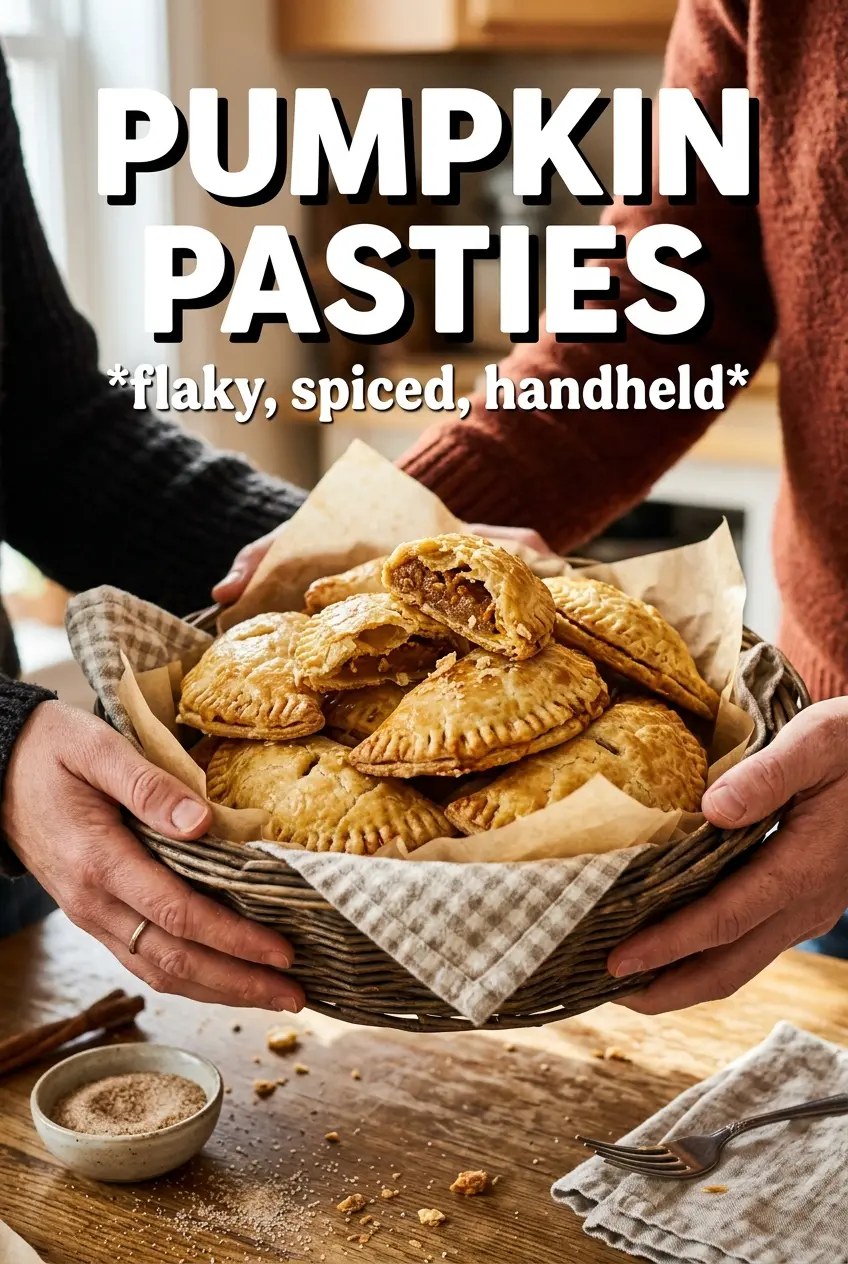
Pumpkin pasties bake up with the kind of flaky, golden crust that shatters at the first bite and gives way to a thick, warmly spiced pumpkin center. The filling stays tucked inside instead of leaking across the pan, and the cinnamon sugar on top gives each half-moon a crisp finish that tastes like a bakery treat with a homemade edge.
What makes these work is balance. The pastry stays cold until it hits the oven, which is what gives you those tender layers instead of a tough shell. The filling is thickened with cornstarch and enriched with egg yolk, so it bakes into a smooth, sliceable center instead of a wet pumpkin puddle. That matters with pasties, because a filling that’s even a little loose can break the seams open before the crust has time to set.
Below, I’ve included the exact place where people usually run into trouble with hand pies like these, plus the best way to keep the edges sealed and the filling from escaping. If you’ve ever had a pumpkin pastry collapse in the oven, this version is built to prevent that.
The filling set up perfectly and didn’t leak once. I chilled the dough the full 30 minutes, and the pasties baked with crisp edges and that soft spiced center I was hoping for.
Like these pumpkin pasties? Save them to Pinterest for a flaky hand pie with a thick spiced pumpkin filling and a cinnamon sugar finish.
The Part That Keeps Pumpkin Pasties from Bursting Open
The biggest mistake with hand pies is overfilling them. Pumpkin puree softens as it bakes, and if the filling is too loose or piled too high, it pushes against the seam and finds the weakest spot. A tablespoon per pasty is the right amount here. It looks modest, but it’s enough once the pastry puffs and the filling warms through.
Cold dough matters just as much as the filling. Once the butter starts to melt before baking, the pastry loses the rough layers that make it flaky and turns denser around the edges. Chilling after mixing gives the flour time to hydrate and keeps the dough easy to roll without springing back.
- Cold butter — Those solid little butter pieces are what create the flaky pockets. If the butter softens too much while you’re cutting it in, the crust bakes up more like a biscuit than a pastry.
- Cornstarch — This thickens the pumpkin filling just enough to keep it from running. Flour can work in a pinch, but it leaves a heavier, slightly pasty texture.
- Egg yolk in the filling — That’s the ingredient that gives the center a richer, smoother body. It helps the filling set instead of staying loose and grainy.
- Cinnamon sugar — This isn’t just decoration. It adds a light crackly finish on top and makes the pasties taste finished even without glaze.
What Each Ingredient Is Actually Doing in This Recipe
- Primary ingredient (the star) — Quality matters most. Choose the best you can find.
- Cooking medium (oil, butter, or broth) — This carries flavors and prevents dryness.
- Seasonings (salt, pepper, spices, herbs) — Layer flavors so nothing overpowers. Build depth gradually.
- Aromatics (garlic, onion, herbs) — Cook with fat to bloom flavors. Become the foundation.
- Supporting ingredients — Complement the main ingredient without overpowering it.
- Sauce or liquid (if applicable) — Brings flavors together. Balance richness with acid.
- Acid (lemon, vinegar, wine, or other) — Brightens and prevents flat-tasting results.
- Final finish (garnish, glaze, or sauce) — Prevents one-dimensional taste and adds visual appeal.
Building the Filling and Sealing the Edges
Mixing a Thick Pumpkin Center
Stir the pumpkin puree, brown sugar, spices, egg yolk, and cornstarch until the mixture looks smooth and glossy. There should be no dry pockets of cornstarch hiding at the bottom of the bowl. If the filling looks runny at this stage, it will only get looser in the oven, so stop and whisk until it holds together on a spoon with a soft mound.
Rolling and Cutting the Pastry
Roll the chilled dough to about 1/8 inch thick. If it gets too thin, the filling can break through as it bakes; too thick, and the pasties lose that delicate snap. Cut clean 4-inch circles, then move quickly so the dough stays cool and easy to handle.
Filling, Crimping, and Venting
Place the filling on one half of each circle, leaving a clean border all the way around. Fold the dough over, press out any trapped air, and crimp the edges with a fork so the seam seals tightly. The small vent on top is important — it lets steam escape, which keeps the pastry from splitting at the seam or ballooning unevenly.
Baking to a Deep Golden Finish
Brush each pasty with egg wash, then dust on the cinnamon sugar before baking. The egg wash gives the crust color and shine, while the sugar bakes into a lightly crisp top. Pull them when the pastry is deeply golden and the edges look dry and set; pale pastry usually means the bottom is still soft.
Three Ways to Make These Pumpkin Pasties Work for Your Kitchen
Use store-bought pastry for a faster version
A good store-bought pie dough works if you’re short on time. The texture won’t be quite as flaky as homemade shortcrust-style pastry, but it still bakes into a sturdy hand pie that holds the pumpkin filling well.
Make them dairy-free
Swap the butter for a plant-based baking stick that’s meant for pastry, not soft tub margarine. Keep it cold and cut it in the same way. You’ll lose a little richness, but the crust still bakes up tender and crisp.
Turn them into a sharper spice pastry
Add a pinch of cloves or swap half the cinnamon for cardamom if you want the filling to taste a little deeper and less sweet. The result is still clearly pumpkin, but with a warmer, more grown-up finish.
Storage and Reheating
- Refrigerator: Store cooled pasties in an airtight container for up to 4 days. The crust softens a little in the fridge, but the filling stays nicely set.
- Freezer: Freeze baked pasties on a tray, then transfer to a freezer bag for up to 2 months. You can also freeze them unbaked and bake from frozen, adding a few extra minutes.
- Reheating: Warm in a 350F oven or toaster oven until the crust crisps again, about 8 to 12 minutes. The mistake to avoid is microwaving, which turns the pastry limp and steamy instead of flaky.
Questions I Get Asked About This Recipe
Pumpkin Pasties
Ingredients
Equipment
Method
- Combine all-purpose flour, sugar, and salt, then cut in cold unsalted butter until the mixture looks crumbly.
- Add ice water a little at a time and mix until the dough holds together when pressed.
- Refrigerate the dough for 30 minutes.
- Whisk pumpkin puree, brown sugar, pumpkin pie spice, cinnamon, ginger, and nutmeg until smooth.
- Stir in egg yolk and cornstarch until the filling is fully combined.
- Preheat the oven to 375F and line baking sheets.
- Roll the chilled dough to about 1/8-inch thickness and cut into 4-inch circles.
- Place a tablespoon of pumpkin filling on one half of each circle.
- Fold dough over to form a half-moon and crimp the edges with a fork to seal.
- Brush each pasty with egg wash made from egg and milk.
- Sprinkle cinnamon sugar over the tops, then cut a small vent in each pasty.
- Bake for 22–25 minutes at 375F until the pasties turn golden.