Pumpkin pie bars with oat crust give you the best part of a pie without the fuss of rolling dough or worrying about a slice collapsing on the plate. The filling bakes up smooth and custardy, the oat crust turns crisp at the edges, and the crumbly topping adds just enough texture to keep each bite interesting. They cut cleanly once chilled, which makes them one of those desserts people reach for at potlucks, holidays, and any night you want pumpkin pie flavor without a pastry project.
The trick is in the crust. Pressing most of the oat mixture firmly into the pan gives you a sturdy base that can hold the soft filling, while the reserved crumble bakes into a golden top instead of disappearing into the custard. The warm crust under the filling matters too — it helps the bars set evenly and keeps the bottom from turning soggy.
Below, I’m walking through the small details that matter here: how to keep the crust crumbly but packable, why the filling goes onto a hot base, and how to cut neat bars after chilling so the layers stay distinct.
The filling set up beautifully and the oat crumble stayed crisp on top even after chilling overnight. I cut clean bars the next day and the crust held together instead of falling apart.
Save these pumpkin pie bars with oat crust for the days when you want a smooth pumpkin filling and a buttery crumb topping in one clean-cut dessert.
The Secret to a Bar That Cuts Clean Instead of Sliding Apart
Pumpkin pie bars fail when the crust is too loose or the filling gets cut before it has time to set. The oat base needs to be packed down hard enough to become a true foundation, not just scattered into the pan like a streusel. Once the filling goes on, it should bake until the center has only a slight wobble; if it still sloshes in the middle, it will look fine in the pan and collapse on the cutting board.
The other thing that matters here is cooling. These bars finish setting as they cool, then tighten up even more after an hour in the refrigerator. That chilling step is what gives you neat squares instead of soft, spoonable pumpkin dessert.
- Pressing part of the crumble into the pan — This creates a sturdier base than a loose oat layer ever could. If you skip the firm press, the crust breaks when you lift the bars.
- Baking the crust before the filling — Those 12 minutes give the oats and flour a head start so the bottom stays crisp under the custard.
- Cooling before cutting — Warm pumpkin filling always seems set until you try to slice it. Chill it first and the bars hold their shape.
What the Oats, Pumpkin, and Evaporated Milk Are Each Doing Here
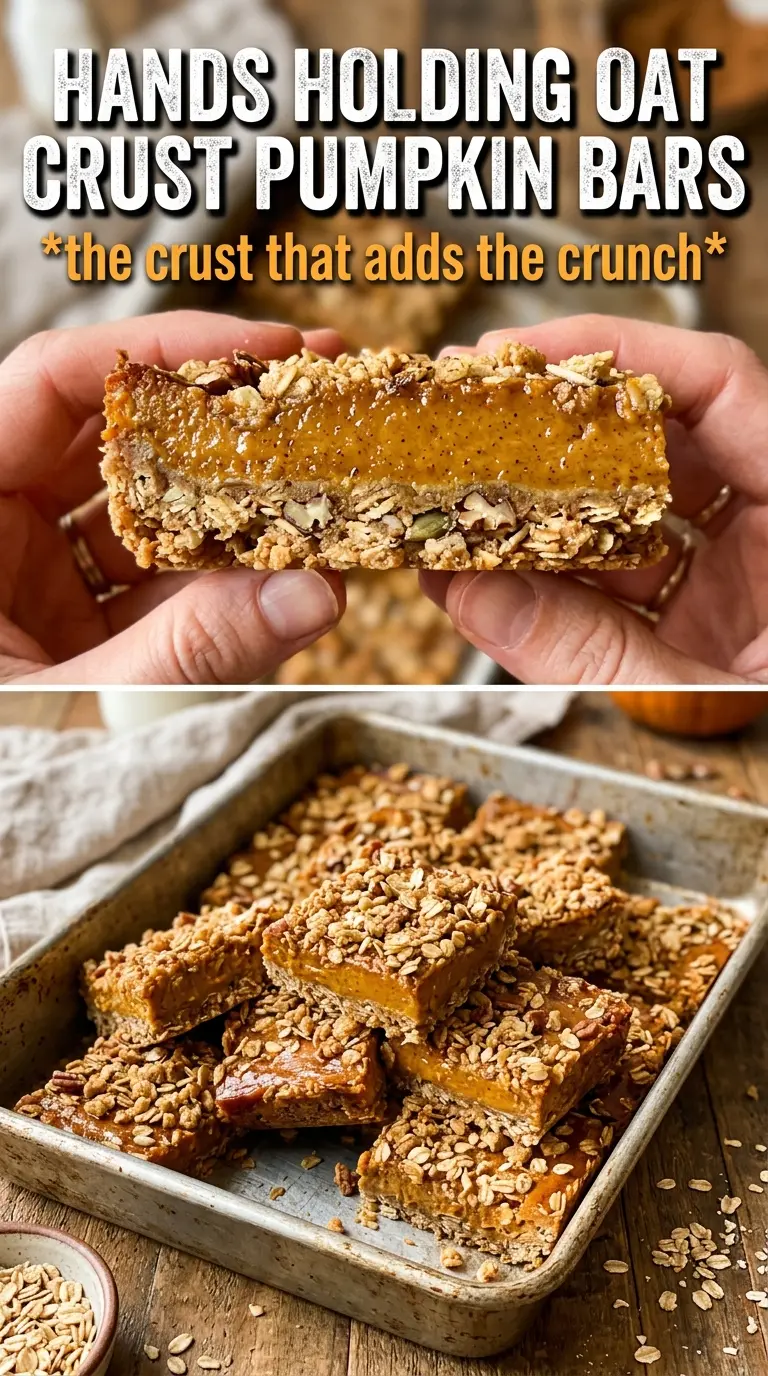
- Rolled oats — These bring the crumbly, nubby texture that makes the crust and topping feel homemade. Quick oats can work in a pinch, but the bars lose some of that hearty chew and the crumble gets finer.
- Cold unsalted butter — Cold butter is what gives you a sandy crumble instead of a greasy paste. If the butter softens too much while you mix, the topping bakes up dense rather than crisp.
- Pumpkin puree — Use plain pumpkin puree, not pumpkin pie filling. The puree lets you control the spice and sugar, and it bakes into a clean, smooth custard.
- Evaporated milk — This is what gives the filling its rich, pie-like texture without making it heavy. Regular milk works, but the bars won’t taste as plush.
- Eggs — They set the filling as it bakes. If you cut them back, the center stays soft and won’t slice well.
- Brown sugar in the crust — It adds moisture and a light caramel note that pairs well with pumpkin. Granulated sugar can stand in, but the crust tastes less warm and less rounded.
Building the Layers So the Bottom Stays Crisp
Mix the Crumble Until It Looks Like Wet Sand
Stir the oats, flour, brown sugar, cinnamon, and salt together first, then work in the cold butter until the mixture looks clumpy and sandy at the same time. You want some small buttery bits left in there; they melt in the oven and create that crisp, craggy texture. If the mixture turns into a paste, the butter got too warm or was cut in too long, and the crust will bake up heavy.
Press the Base Hard, Then Give It a Head Start
Take the larger portion of the crumble and press it firmly into the parchment-lined pan. Use the bottom of a measuring cup if your hands keep lifting the mixture back up, because a packed base holds together better than a loosely layered one. Bake it just until the edges start to look set and the top loses its raw flour look. That short pre-bake keeps the bottom from going soft once the filling goes on.
Pour the Filling Onto the Hot Crust
Whisk the pumpkin puree, evaporated milk, eggs, sugar, spices, salt, and vanilla until smooth, then pour it over the hot crust right away. The warm base helps the filling begin setting from underneath, which gives you a cleaner layer separation. Scatter the reserved crumble over the top, but don’t bury the custard completely — a little open pumpkin showing through is fine and helps the bars bake evenly.
Bake Until the Center Barely Moves
Keep baking until the topping is golden and the center has a slight wobble instead of a liquid ripple. If the middle still looks glossy and loose, it needs more time; if you wait until it is fully rigid in the oven, it’s likely overbaked and can turn grainy once cooled. Pull it when the edges are set and the center jiggles just a little when the pan is nudged.
How to Adapt These Bars for a Different Pantry or a Bigger Batch
Gluten-Free Version With the Same Crumbly Top
Swap the all-purpose flour for a cup-for-cup gluten-free blend that includes xanthan gum, and keep everything else the same. The bars will still slice well, but the crust may feel a little more delicate when warm, so chilling matters even more.
Dairy-Free Pumpkin Bars
Use a firm dairy-free butter substitute in place of the unsalted butter and swap the evaporated milk for full-fat canned coconut milk. The filling will taste a little richer and more coconut-forward, and the crust may brown a bit faster, so watch the edges near the end of baking.
Adding a Toasted Pecan Layer
Fold 3/4 cup chopped toasted pecans into the reserved crumble for extra crunch and a deeper nutty finish. This makes the topping more textured and a little richer, but it still stays bar-friendly instead of turning into a full pie crust.
Storage and Reheating
- Refrigerator: Store covered for up to 5 days. The crust softens a little by day two, but the bars still slice well cold.
- Freezer: These freeze well. Cut into bars, wrap individually, and freeze in a single layer before moving them to a container for up to 2 months.
- Reheating: These are best served chilled or at cool room temperature. If you want to warm one, use a few seconds in the microwave, not a long heat-up, or the filling will loosen and the crumble will lose its texture.
Answers to the Questions Worth Asking
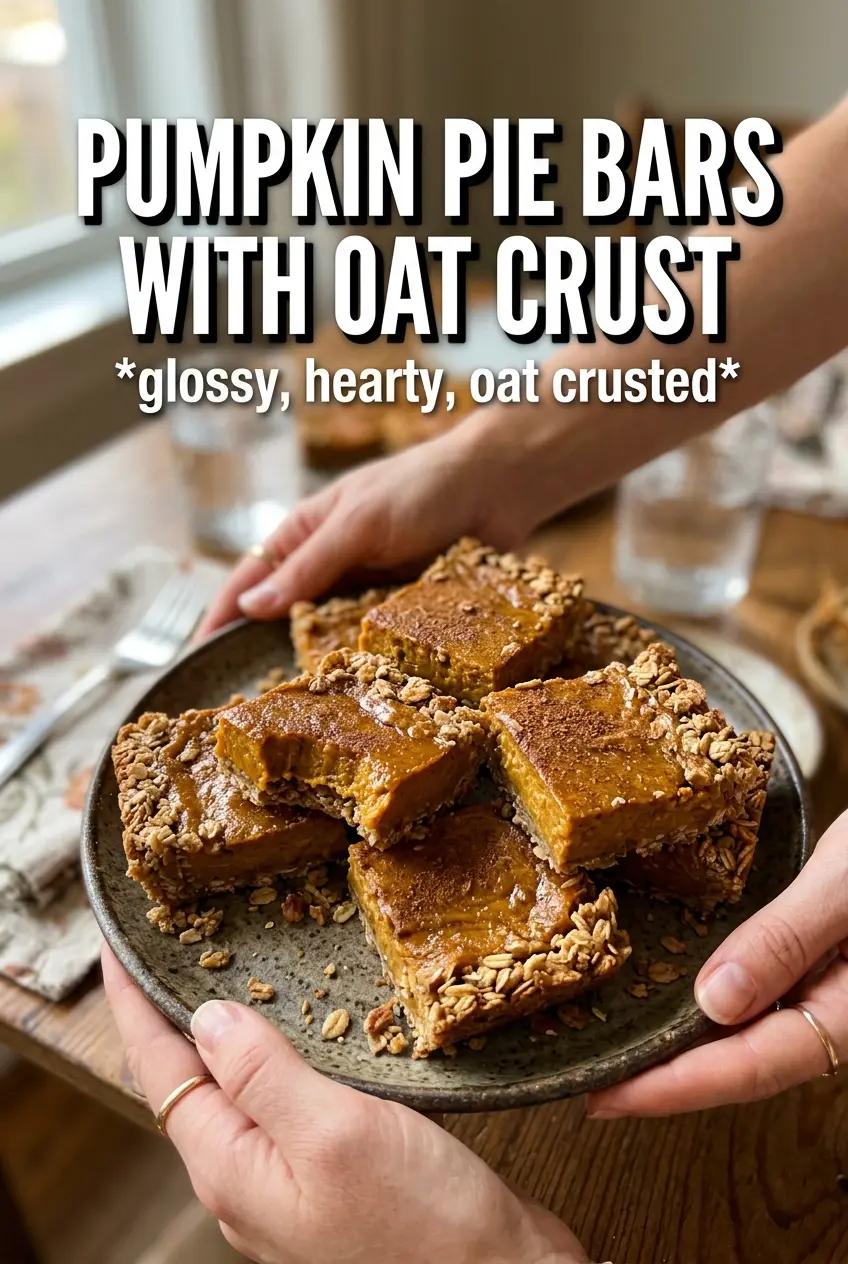
Pumpkin Pie Bars With Oat Crust
Ingredients
Equipment
Method
- Preheat the oven to 375F and line a 9x13 pan with parchment paper for easy lifting.
- Combine rolled oats, all-purpose flour, brown sugar, cinnamon, and salt, then cut in cold unsalted butter until the mixture looks crumbly.
- Reserve 1 cup of the oat mixture for the topping, then press the remaining mixture firmly into the pan.
- Bake for 12 minutes to set the base crust.
- Whisk pumpkin puree, evaporated milk, eggs, granulated sugar, pumpkin pie spice, cinnamon, ginger, salt, and vanilla until smooth.
- Pour the filling over the hot crust, then scatter the reserved oat crumble over the surface.
- Bake for 35 to 40 minutes at 375F until the topping is golden and the filling is set.
- Cool the bars completely at room temperature so the filling firms up before slicing.
- Refrigerate for 1 hour before cutting for the cleanest bars.