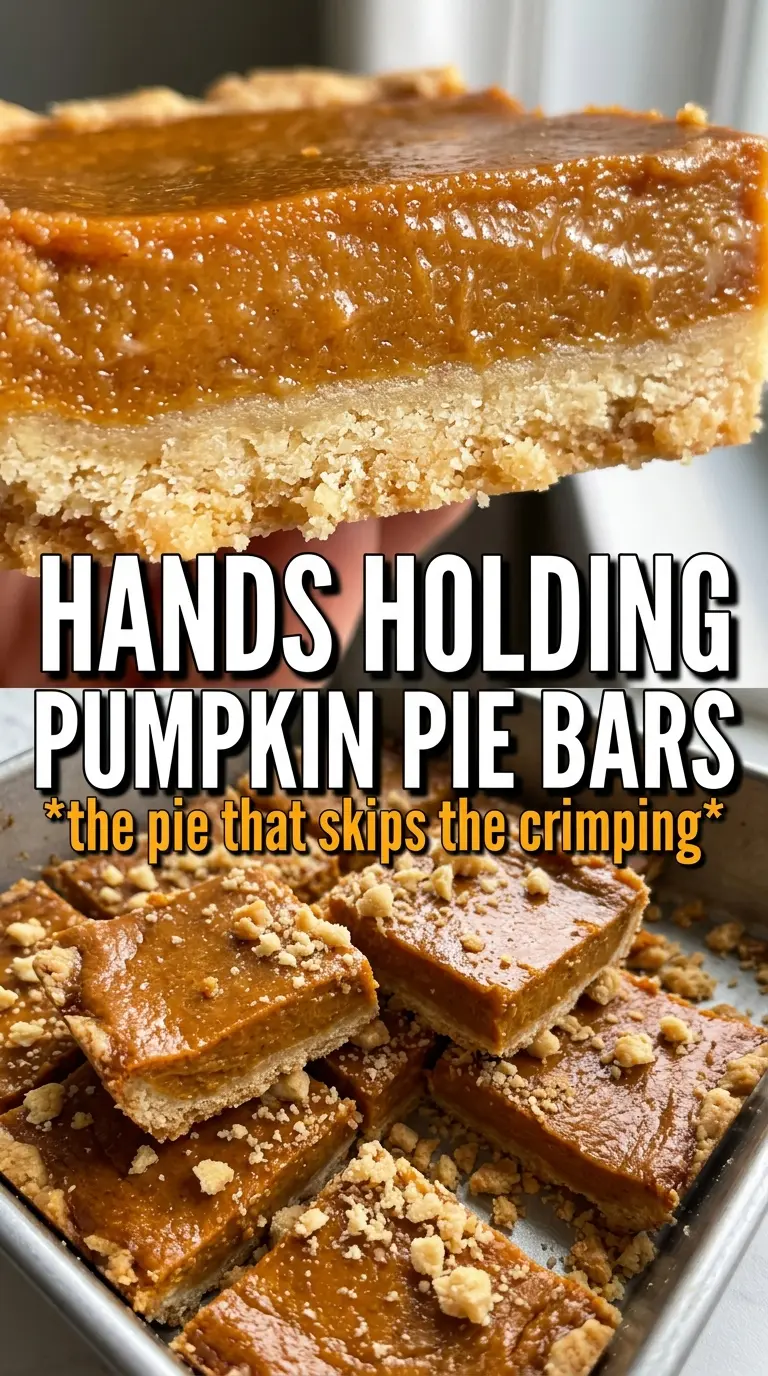
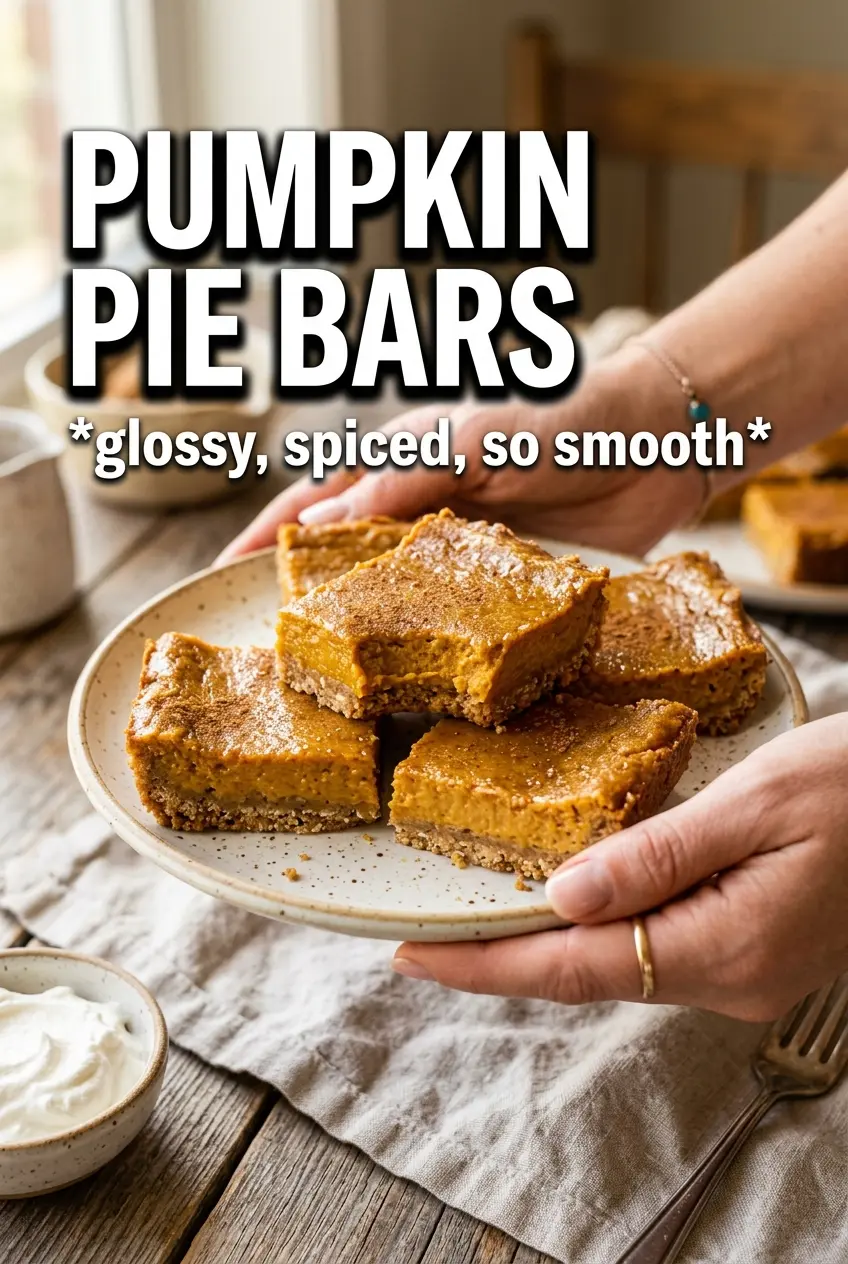
Pumpkin pie bars give you all the silky, spiced comfort of a classic pie without the fuss of rolling dough or worrying about a cracked slice. The shortbread crust bakes up buttery and sturdy, then the pumpkin custard sets into clean-cut squares that hold their shape on a platter. They’re the kind of dessert that disappears fast because people can take one neat bar and still get that soft filling, crisp edge, and cool whipped cream on top.
What makes this version work is the contrast between the crust and the filling. The crust starts with cold butter, so it bakes into a tender, almost sandy base instead of turning dense. The filling uses evaporated milk for a smooth texture and enough richness to set without going rubbery. The two-temperature bake matters here, too: the high heat helps the crust and top of the custard set quickly, then the lower heat finishes the center gently.
Below, I’ll walk you through the one detail that keeps the bars from turning soggy, plus the best way to cut them cleanly after chilling so every square looks as good as it tastes.
The crust stayed crisp under the filling, and the bars sliced cleanly after chilling. I took them to a potluck and there wasn’t a crumb left.
Pumpkin Pie Bars with buttery shortbread and smooth spiced filling are the kind of dessert that gets better after chilling overnight.
The Part That Keeps the Crust from Going Soft
The crust needs a head start in the oven before the pumpkin filling goes anywhere near it. If you pour custard onto raw dough, the bottom softens before it has a chance to set, and you end up with a layer that tastes steamed instead of baked. Prebaking gives the flour and butter time to turn into a firm base that can handle a wet filling.
The second detail that matters is the hot-to-cool baking shift. That first blast at 425°F helps the edges set fast, then dropping the oven to 350°F gives the custard time to finish without puffing, curdling, or cracking. Pull it when the center still has a slight wobble; it firms up as it cools, and overbaking is what turns pumpkin filling grainy and dry.
What Each Ingredient Is Actually Doing Here
- All-purpose flour — This gives the crust structure without making it tough. A lower-protein flour like pastry flour can make it even more tender, but all-purpose is the sweet spot for bars that need to slice cleanly.
- Powdered sugar — It sweetens the crust and helps create that sandy, melt-in-your-mouth texture. Granulated sugar won’t behave the same way here; it gives more crunch and less tenderness.
- Cold unsalted butter — Cold butter is what creates the flaky, short texture once it melts in the oven. If the butter gets soft before baking, the crust can turn greasy and dense, so cube it cold and work fast.
- Pumpkin puree — Use plain pumpkin puree, not pumpkin pie filling. The canned filling is already sweetened and spiced, which throws off the balance and can make the bars too loose.
- Evaporated milk — This is what gives the filling that classic pie richness without adding extra heaviness. Regular milk won’t set the same way, and cream makes the custard too rich and can mute the pumpkin.
- Eggs — They are the structure in the filling. Whisk them until smooth, but don’t whip in a lot of air or the top can puff and crack as it bakes.
- Pumpkin pie spice, cinnamon, ginger, and cloves — The mix gives the filling depth instead of one-note sweetness. If you only have pumpkin pie spice, use it and add the extra cinnamon for a fuller finish.
From Pressed Crust to Clean-Cut Bars
Building the Shortbread Base
Start by combining the flour, powdered sugar, and salt, then cut in the cold butter until the mixture looks like coarse crumbs that just hold together when squeezed. The dough should press together, not spread like cookie dough. If the butter starts melting in your hands, the crust loses that tender crumb and bakes up flat instead of crisp.
Press it firmly and evenly into the parchment-lined pan, getting the corners packed in well so they don’t crumble when sliced later. Bake until the surface looks pale golden and set at the edges. You’re not looking for deep color here; the crust finishes more in the second bake.
Whisking the Custard Until Smooth
Combine the pumpkin puree, evaporated milk, eggs, sugar, spices, salt, and vanilla in a large bowl and whisk until the mixture looks completely uniform. Any streaks of egg white will show up in the finished bars, so keep whisking until the batter is silky and the color is even. If you see foam building on top, stop whisking hard and let it settle for a minute before pouring.
Pour the filling over the hot crust right after it comes out of the oven. That hot crust helps the bottom layer start setting immediately, which protects it from turning soggy. Work gently so you don’t splash custard up the sides of the pan, where it can bake into a lumpy edge.
Finishing the Bake Without Cracks
Bake at 425°F first, then lower the oven to 350°F and continue until the center is just slightly wobbly when you nudge the pan. The filling should look set around the edges and only tremble in the middle, like soft gelatin. If it sloshes, it needs more time; if it’s completely firm in the oven, it will likely overbake and dry out as it cools.
Let the bars cool completely at room temperature before refrigerating them for the full chill time. Cutting them too early is the fastest way to get messy edges and a filling that smears across the knife. For the cleanest squares, use a sharp knife and wipe it between cuts.
How to Adapt These Bars for Different Tables
Dairy-Free Pumpkin Pie Bars
Swap the butter for a solid plant-based butter that bakes well, and use full-fat canned coconut milk in place of evaporated milk. The crust will still be tender, but the filling picks up a faint coconut note and won’t taste quite as classic. Chill them fully so the texture has time to set cleanly.
Gluten-Free Crust
Use a 1:1 gluten-free baking flour in the crust and mix just until it clumps when pressed. The texture will be a little more delicate and sandy, so line the pan well and lift the bars out before slicing. The filling stays the same.
Extra-Spiced Version
Add another 1/2 teaspoon cinnamon and a pinch more cloves if you want a deeper spice bite. This works best if you like a filling that tastes bold enough to stand up to whipped cream. Don’t overdo the cloves; they take over fast.
Storage and Reheating
- Refrigerator: Store covered for up to 4 days. The bars firm up as they sit, which makes them even easier to cut the next day.
- Freezer: They freeze well. Wrap individual bars tightly and freeze in a single layer, then thaw in the refrigerator so the custard doesn’t weep.
- Reheating: These are best served chilled or cool, not hot. If you want to take the chill off, let a bar sit at room temperature for 15 to 20 minutes; microwaving can make the filling watery and soften the crust.
Questions I Get Asked About This Recipe
Pumpkin Pie Bars
Ingredients
Equipment
Method
- Preheat the oven to 425F and line a 9x13 pan with parchment for easy lifting later.
- Combine all-purpose flour, powdered sugar, and salt, then cut in the cold cubed butter until the dough just holds together.
- Press the dough firmly and evenly into the pan, then bake for 15 minutes until pale golden.
- Whisk the pumpkin puree, evaporated milk, eggs, granulated sugar, pumpkin pie spice, cinnamon, ginger, cloves, salt, and vanilla until smooth.
- Pour the filling over the hot crust.
- Bake at 425F for 15 minutes, then reduce the heat to 350F and bake 25-30 more minutes until the filling is set with just a slight wobble in the center.
- Cool completely at room temperature, then refrigerate for 2 hours.
- Cut into bars and serve with whipped cream.