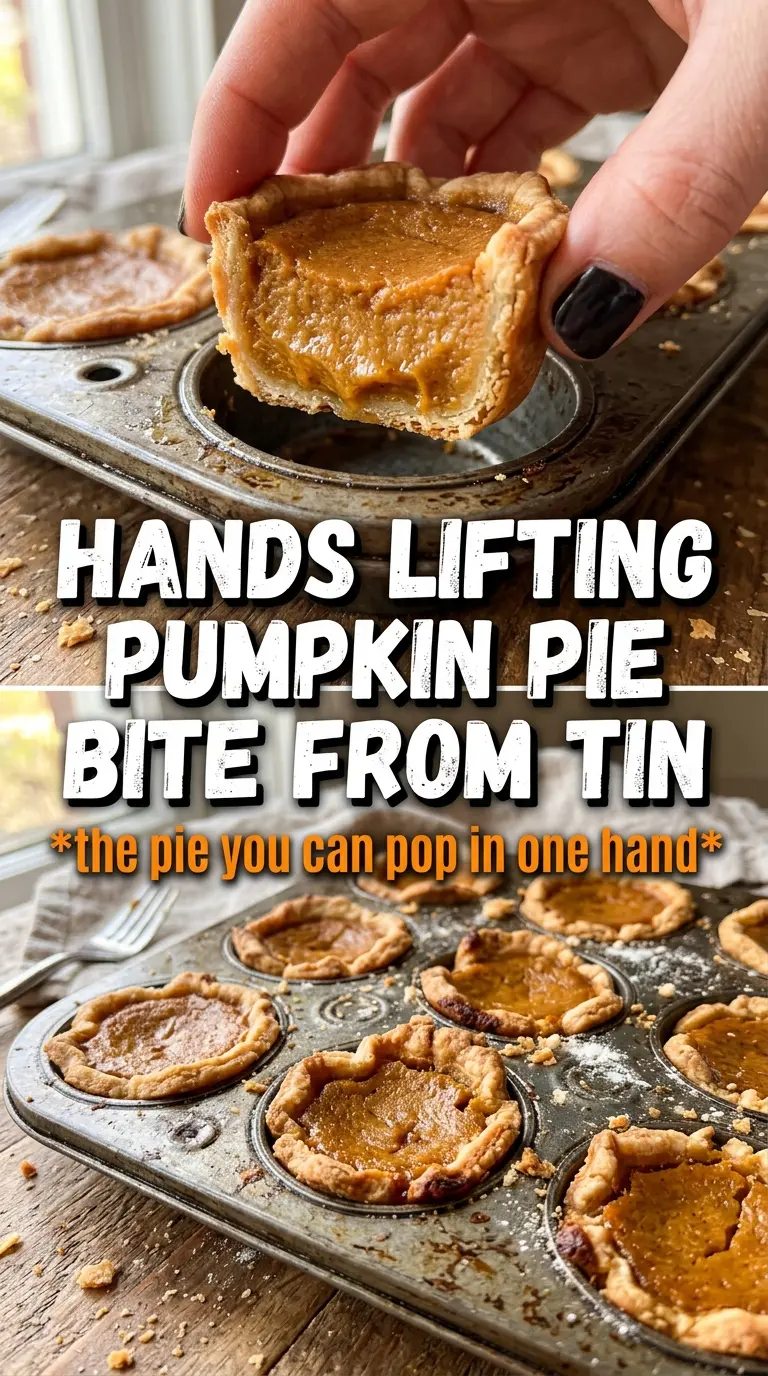
Pumpkin Pie Bites bring all the best parts of pumpkin pie into one neat little bite: buttery crust, smooth spiced custard, and that cool finish of whipped cream on top. They bake up with crisp edges and a creamy center, so you get the contrast that makes pumpkin pie worth making without having to slice and serve a whole pie.
This version keeps the filling straightforward, which matters here. Pumpkin puree, sweetened condensed milk, and egg set into a custard that stays silky instead of grainy, and the spice blend leans warm without overpowering the pumpkin. Baking them just until the centers are set keeps the texture tender; if you wait for the tops to look completely firm in the oven, they’ll end up overbaked once they cool.
Below, I’ve included the trick that keeps the crust from shrinking in the muffin tin, plus the swap I reach for when I want these to come together even faster.
The filling set up perfectly and stayed creamy after chilling, and the little crust cups held their shape without getting soggy. I brought these to a potluck and every one disappeared.
Save these Pumpkin Pie Bites for the dessert table when you want a creamy filling and a crisp little crust in one easy bite.
The Small Detail That Keeps the Crust Cups From Sinking
The biggest mistake with mini pumpkin pies is treating them like a full pie. The filling cooks faster in a small cup, and the crust edges can collapse or overbrown before the center finishes setting if the dough gets too warm. Press the circles into the muffin tin firmly, then chill them for a few minutes if the kitchen is warm; cold dough keeps its shape better in the oven.
Another thing that matters here is fill level. Three-quarters full is the sweet spot. Any higher and the custard can dome, spill, or bake onto the pan, which makes getting the bites out cleanly a lot harder. The center should still have the slightest wobble when you pull the pan from the oven; it will finish setting as it cools.
What Each Ingredient Is Actually Doing in These Pumpkin Pie Bites
- Pumpkin puree — Use plain pumpkin puree, not pumpkin pie filling. Pie filling already has sugar and spices mixed in, which throws off the balance and can make the bites taste muddy. If your puree looks watery, stir it first or blot off a little liquid so the custard sets cleanly.
- Sweetened condensed milk — This gives the filling sweetness and body in one ingredient. It helps the custard bake up smooth without needing extra cream. I wouldn’t swap in regular milk here; it’s too thin and won’t give the same texture.
- Egg — The egg is what turns the filling from a loose pumpkin mixture into a tender custard. If you skip it, the bites won’t slice or release cleanly. Whisk it thoroughly into the pumpkin base so there are no streaks of egg white.
- Pumpkin pie spice, cinnamon, ginger, vanilla — This combination gives the filling warmth without making it taste like one-note spice. The cinnamon carries the flavor, the ginger adds lift, and the vanilla rounds everything out. If you only have pumpkin pie spice, use it for part of the blend and keep a little cinnamon in the mix for extra depth.
- Mini pie crusts or mini phyllo shells — Pie crust gives you the classic buttery, flaky bite. Mini phyllo shells are the shortcut when you want something crisp and fast, and they hold the filling well without any shaping. If you use homemade dough, keep it cold so the cups don’t shrink.
Filling, Baking, and Cooling Without Overcooking the Centers
Whisk the Custard Until It’s Completely Smooth
Stir the pumpkin puree, sweetened condensed milk, egg, spices, salt, and vanilla until the mixture looks glossy and even. You want no streaks of egg and no pockets of spice clinging to the bottom of the bowl. If the filling looks lumpy, the egg or pumpkin wasn’t fully blended, and those little streaks show up as uneven texture after baking.
Press and Fill the Cups Evenly
Set the pie crust circles into a greased mini muffin tin and press them gently into the corners so they hold their shape. Fill each cup about three-quarters full, leaving a little room at the top for the custard to rise and settle. If one cup looks fuller than the others, it will bake at a different rate, so a small measuring spoon helps keep them consistent.
Watch for the Set Edge, Not a Dry Top
Bake until the filling is just set and the crust is golden, which usually takes 15 to 18 minutes. The tops should look matte, not wet, and the centers should still move a little when you nudge the pan. If you wait until they look completely firm, they’ll end up overcooked once they cool and the custard tightens.
Cool Before Adding the Whipped Cream
Let the bites cool completely, then refrigerate them for about 30 minutes before topping. That chill helps the filling finish setting and keeps the whipped cream from melting into the custard. A tiny swirl of cream and a dusting of pumpkin pie spice is enough; too much topping hides the crust and makes them harder to serve cleanly.
How to Adapt Pumpkin Pie Bites for a Different Crust or Crowd
Use Mini Phyllo Shells for the Fastest Version
If you want to skip shaping crust entirely, use store-bought mini phyllo shells. They bake up extra crisp and give you a lighter, more delicate bite than pie dough, but they also brown faster, so keep an eye on them in the oven. This is the easiest route when you need a dessert that looks polished without extra work.
Make Them Gluten-Free with a Gluten-Free Pie Crust
A gluten-free refrigerated crust works here, but chill it well before cutting and pressing it into the pan because the dough can be a little more fragile. The filling doesn’t need any changes. The texture will be a touch more tender and a little less flaky, but the pumpkin custard stays the same.
Dairy-Free Filling with Coconut Condensed Milk
Use a dairy-free sweetened condensed milk made from coconut if you need to avoid dairy. It keeps the custard rich, though it will add a faint coconut note that you may notice in the background. For the topping, use a dairy-free whipped topping or leave them plain with just a dusting of spice.
Storage and Reheating
- Refrigerator: Store covered for up to 4 days. The crust stays best in the first 24 hours, then softens a little from the filling.
- Freezer: Freeze the baked bites without whipped cream for up to 1 month. Wrap them well and thaw in the refrigerator so the filling doesn’t weep.
- Reheating: These are best served chilled or at cool room temperature, not reheated. If you warm them, the crust loses its texture and the custard can turn loose, so just let them sit out for 10 to 15 minutes before serving.
Answers to the Questions Worth Asking

Pumpkin Pie Bites
Ingredients
Equipment
Method
- Preheat the oven to 375F, then grease a 24-cup mini muffin tin and press 3-inch pie crust circles into each cup (or use mini phyllo shells). Visually, the crust should line the wells evenly with no gaps at the edges.
- Whisk together pumpkin puree, sweetened condensed milk, egg, pumpkin pie spice, cinnamon, ginger, salt, and vanilla until smooth. The mixture should look uniform with no streaks.
- Fill each crust cup about 3/4 full with the pumpkin filling. Keep the surface level so they bake evenly.
- Bake for 15-18 minutes at 375F until the filling is just set and the crust is golden. Look for a slight jiggle in the center rather than fully firm custard.
- Cool completely, then refrigerate for 30 minutes. The bites should feel cold and slice-resistant when touched.
- Top each bite with a small swirl of whipped cream and a pinch of pumpkin pie spice. Use a light touch so the topping stays neat in the mini cups.