Pumpkin pie cookies give you the best part of pie in a few tidy bites: a crisp, buttery pastry cup filled with silky pumpkin custard and finished with a little whipped cream. The crust stays tender but holds its shape, and the filling sets up just enough to slice cleanly with a spoon instead of running across the pan. They look special on a platter, but they’re built from familiar ingredients and a straightforward process.
The trick is treating the crust like pastry, not cookie dough. Cold butter and a short chill keep the cups flaky instead of dense, and the blind bake gives you a head start so the bottoms don’t turn soggy once the custard goes in. The filling is also intentionally simple: pumpkin puree, sweetened condensed milk, and egg yolk give you a smooth texture without needing extra starch or a long bake.
Below, I’ll show you how to keep the pastry from shrinking in the muffin tin, what the filling should look like when it’s done, and how to top them so they hold up nicely if you’re making them ahead.
The pastry cups baked up crisp and never got soggy, and the pumpkin filling set into that perfect silky texture after the second bake. I topped them with whipped cream right before serving and they disappeared fast.
Save these pumpkin pie cookies for the dessert table when you want flaky pastry cups with a silky pumpkin filling.
The Part That Keeps the Crust Crisp Instead of Soggy
Most mini pie-style desserts fail in the same place: the bottom crust gets a head start only if the shell is cold, the butter stays in pieces, and the filling goes into a shell that’s already partially baked. If the dough warms up too much while you’re cutting and pressing it into the tin, it shrinks and slumps, which leaves you with shallow cups and uneven edges. The short chill before rolling and the ten-minute pre-bake are what keep these cookies looking tidy and tasting flaky.
The other thing that matters is thickness. Roll the dough to about 1/8 inch so it bakes through without turning bready. Any thicker and the cup eats the filling instead of supporting it; any thinner and the pastry turns fragile once the custard bakes in. You want a shell that’s firm at the base, lightly golden on the edges, and still tender when you bite into it.
What the Pumpkin Filling Needs to Set Properly
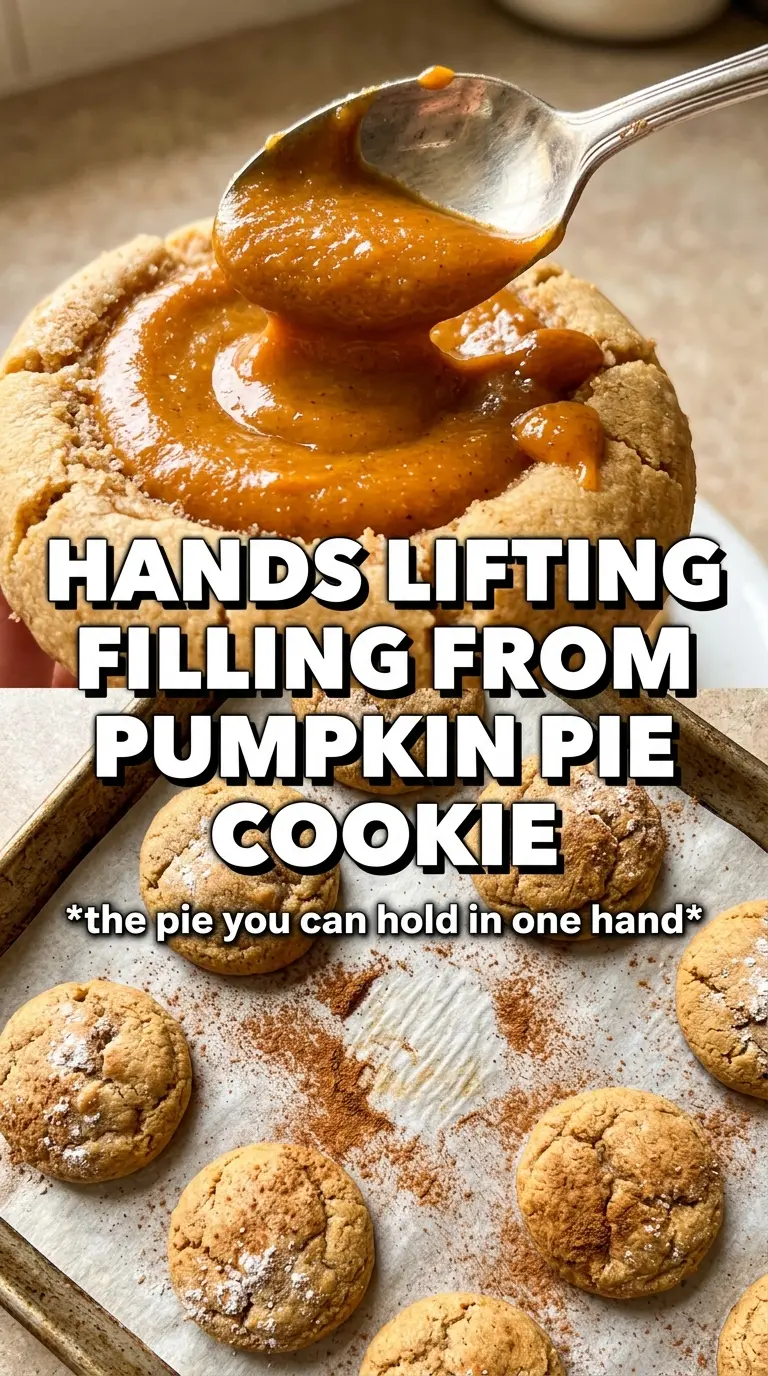
- Pumpkin puree — Use pure pumpkin puree, not pumpkin pie filling. Pie filling already contains sugar and spices, which throws off both the sweetness and the texture here. The puree gives you a dense, smooth base that tastes like pumpkin instead of dessert soup.
- Sweetened condensed milk — This does the job of sugar and a lot of the creaminess at once. It helps the filling set with a soft, custardy texture instead of baking up grainy. There isn’t a good substitute that behaves exactly the same, so this is one ingredient I’d keep as written.
- Egg yolk — The yolk enriches the filling and helps it set without making it firm like a full egg would. That’s why the centers stay silky instead of turning rubbery. If you use a whole egg, the filling can puff more and lose that pudding-like texture.
- Pumpkin pie spice and cinnamon — The spice blend gives the filling its classic pie character, while the extra cinnamon adds warmth without making it taste flat. If your pumpkin pie spice is old, the filling will taste muted, so use a fresh jar if you can. In a pinch, you can replace the blend with extra cinnamon plus a little ginger and nutmeg.
Pressing, Baking, and Filling the Cups in the Right Order
Make a Dough That Stays Flaky
Start by cutting the cold butter into the flour mixture until you still see pea-sized pieces. Those little bits of butter melt in the oven and create the tender layers you want. Add the ice water a tablespoon at a time and stop as soon as the dough holds together when you pinch it. If it looks shaggy, that’s fine; if it feels sticky, it’s too wet and will be hard to roll.
Shape and Chill the Shells
Roll the dough to 1/8 inch and cut it into circles that fit your mini muffin tin with a little overhang. Press each round down gently so it lines the cup without stretching; stretching is what makes pastry spring back and shrink in the oven. If the dough feels soft at all, stop and chill it before baking. Cold dough holds the shape better and gives you cleaner edges.
Bake the Custard Until It Just Sets
Pre-bake the cups first, then add the filling and return the pan to the oven. Spoon the pumpkin mixture in until the cups are nearly full, but leave a tiny bit of space so the filling doesn’t dome over and crack. Pull them when the centers still have the slightest jiggle. They finish setting as they cool, and overbaking is what gives you dry tops and cracked edges.
Cool Completely Before the Whipped Cream
Let the cookies cool all the way in the pan before lifting them out. Warm custard will soften the pastry and melt the topping. Add the whipped cream right before serving and finish with a light dusting of pumpkin pie spice. That last step gives you a clean look and keeps the cream from sliding off.
How to Adapt These Pumpkin Pie Cookies for Different Kitchens
Gluten-Free Pastry Cups
Use a 1:1 gluten-free flour blend that includes xanthan gum. The dough may need a touch less water, and it will be a little more delicate when you press it into the tin, but the finished cups still bake up crisp. Chill them well before baking so they hold together.
Dairy-Free Version
Swap the butter for a solid plant-based butter that behaves like real butter in pastry. Use coconut whipped topping or another dairy-free whipped topping for finishing. The crust will still be flaky if the replacement butter stays cold, but the flavor will be a little less rich.
Making Them Ahead for a Party
Bake and cool the cookie cups a day ahead, then fill and finish them the day you plan to serve them. That keeps the pastry crisper and the whipped cream looking fresh. If you must assemble them earlier, hold the cream until the last minute so the tops don’t soften.
Storage and Reheating
- Refrigerator: Store in an airtight container for up to 3 days. The pastry softens a bit after the first day, but the flavor stays good.
- Freezer: Freeze the baked, unfilled pastry cups for up to 1 month. I don’t recommend freezing the filled cookies because the custard texture and whipped cream suffer after thawing.
- Reheating: Warm only the pastry cups, if needed, in a 300°F oven for a few minutes. Don’t microwave the filled cookies; it softens the crust and can make the custard weep.
The Questions That Come Up With Pumpkin Pie Cookies
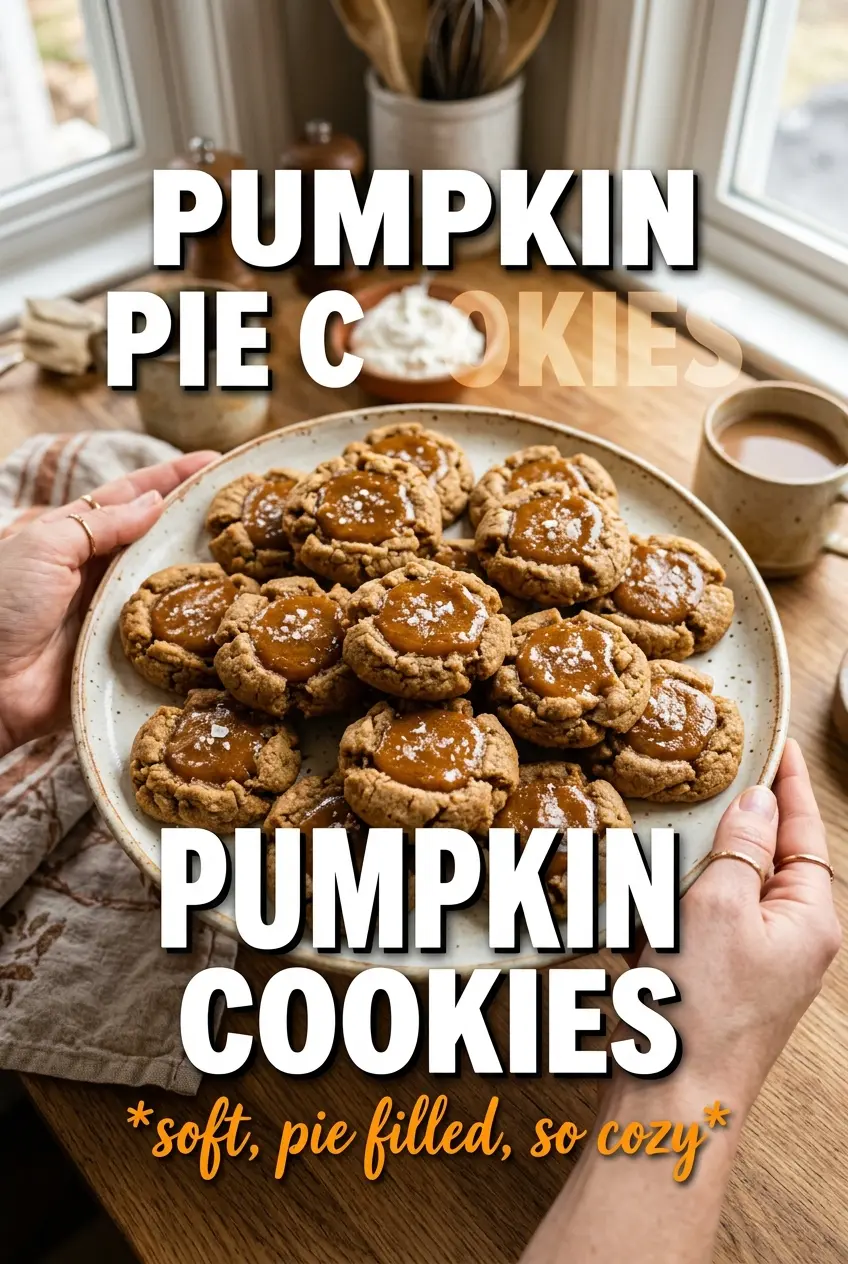
Pumpkin Pie Cookies
Ingredients
Equipment
Method
- Combine all-purpose flour, powdered sugar, and salt in a bowl, then cut in cold unsalted butter until the mixture looks like coarse crumbs. Add ice water, 1 tablespoon at a time, until the dough holds together when pressed.
- Wrap the dough and chill for 30 minutes. After chilling, roll it to about 1/8 inch thickness.
- Cut dough into 3-inch circles and press into a greased mini muffin tin to form cup shells. Fill each cup evenly without stretching the dough.
- Preheat the oven to 375°F, then pre-bake the cups for 10 minutes. Remove carefully when they look set and lightly dry on the edges.
- Whisk pumpkin puree, sweetened condensed milk, egg yolk, pumpkin pie spice, cinnamon, and salt until smooth. Spoon the filling into the pre-baked cups, filling close to the top.
- Bake at 375°F for an additional 12 to 14 minutes, until the filling is just set with a slight jiggle in the center. Let the cookies rest in the tin briefly, then transfer to a rack.
- Cool completely before topping to prevent the filling from melting. Top each cookie with whipped cream and finish with a pinch of pumpkin pie spice.