Pumpkin pie earns its place on the table when the filling slices cleanly but still lands on the tongue like a soft custard. The best versions don’t taste muddy or overly sweet; they taste warm, spiced, and smooth, with just enough structure to hold a wedge without cracking apart. A flaky crust and a silky center are the whole game here, and this version is built to give you both.
The part that matters most is the bake. A short blast at high heat helps the crust set and gives the filling a head start, then the lower temperature finishes the custard gently so it doesn’t puff, split, or turn grainy. The spice blend leans classic, but the balance matters more than sheer quantity. Too much clove or nutmeg takes over fast, so the measurements here stay in the lane of pumpkin instead of fighting it.
Below, I’m walking through the little details that keep the filling smooth and the center just set, plus a few notes on swapping evaporated milk, storing leftovers, and getting neat slices the next day.
The custard set up perfectly and the filling stayed silky instead of watery. I baked it the full time, let it cool overnight, and the slices came out clean with that classic pumpkin spice flavor.
Save this classic pumpkin pie for the crust, custard, and spice balance that bake up smooth every time.
The Reason Pumpkin Pie Turns Grainy Instead of Silky
Grainy pumpkin pie usually comes from rushing the custard. The eggs tighten too fast, the dairy overheats, and the filling ends up with a curdled look instead of that smooth, spoonable texture you want. The two-temperature bake in this recipe keeps the edges moving toward set quickly while giving the center time to finish gently.
The other common problem is overbaking. Pumpkin pie should still have a slight wobble in the center when it comes out of the oven, not a firm, fully fixed middle. It keeps cooking from carryover heat while it cools, and that last stretch is what gives you a clean slice instead of a cracked top.
- High heat at the start helps the crust set and prevents a soggy bottom before the filling has time to overheat.
- Lower heat after 15 minutes protects the custard so the eggs thicken without scrambling.
- Cooling completely is part of the recipe, not an optional wait. A warm pie will look loose even when it’s properly baked.
What the Pumpkin, Milk, and Spice Are Each Doing Here

- Pumpkin puree gives the pie its body and earthy sweetness. Use plain pumpkin puree, not pumpkin pie filling, because the sweetener and spices are already controlled in this recipe.
- Evaporated milk is what makes the custard taste rich without turning heavy. It has more concentration than regular milk, so the filling bakes up smoother and a little more luxurious. If you only have one 12-ounce can, it works.
- Eggs set the filling. They’re the reason the pie slices cleanly after chilling, so don’t reduce them unless you’re changing the whole structure of the recipe.
- The spice blend matters more than one dramatic spice note. Cinnamon leads, while ginger, cloves, and nutmeg stay in the background where they should.
- Vanilla softens the edges of the spice and keeps the pie from tasting flat.
How to Bake the Custard So the Center Stays Smooth
Whisking the Filling Until It’s Fully Uniform
Start by whisking everything until the mixture looks completely smooth and the sugar has disappeared into the pumpkin. Any streaks of egg white or clumps of spice will show up after baking, so take the time here. A bowl with a spout makes pouring easier, but it isn’t required. If the filling looks foamy, let it sit for a minute before pouring so the bubbles can settle and the top bakes more evenly.
Filling the Shell Without Disturbing the Crust
Pour the custard into the unbaked pie shell slowly, close to the center, so it doesn’t slosh up and dampen the edges. A deep-dish crust is important because this amount of filling needs room to rise slightly as it bakes. If your crust is very thin, set the pie plate on a baking sheet for easier handling and a little insurance against spills.
Reading the Jiggle at the End
Bake until the edges are set and the center still has a small wobble when you gently nudge the pan. That wobble should look like set gelatin, not liquid slosh. If the middle is fully firm in the oven, it’s already gone too far. Pull it at the right moment, then cool it at room temperature for at least 2 hours before refrigerating so the texture finishes tightening without tearing.
How to Adapt This Pumpkin Pie Without Losing the Texture
Use one 12-ounce can of evaporated milk
If you don’t have two small cans, one 12-ounce can works fine. The filling may bake up just a touch richer and slightly looser before chilling, but the final slice still sets properly after cooling.
Swap in a dairy-free evaporated milk alternative
A full-fat canned coconut milk or a dairy-free evaporated milk substitute can stand in here, but the pie will taste a little different and the custard may be softer. The coconut version adds its own flavor, so it works best if you like that note with pumpkin spice.
Use a gluten-free crust
The filling is naturally gluten-free, so the swap is all about the shell. Bake it in a sturdy gluten-free pie crust that can handle a wet custard, and set the pie plate on a sheet pan since those crusts often brown faster around the edges.
Make it ahead for cleaner slices
This pie tastes even better after a night in the fridge. The spices settle in, the custard firms, and the slices come out neat instead of soft at the edges.
Storage and Reheating
- Refrigerator: Cover and chill for up to 4 days. The texture stays best within the first 2 days.
- Freezer: Pumpkin pie freezes fairly well for up to 1 month, though the custard can turn a little softer after thawing. Wrap slices tightly and thaw overnight in the refrigerator.
- Reheating: Serve chilled or let a slice sit at room temperature for 20 to 30 minutes. If you warm it, use a low oven for just a few minutes so the custard doesn’t separate.
Questions I Get Asked About This Pumpkin Pie
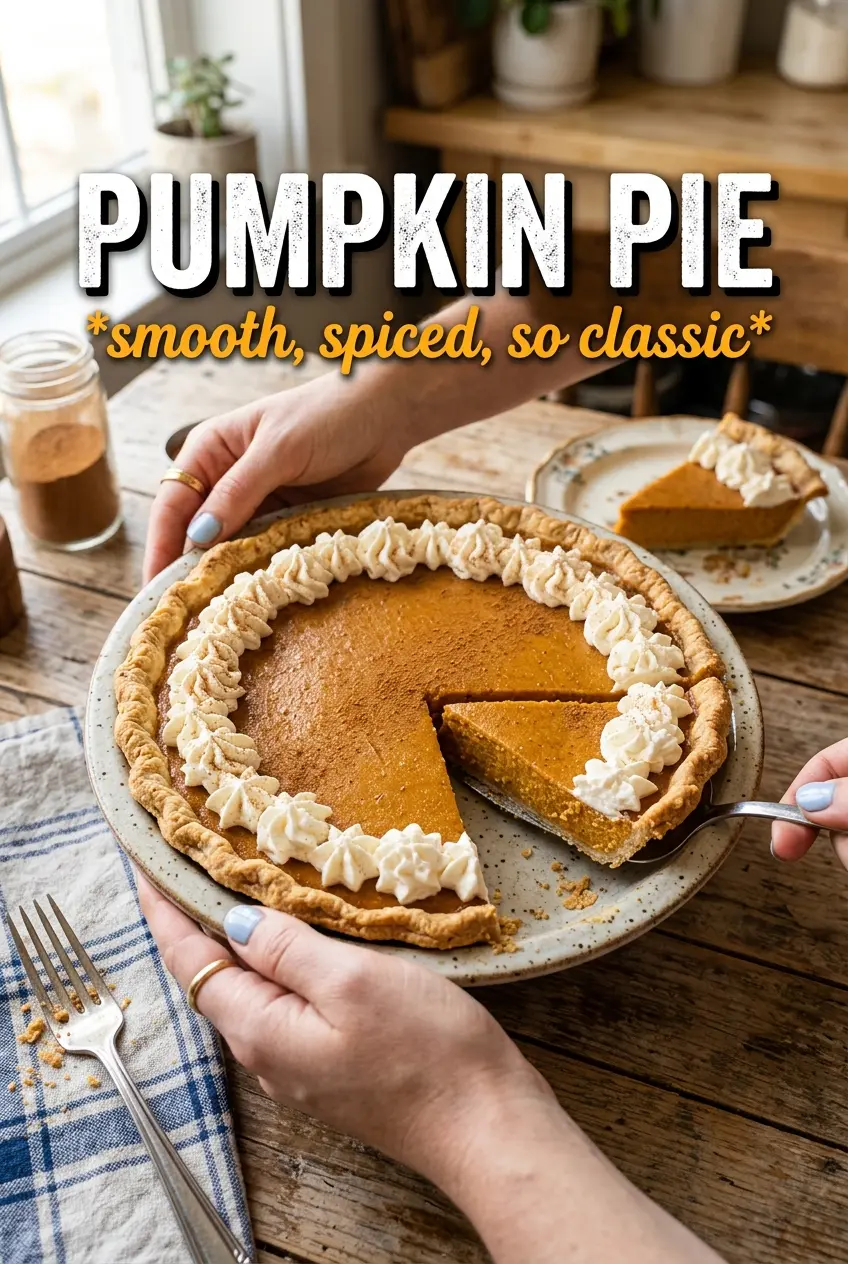
Pumpkin Pie
Ingredients
Equipment
Method
- Preheat the oven to 425F and place a sheet pan inside to help prevent a soggy bottom (visual cue: oven reaches full heat).
- Whisk pumpkin puree, evaporated milk, eggs, granulated sugar, pumpkin pie spice, cinnamon, ginger, cloves, nutmeg, salt, and vanilla extract until completely smooth (visual cue: no streaks or small lumps remain).
- Pour the smooth filling into the unbaked deep-dish pie shell (visual cue: filling levels out in the crust).
- Bake at 425F for 15 minutes (visual cue: the filling starts to set around the edges).
- Reduce the heat to 350F and bake 40-45 more minutes until the edges are set and the center has just a slight wobble (visual cue: jiggle in the middle like gelatin, not sloshy).
- Cool completely at room temperature for at least 2 hours (visual cue: center no longer appears loose or swollen).
- Refrigerate until ready to serve, then top each slice with whipped cream (visual cue: whipped cream sits on top and holds its shape).