Pumpkin poke cake lands squarely in that sweet spot between low-effort and party-worthy. The spice cake stays soft and tender, the caramel sinks into every hole, and the whipped topping keeps the whole thing from feeling heavy. What you get is a dessert that slices cleanly but still tastes like it was built to be spooned straight from the pan.
The trick is using the cake while it’s still hot enough to absorb the caramel. If the cake cools too much, the sauce sits on top instead of soaking in, and you lose that rich middle layer that makes poke cake worth making. The pumpkin puree goes right into the batter, which gives the cake a little extra moisture and keeps the boxed mix tasting more homemade without adding another complicated step.
Below, I’ve included the timing that matters most, plus the small details that keep the topping from sliding around when you slice it. If you’ve ever had a poke cake that turned gummy or shallow on flavor, this version fixes both problems.
The caramel soaked all the way through and the cake stayed fluffy after chilling. I used a wooden spoon handle like you suggested, and the holes held the topping instead of collapsing.
Save this pumpkin poke cake for when you want a caramel-soaked dessert with a fluffy whipped topping and toasted toffee crunch.
The One Step That Keeps the Caramel From Pooling on Top
The cake needs to be hot when the caramel goes on, but not blazing and collapsing under the pressure. Fresh from the oven is the sweet spot. That heat loosens the crumb just enough for the caramel to move downward through the holes instead of sitting in a glossy layer on the surface.
The holes matter too. A wooden spoon handle makes wider channels than a fork, which is exactly what you want here because caramel is thicker than syrup. If the holes are too narrow, the filling clings to the top and you end up with a good-looking cake that tastes dry once you get past the first bite.
Chilling is not optional. The filling needs time to settle, the cake needs time to firm up, and the topping holds its shape better once the base is cold.
What Each Ingredient Is Actually Doing in This Cake
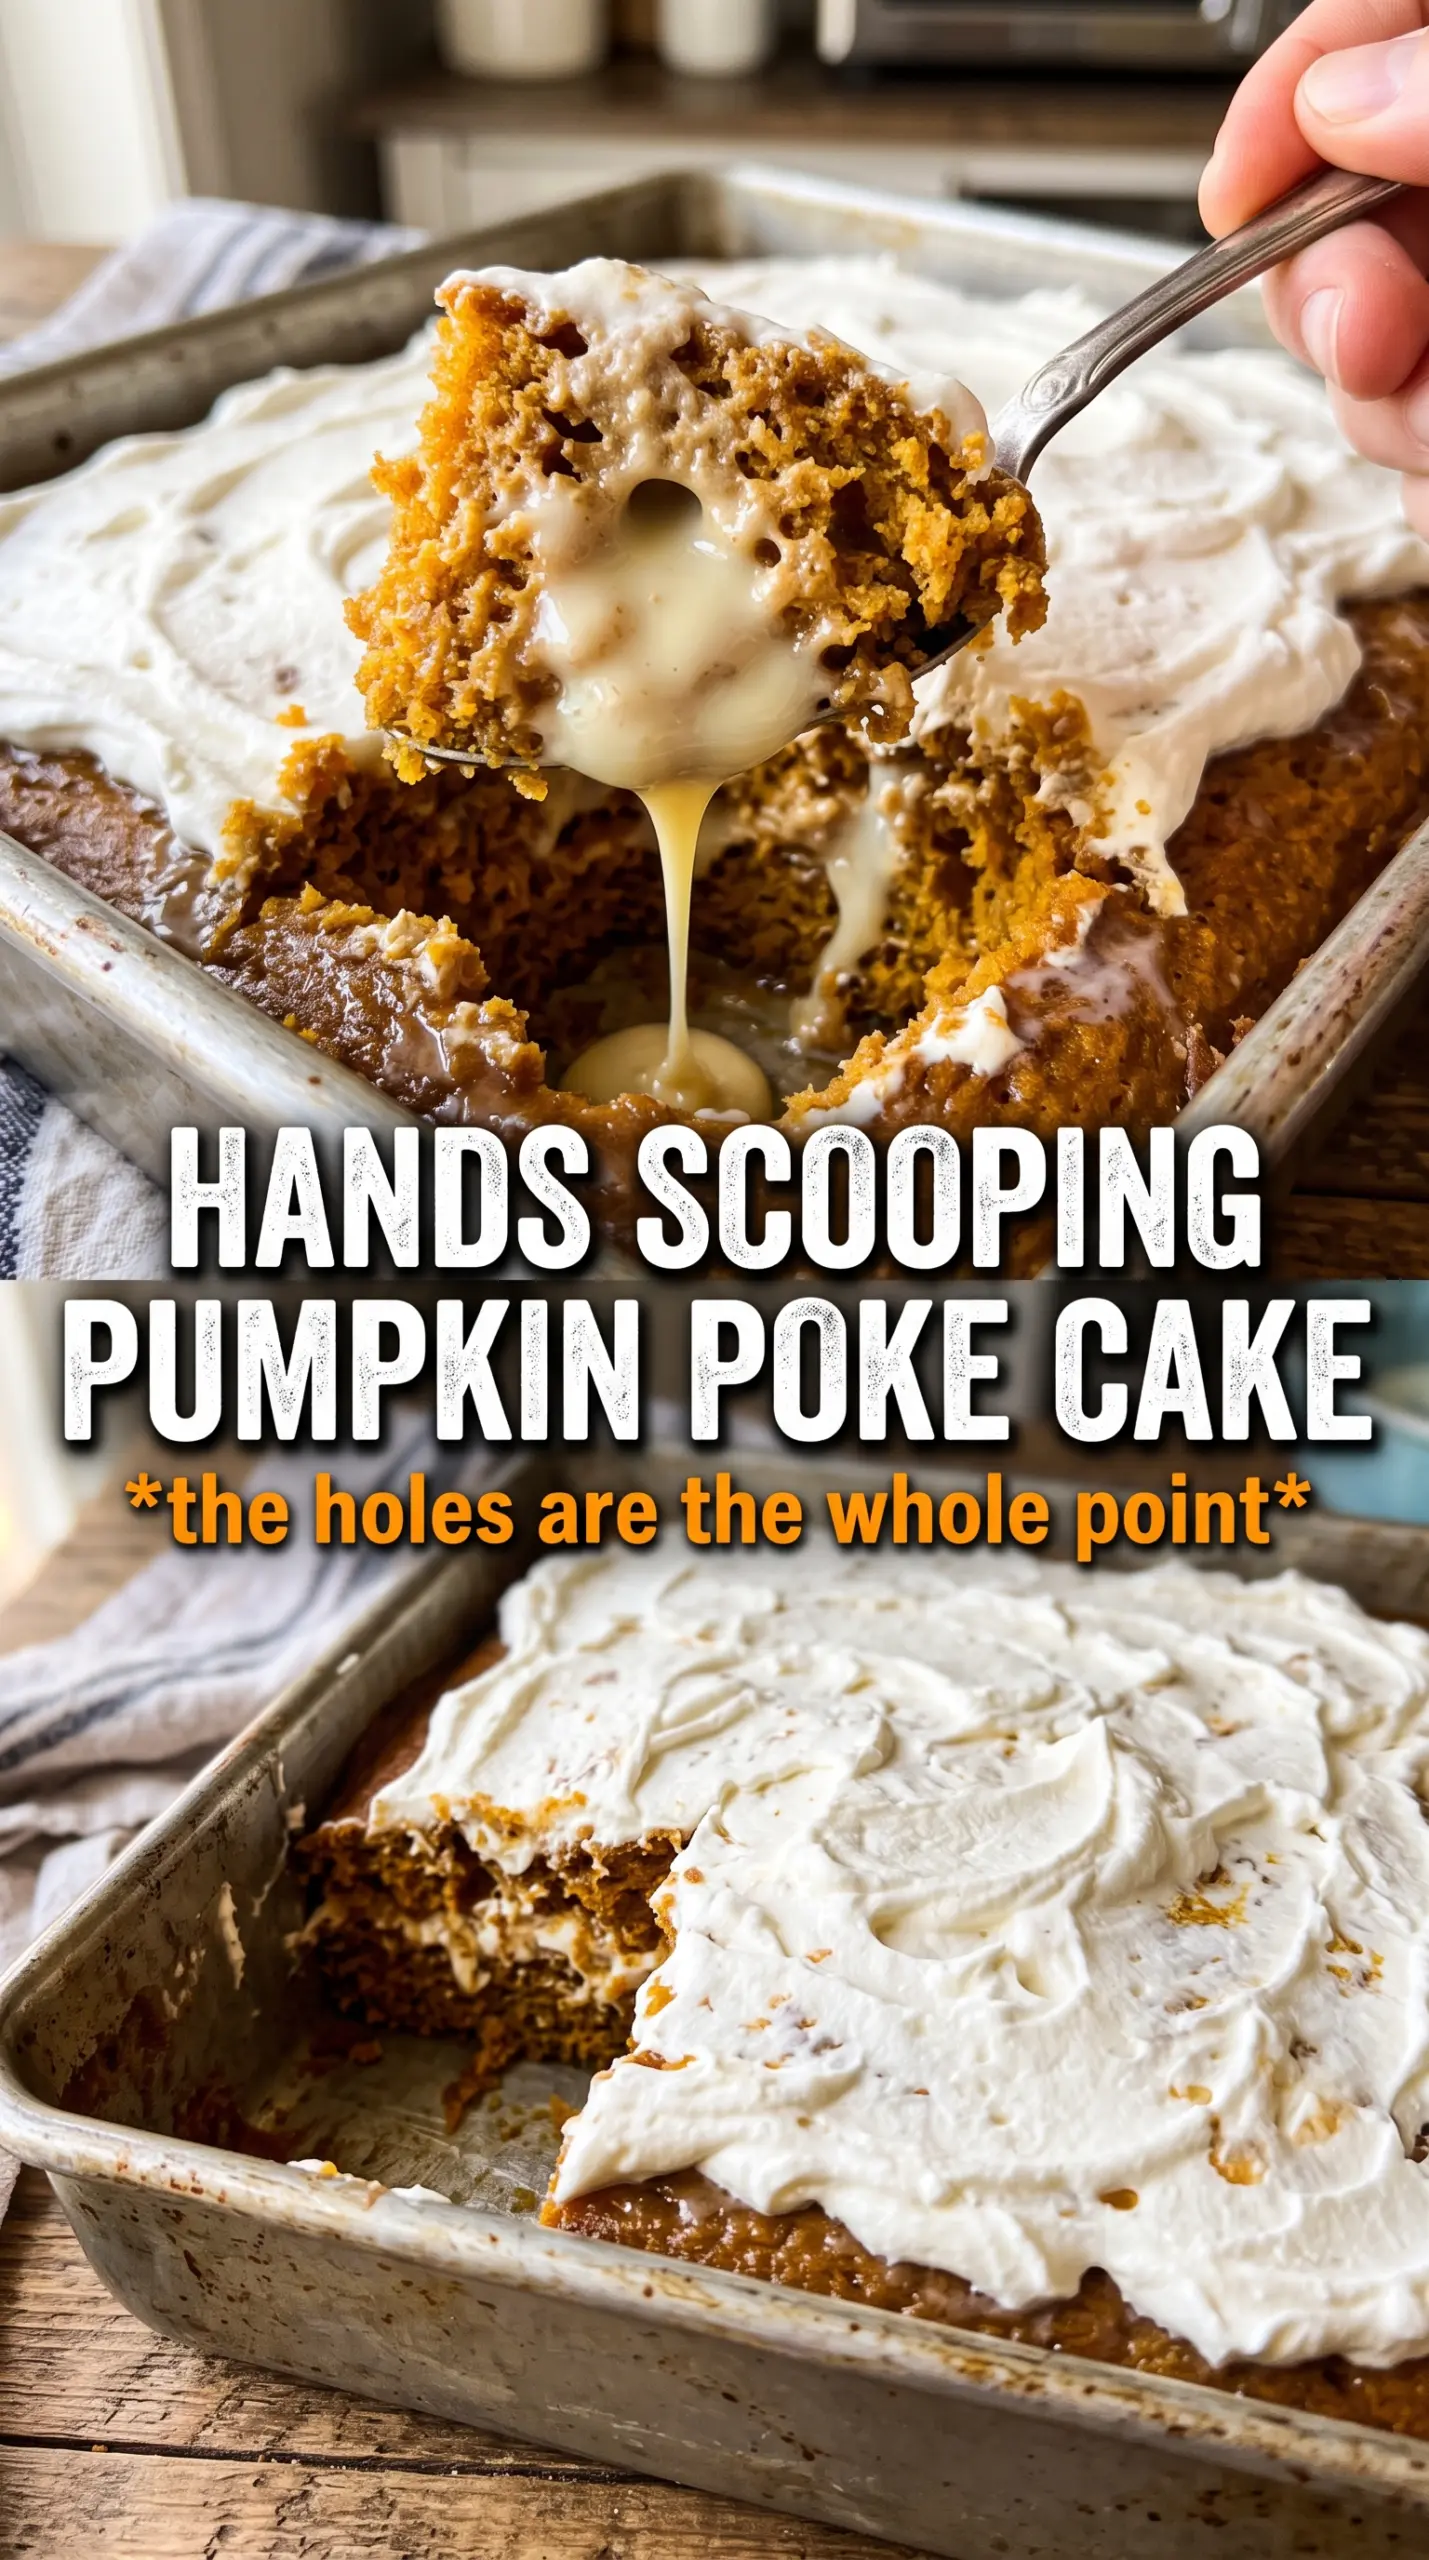
- Spice cake mix — This gives you structure and the warm baking spices already built in, which keeps the recipe fast without tasting flat. A yellow cake mix can work in a pinch, but you’ll lose some of the deeper spice that makes this dessert read as pumpkin pie’s easier cousin.
- Pumpkin puree — This adds moisture and a softer crumb. Use plain pumpkin puree, not pumpkin pie filling, because the filling is already sweetened and seasoned and can throw off the texture.
- Pumpkin pie spice — The extra teaspoon is what keeps the pumpkin from getting lost under the caramel and whipped topping. If yours is old and faded, replace it; stale spice tastes dusty instead of warm.
- Caramel sauce — This is the engine of the cake. A pourable caramel sauce works best because it can move through the holes; thick caramel dip is harder to soak in unless you warm it slightly first.
- Whipped topping — Cool Whip gives the cleanest, most stable top layer for a poke cake. Fresh whipped cream tastes great, but it softens faster and doesn’t hold up as long if the cake sits overnight.
- Toffee bits — These add crunch and a little butteriness so every bite isn’t just soft and creamy. Add them right before serving if you want the sharpest texture.
Building the Layers So the Cake Stays Soft, Not Soggy
Mixing the Batter
Stir the boxed cake mix, pumpkin puree, pumpkin pie spice, eggs, and oil just until the batter comes together. The pumpkin makes the batter thicker than a standard cake mix, so don’t chase a perfectly smooth bowl. Overmixing tightens the crumb and gives you a denser cake that won’t absorb the caramel as evenly.
Baking to the Right Point
Bake it in a 9×13 pan until the center springs back and a tester comes out clean. You want the cake fully set, but not dried out at the edges. If it’s overbaked, the caramel won’t have enough moisture to soak in well, and the finished dessert will taste disconnected instead of layered.
Poking and Pouring
Poke holes while the cake is still hot, spacing them across the whole surface so the caramel has somewhere to go. Pour the caramel slowly and give it a minute to sink before adding more. If you rush this part, the sauce can spread across the top and never make it into the cake where it belongs.
Chilling and Finishing
Let the cake chill until the caramel has absorbed and the surface is cool enough for the whipped topping. Spread the topping in an even layer, then add the toffee bits and a caramel drizzle. Slice only after the cake has had another hour in the fridge so the layers hold together instead of smearing on the plate.
How to Adapt This Cake When You Need a Shortcut or a Swap
Make it dairy-free
Use a dairy-free cake mix if needed, then swap in a plant-based whipped topping and a dairy-free caramel sauce. The cake still gets the same soft texture, but the topping may set a little softer, so keep it well chilled until serving.
Use homemade whipped cream
Fresh whipped cream gives you a lighter, more bakery-style finish. It tastes great the day you make it, but it softens faster than whipped topping, so serve the cake the same day or the topping will start to loosen.
Swap the toffee bits for nuts
Chopped pecans work well if you want a more toasted, less candy-like crunch. They bring a deeper flavor than toffee bits, but they won’t give you that buttery crackle on top.
Make it ahead for a crowd
This cake holds up well overnight, which makes it a good make-ahead dessert for gatherings. Add the toffee bits close to serving if you want them crisp, or add them early if you don’t mind a softer crunch.
Storage and Reheating
- Refrigerator: Store covered for up to 4 days. The topping stays stable, but the toffee bits soften after the first day.
- Freezer: I don’t recommend freezing the finished cake. The whipped topping turns grainy and the caramel layer loses its clean texture after thawing.
- Reheating: Don’t reheat this cake. Serve it cold straight from the refrigerator for the best texture; warming it will collapse the whipped topping and make the caramel run.
Questions I Get Asked About This Recipe
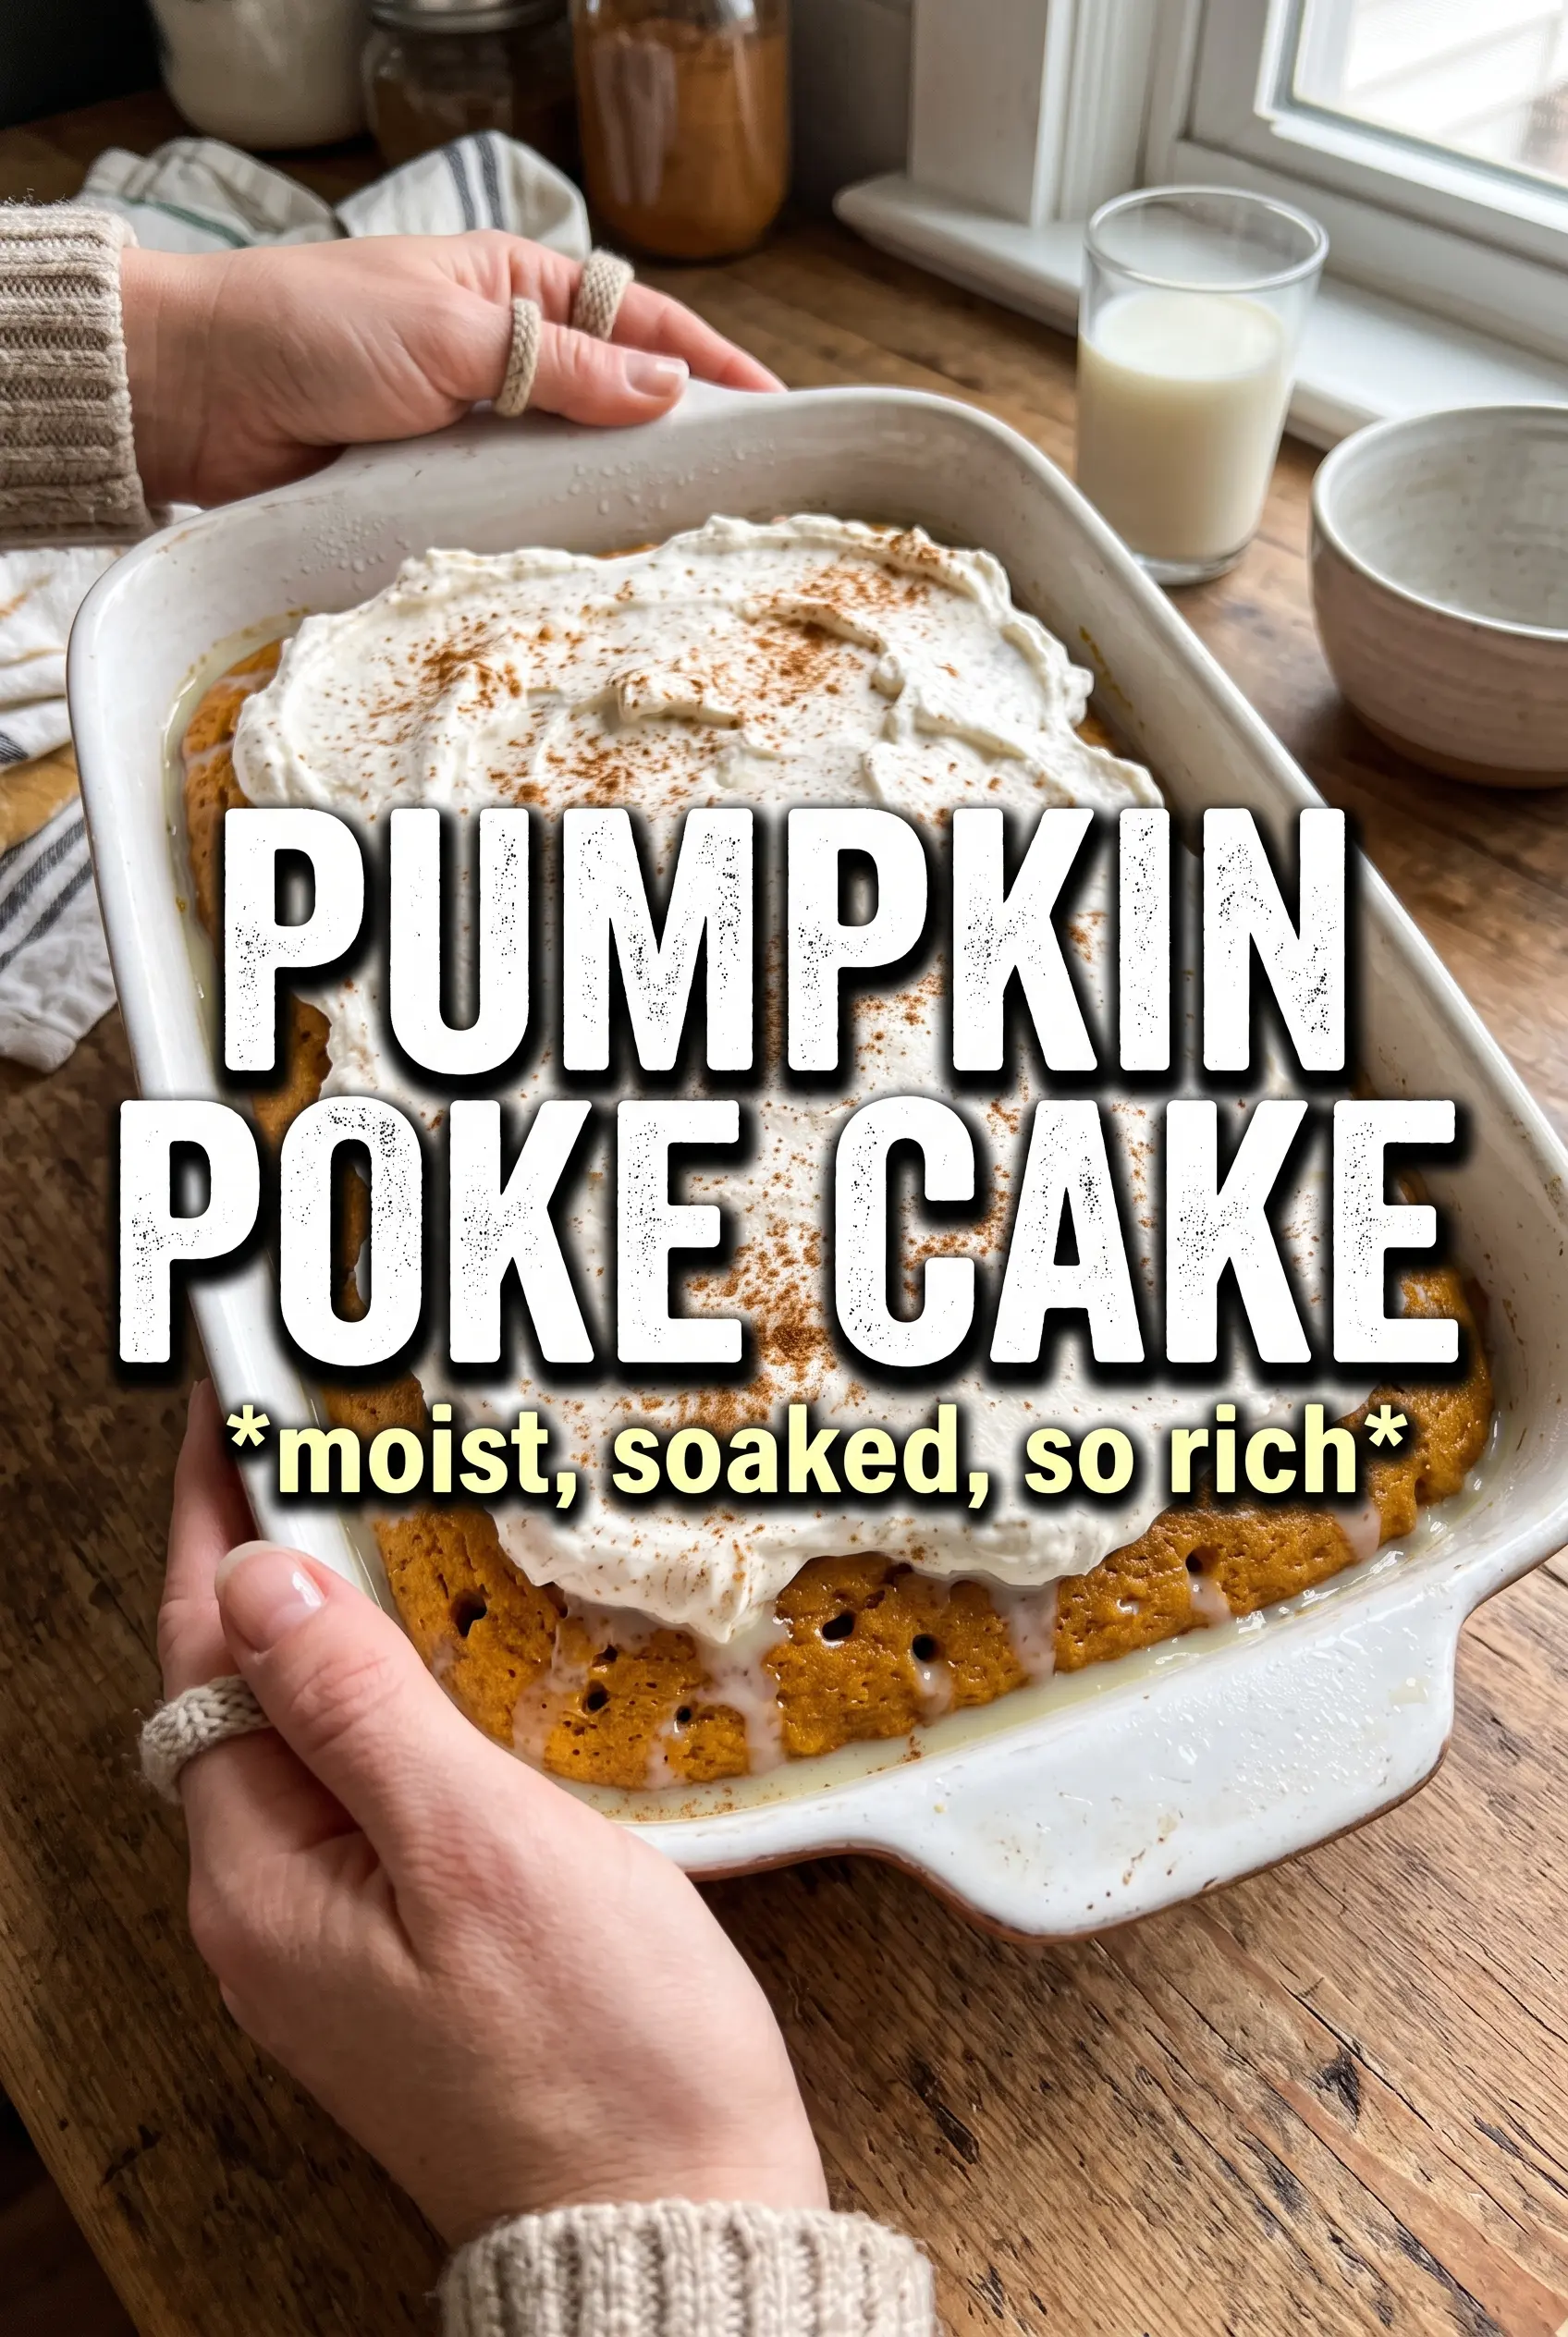
Pumpkin Poke Cake
Ingredients
Equipment
Method
- Preheat the oven to 350°F. Make the spice cake mix per box directions, then stir in pumpkin puree and pumpkin pie spice until smooth.
- Grease a 9x13 pan and pour in the batter. Bake for 30 minutes, or until a toothpick inserted in the center comes out clean.
- Remove the cake from the oven and leave it in the pan. While the cake is still hot, poke holes all over using the handle of a wooden spoon.
- Pour caramel sauce over the hot cake, ensuring it flows into the holes. Let it soak in completely so the surface looks glossy and filled.
- Cover and refrigerate for 60 minutes, until the cake is fully absorbed and cool. The caramel should look set around the holes.
- Spread the whipped topping over the chilled cake in an even layer. Make sure the top is fully covered to the edges.
- Scatter toffee bits over the whipped topping, then drizzle with extra caramel. Finish with an even distribution so every slice gets topping.
- Refrigerate at least 60 minutes more before serving. The cake should be cold and slice cleanly.