These pumpkin spice cookies bake up soft in the center with just enough edge to keep each bite interesting, and the brown butter glaze gives them a finish that tastes a little more grown-up than the usual powdered sugar drizzle. The pumpkin stays in the background instead of making the dough cakey, so you get warm spice, butter, and a tender crumb that still holds its shape.
The trick is drying the pumpkin puree before it goes in. Pumpkin brings moisture, and too much of it turns cookies puffy and soft in the wrong way. Blotting it well keeps the texture closer to a real drop cookie, while the mix of cinnamon, ginger, nutmeg, and cloves gives the spice a deep, layered taste instead of one-note sweetness.
Below, I’ll walk through the part that matters most: keeping the dough from getting too wet, and getting the glaze to a drizzle that sets instead of sliding right off.
I blotted the pumpkin like you said and the cookies held their shape instead of baking up cakey. The brown butter glaze set beautifully and gave them that extra nutty finish.
Save these pumpkin spice cookies for when you want soft centers, crisp edges, and a brown butter glaze that finishes them off with a nutty shine.
The Trick to Keeping Pumpkin Cookies From Going Cakey
Pumpkin is the ingredient that ruins these cookies if you treat it like a normal add-in. It brings a lot of moisture and not much structure, which is why pumpkin cookies often bake up puffy, soft, and a little damp in the center. Blotting the puree until it looks thick and spreadable cuts that problem down fast.
The other thing that matters is using just the yolk, not the whole egg. The yolk adds richness and helps bind the dough without adding extra water. That keeps the cookies tender but still cookie-like, with edges that set instead of collapsing into a cake texture.
- Pumpkin puree — Canned puree works best here because the texture is consistent. Spoon it onto a paper towel, press another towel on top, and let it sit a minute before measuring. If it still looks shiny or wet, blot it again.
- Brown sugar — This gives the cookies chew and a deeper molasses note that matches the spices. You can use dark brown sugar for a stronger caramel edge, but the cookies will taste a little heavier.
- Egg yolk — This is the structural sweet spot. The white would add too much moisture and push the cookies toward cakey.
What Each Spice Is Actually Doing Here
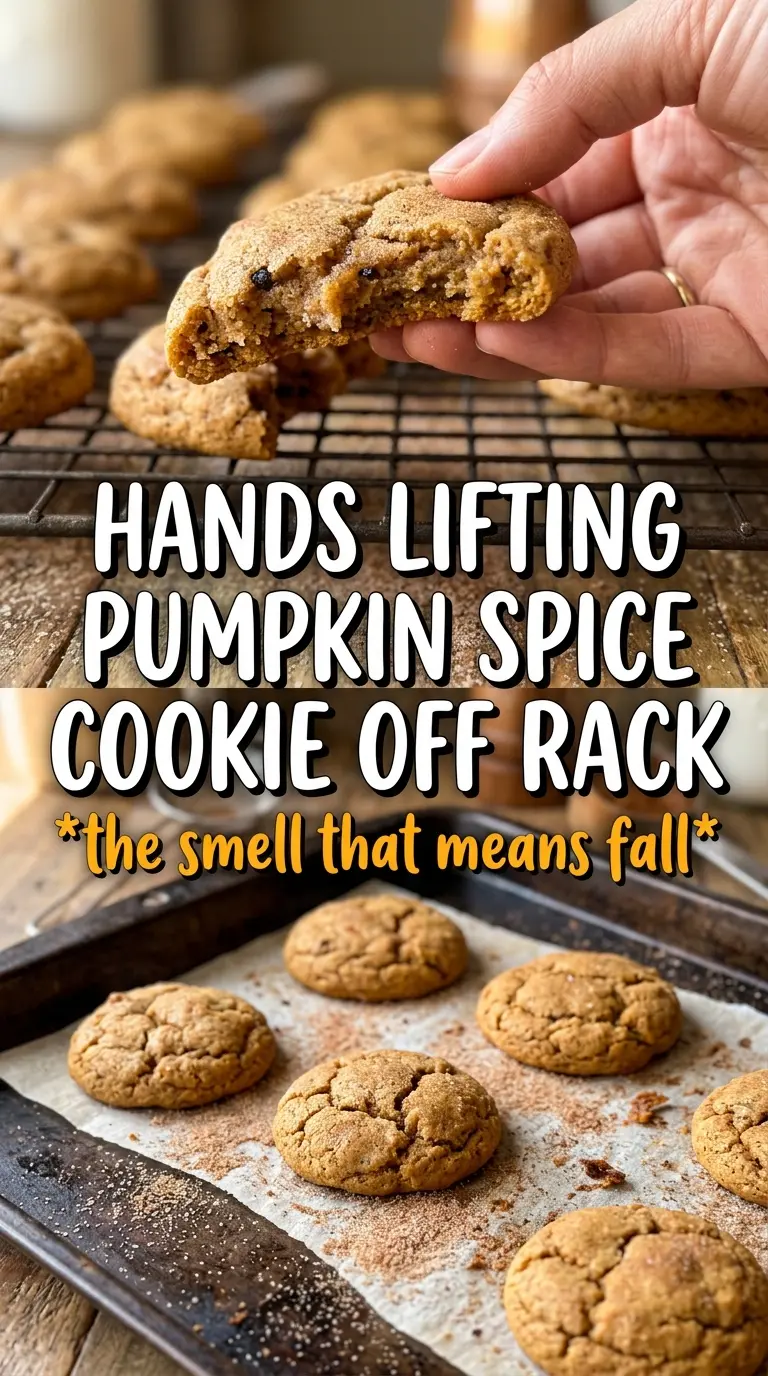
The spice blend is not just there to taste like pumpkin pie. Cinnamon gives the obvious warmth, ginger brings a sharp little bite, nutmeg adds roundness, and cloves give that familiar bakery depth. If you leave one out, the cookies still work, but the flavor gets flatter and less layered.
Brown butter glaze matters here because it echoes the toasty notes in the spices instead of just adding sweetness. Powdered sugar alone would taste fine, but browned butter gives the topping a nutty finish that makes the whole cookie feel more complete. If you want the glaze to stay put, let the cookies cool all the way before drizzling.
- Pumpkin pie spice plus cinnamon, ginger, nutmeg, and cloves — The blend gives you a full, warm spice profile instead of a single “pumpkin” note. If you only have pumpkin pie spice, you can use it for part of the mix, but the extra cinnamon and ginger here make the flavor stand out.
- Unsalted butter — Softened butter creams properly with the sugars, which gives the cookies lift and better texture. Salted butter will work in a pinch; just reduce the added salt a little.
- Brown butter glaze — Brown the butter until it smells nutty and you see the milk solids turn amber, then cool it slightly before whisking in the sugar. If it’s too hot, the glaze turns thin and runs off the cookies.
Getting the Dough and Glaze to Behave
Starting With the Dry Ingredients
Whisk the flour, baking soda, spices, and salt together first so the spice doesn’t clump in one cookie and disappear from another. You want the mixture evenly tinted and fragrant before it hits the wet ingredients. If the flour isn’t fully blended now, the finished cookies can bake with bitter pockets of baking soda or uneven spice.
Building the Butter Base
Beat the softened butter with both sugars until the mixture looks lighter and a little fluffy, not greasy. That step traps air and helps the cookies spread in a controlled way. Add the blotted pumpkin, egg yolk, and vanilla next, and don’t panic if the mixture looks a little curdled before the flour goes in. It comes together once the dry ingredients are folded through.
Baking Until the Edges Set
Scoop rounded portions about 1-1/2 tablespoons each and leave space between them, since these spread enough to need room. Bake until the edges look set and the centers still look slightly soft in the middle, then pull the tray. If you wait for them to look fully done in the oven, they’ll bake too far and lose that tender center while cooling.
Finishing With Brown Butter Glaze
Let the cookies cool completely before you drizzle them. If they’re warm, the glaze melts and disappears into the tops instead of sitting in those pretty streaks. Whisk the browned butter, powdered sugar, milk, and cinnamon until smooth and thick enough to fall from a spoon in ribbons. If it gets too stiff, add milk a teaspoon at a time.
How to Adapt These Pumpkin Spice Cookies Without Losing the Texture
Dairy-Free Version
Use a plant-based butter that behaves like a stick butter, not a tub spread. The cookies will still spread and brown, though the glaze won’t have quite the same nutty depth unless you use a dairy-free butter that browns well. Check the package first; some substitutes stay too soft and make the dough loose.
Gluten-Free Swap
A 1:1 gluten-free baking blend works best here because the cookies don’t depend on heavy gluten structure. The texture comes out a little softer, but the blotted pumpkin keeps them from turning gummy. Let the dough sit for 10 minutes before scooping so the flour can hydrate.
More Spice, Less Sweetness
If you like a bolder cookie, add an extra 1/4 teaspoon ginger and cut the glaze thickness by using a little less milk. That keeps the cookies from leaning too dessert-sweet and lets the spice come forward. The glaze will still set, just with a thinner drizzle.
Storage and Reheating
- Refrigerator: Store in an airtight container for up to 5 days. The glaze stays set, and the cookies soften a little more by day two.
- Freezer: Freeze the baked cookies without the glaze for up to 2 months. Thaw at room temperature, then glaze after they’re fully defrosted.
- Reheating: If you want that just-baked feel, warm an unglazed cookie for 8 to 10 seconds in the microwave. Glazed cookies don’t need reheating; too much heat makes the topping melt and slide.
Answers to the Questions Worth Asking
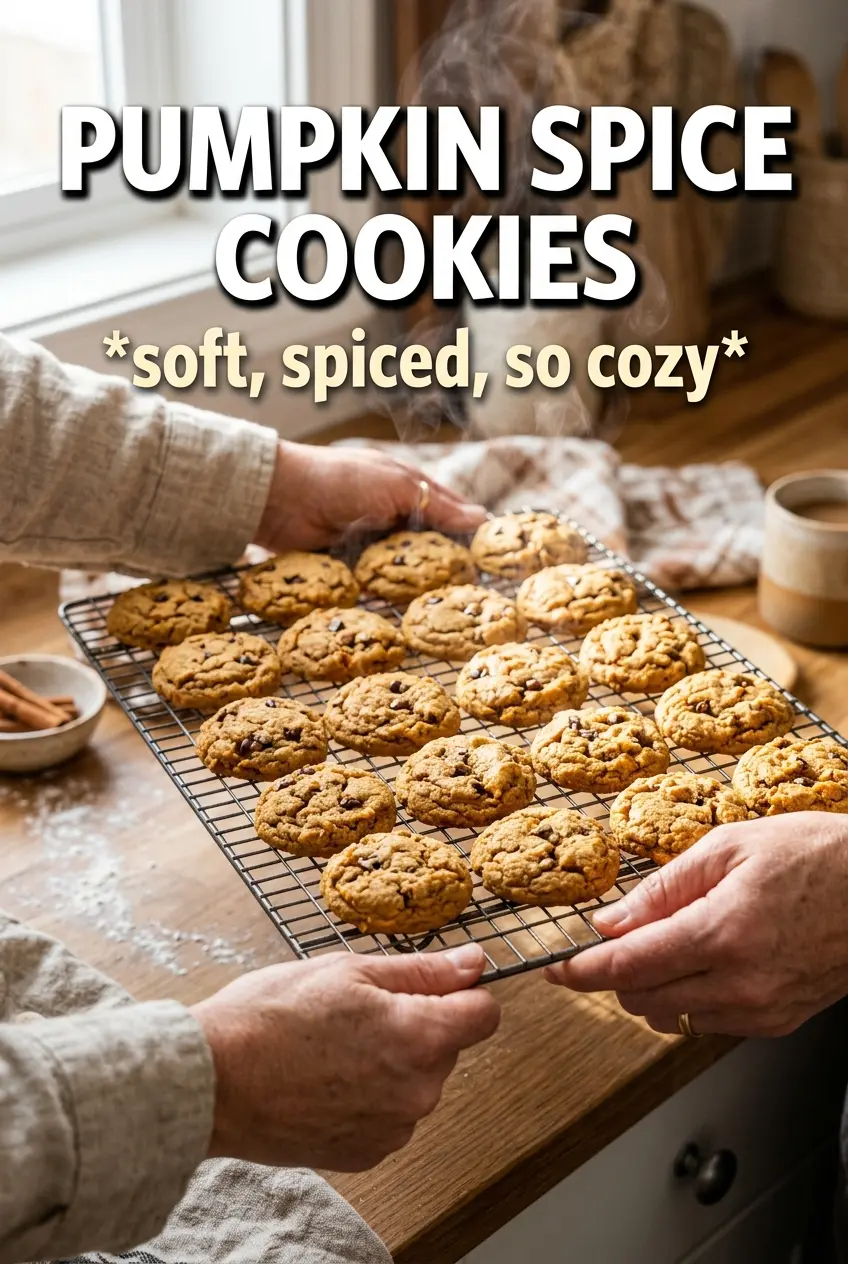
Pumpkin Spice Cookies
Ingredients
Equipment
Method
- Preheat the oven to 375F and line baking sheets. Keep the sheets ready so the dough can bake right after mixing.
- Blot the pumpkin puree very dry. Press it gently so the surface looks less wet and won’t steam the cookies.
- Whisk all dry ingredients together in one bowl: flour, baking soda, pumpkin pie spice, cinnamon, ginger, nutmeg, cloves, and salt. Whisk until the spices are evenly distributed.
- Beat the softened unsalted butter, brown sugar, and granulated sugar until fluffy. The mixture should look lighter in color and thicker.
- Add the blotted pumpkin puree, egg yolk, and vanilla extract to the butter mixture. Mix until smooth with no streaks of pumpkin.
- Fold in the flour mixture until just combined. Stop when no dry flour pockets remain.
- Scoop 1-1/2 tablespoon rounds onto the lined baking sheets, spacing them apart. Use a consistent scoop for even bake time.
- Bake at 375F for 10-12 minutes. Remove when edges look set and lightly crisp while centers still look soft.
- Cool the cookies completely on the baking sheets. Wait until they are fully cooled before drizzling so the glaze doesn’t melt off.
- Stir browned butter and powdered sugar together, then add milk and cinnamon. Mix until the glaze is smooth and ribbon-like.
- Drizzle the brown butter glaze over the cooled cookies. Finish with a visible, thin coating so the cookie texture still shows underneath.