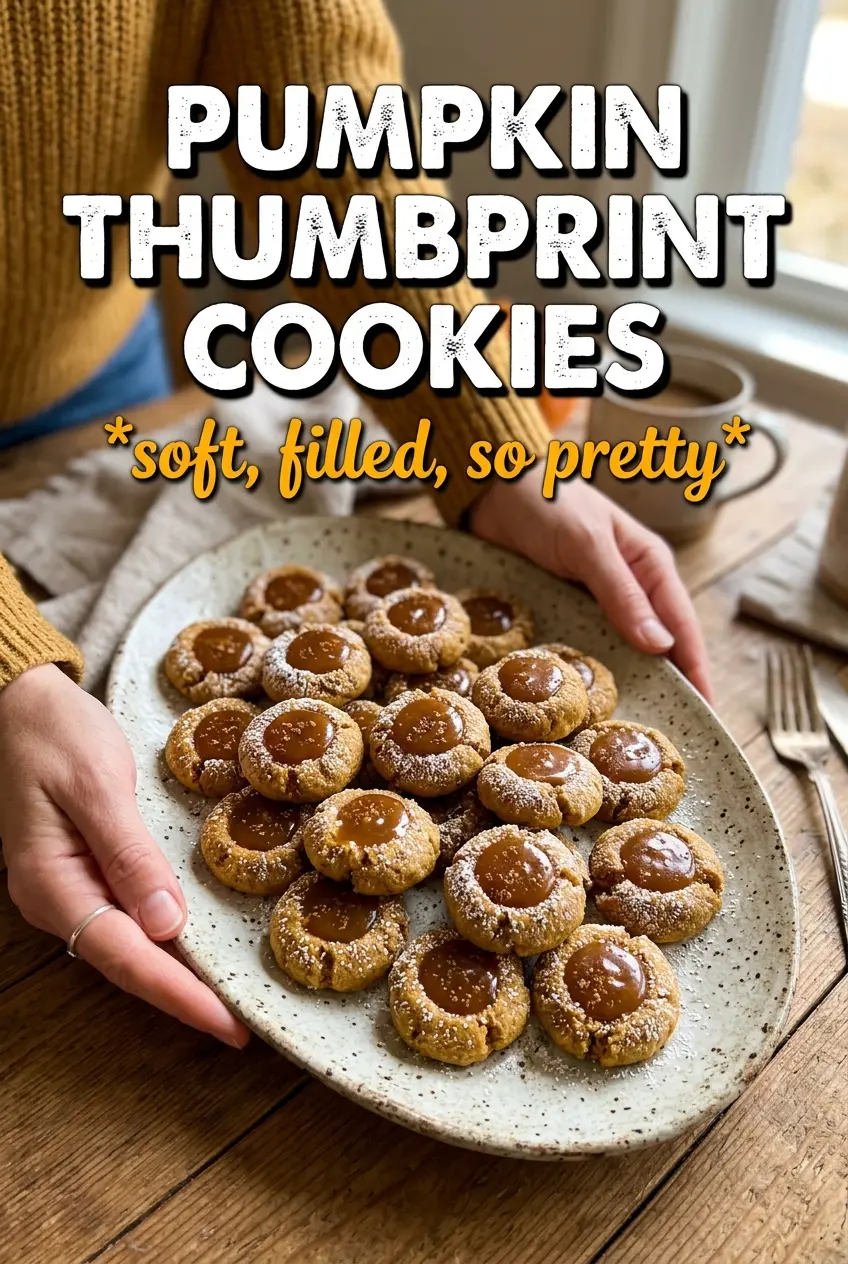
Pumpkin thumbprint cookies bake up with a tender, shortbread-style crumb, warm spice in every bite, and that little center of cream cheese frosting or caramel that makes them feel a step above an ordinary cookie tray. The outside gets just enough structure to hold its shape, while the middle stays soft and buttery instead of cakey.
The trick is keeping the pumpkin dry before it ever hits the bowl. Too much moisture turns these from crisp-edged thumbprints into puffier cookies that spread less cleanly, so blotting the pumpkin makes a real difference. Chilling the dough also matters here, because it gives the flour time to hydrate and keeps the cookies from flattening before they set.
Below, I’ll walk through the one step that keeps the centers from cracking when you press them, plus the filling options I reach for most often. The cream cheese filling gives you that classic tang, but the caramel version is the one I use when I want something a little richer and more autumn-spiced.
The pumpkin flavor came through without making the cookies cakey, and the cream cheese filling held its shape perfectly after chilling. I also loved that the cinnamon sugar gave the edges a little crunch.
Save these pumpkin thumbprint cookies for when you want a soft spiced cookie with a creamy center or a caramel-filled finish.
The Small Step That Keeps Pumpkin Thumbprints from Spreading
These cookies are built more like a tender shortbread than a soft pumpkin drop cookie, and that changes the whole method. The dough should be cool, firm, and easy to roll; if it feels sticky or warm, the cookies will spread before the centers set. Blotted pumpkin is what keeps the dough balanced, since even a little extra moisture can push the texture toward cake.
The other place people run into trouble is the thumbprint itself. Press it after the dough is rolled and coated in cinnamon sugar, then deepen it once more right before baking if needed. If you press too hard all at once, the edges can crack badly; if you don’t press enough, the center puffs closed in the oven and you lose the filling well.
- Chilled dough — This is what gives you clean edges and a cookie that holds its shape. Thirty minutes in the fridge is enough to make the dough much easier to work with.
- Blotted pumpkin — Fresh pumpkin puree carries a lot of water. Blotting it between paper towels keeps the dough from turning soft and sticky.
- Cinnamon sugar coating — This adds texture on the outside and keeps the cookies from looking flat. It also gives a little sparkle once baked.
- Deep thumbprint — The well needs to be deeper than you think because the cookies rise and settle as they bake. A shallow impression usually disappears.
What the Pumpkin, Butter, and Filling Each Bring to the Dough
- Butter — Softened butter is what gives these cookies their rich, sandy shortbread bite. Don’t melt it; melted butter makes the dough greasy and more likely to spread.
- Pumpkin puree — Use plain pumpkin puree, not pumpkin pie filling. Pie filling already has sugar and spices mixed in, which throws off both the seasoning and the texture.
- Pumpkin pie spice and cinnamon — The mix gives the cookies that familiar warm pumpkin flavor, while the extra cinnamon keeps the spice from tasting flat. If you only have pumpkin pie spice, you can use it in place of the cinnamon, but the flavor will be a little softer.
- Cream cheese filling — This filling needs to be fully softened so it mixes smooth and pipes or spoons cleanly into the centers. Cold cream cheese leaves little lumps that won’t disappear even after mixing.
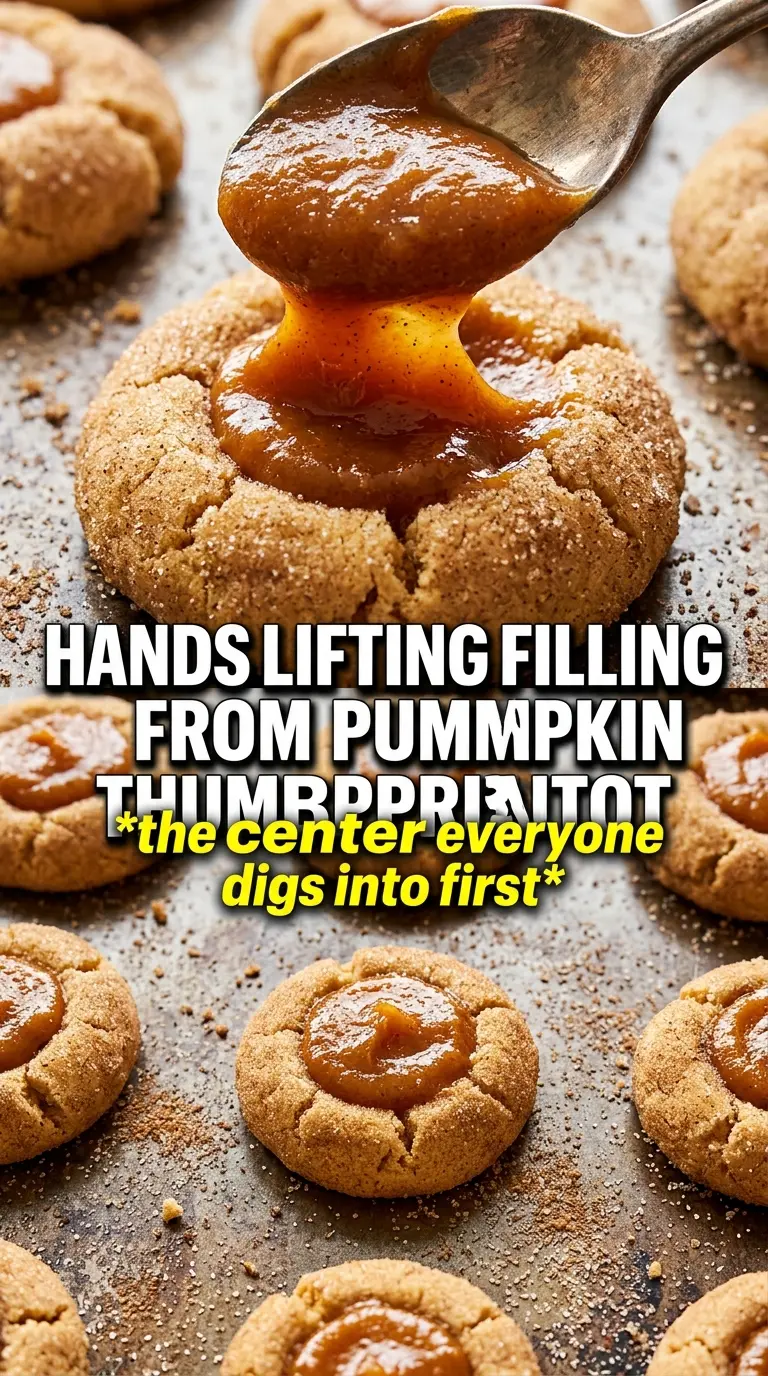
- Caramel sauce — Thick caramel works best because it stays put in the thumbprint. Thin sauce can soak into the cookie and make the centers sticky instead of glossy.
From Mixing Bowl to Finished Cookies
Making the Dough Base
Beat the butter and sugar until the mixture looks pale and fluffy, then add the blotted pumpkin and vanilla. At this point the dough may look slightly curdled, and that’s fine; it comes together once the dry ingredients go in. Stir in the flour, baking powder, salt, pumpkin pie spice, and cinnamon just until no dry streaks remain. If you keep mixing after that, the dough can turn tough instead of tender.
Chilling and Rolling
Refrigerate the dough for 30 minutes so it firms enough to handle cleanly. Scoop 1 1/2 tablespoon portions and roll them in cinnamon sugar until coated all over. If the dough is still too soft after chilling, give it another 10 minutes in the fridge rather than adding more flour, which can make the cookies dry.
Shaping the Thumbprint
Set the dough balls on the baking sheet with a little space between them, then press a deep thumbprint into each one. I like to use the back of a round measuring spoon or my thumb, then widen the center slightly if it starts to close. The well should look almost exaggerated before baking; the dough will puff a bit in the oven and settle as it cools.
Baking and Filling
Bake at 350°F for 12 to 14 minutes, until the edges are set and lightly golden but the centers still look soft. Let the cookies cool completely before filling them or the cream cheese mixture will melt and slide right out. Spoon or pipe the filling into the cooled thumbprints, then finish with a light dusting of cinnamon if you want a little extra finish on top.
How to Adapt These Pumpkin Thumbprint Cookies Without Losing the Texture
Dairy-Free Version
Use a plant-based butter that’s meant for baking. The cookies will still hold together, but the flavor will be a little less rich and the edges may brown a touch faster, so start checking them at the 12-minute mark.
Caramel-Filled Shortcut
Skip the cream cheese filling and spoon thick caramel into the cooled centers instead. You’ll get a sweeter, stickier cookie with a cleaner pumpkin-spice finish, and it’s the easier route when you want fewer ingredients.
Gluten-Free Swap
A good 1:1 gluten-free baking flour can work here, but the dough may need a few extra minutes of chilling because it tends to feel softer. The cookies will be a little more delicate, so let them cool fully before moving them off the tray.
Storage and Reheating
- Refrigerator: Store filled cookies in an airtight container for up to 4 days. The filling stays best when the cookies are chilled, but the edges will soften slightly after day one.
- Freezer: Freeze the baked, unfilled cookies for up to 2 months. Thaw at room temperature, then fill after they’re fully defrosted so the centers stay neat.
- Reheating: These are best served at room temperature, not warmed. If you heat them, the filling loosens and the cookies lose that tender shortbread texture.
Answers to the Questions Worth Asking
Pumpkin Thumbprint Cookies
Ingredients
Equipment
Method
- Beat the softened butter and sugar until smooth, then mix in the blotted-dry pumpkin and vanilla.
- Fold in the flour, baking powder, salt, pumpkin pie spice, and cinnamon until a soft dough forms, then refrigerate for 30 minutes.
- Preheat the oven to 350F and roll 1-1/2 tablespoon balls in cinnamon sugar.
- Set the balls on sheet pans, then press a deep thumbprint into the center of each cookie.
- Bake for 12-14 minutes, until the edges are golden and the centers look set.
- Cool the cookies completely before adding filling, so the centers hold their shape.
- Fill the thumbprints with the cream cheese mixture or thick caramel sauce, then let set briefly before serving.