Pumpkin Toffee Crunch Cake brings together everything people keep coming back for in a layer cake: a tender, pumpkin-rich crumb, buttery toffee bits that stay a little chewy, and a brown butter frosting with enough depth to keep the whole dessert from tasting one-note. The cake slices cleanly, but the texture stays soft and plush, which is exactly what you want when you’re stacking layers around a frosting this rich.
The trick is in the balance. Pumpkin adds moisture, sour cream keeps the crumb fine and velvety, and brown sugar gives the cake a deeper caramel note than plain white sugar ever could. The toffee bits go in at the very end so they don’t disappear into the batter, and the browned butter in the frosting needs time to cool and firm back up before you whip it, or the frosting can turn loose and greasy.
Below, I’ve laid out the parts that matter most: how to keep the cake from baking up heavy, why the frosting behaves the way it does, and a few swaps that still give you a cake worth serving with confidence.
The layers baked up so soft and the toffee bits stayed crunchy enough to notice in every bite. I also loved that the brown butter frosting held its shape once it chilled a bit — no sliding around when I sliced it.
Save this Pumpkin Toffee Crunch Cake for the kind of dessert that needs soft pumpkin layers, a brown butter frosting, and a generous crunch of toffee bits.
The Part Where Pumpkin Cakes Usually Turn Dense
Pumpkin cake gets heavy when the batter is overmixed after the flour goes in, or when there’s too much liquid and not enough structure to hold it. This version avoids both problems by leaning on brown sugar, pumpkin puree, and sour cream for moisture without making the crumb wet or gummy. The batter should look thick and spreadable, not pourable.
The toffee bits also matter more than people think. Fold them in last so they stay dispersed through the layers instead of melting into the batter. If you toss them in early, they tend to sink and blur into the cake, which takes away the crunch that makes this cake worth making in the first place.
What Each Ingredient Is Actually Doing In This Cake
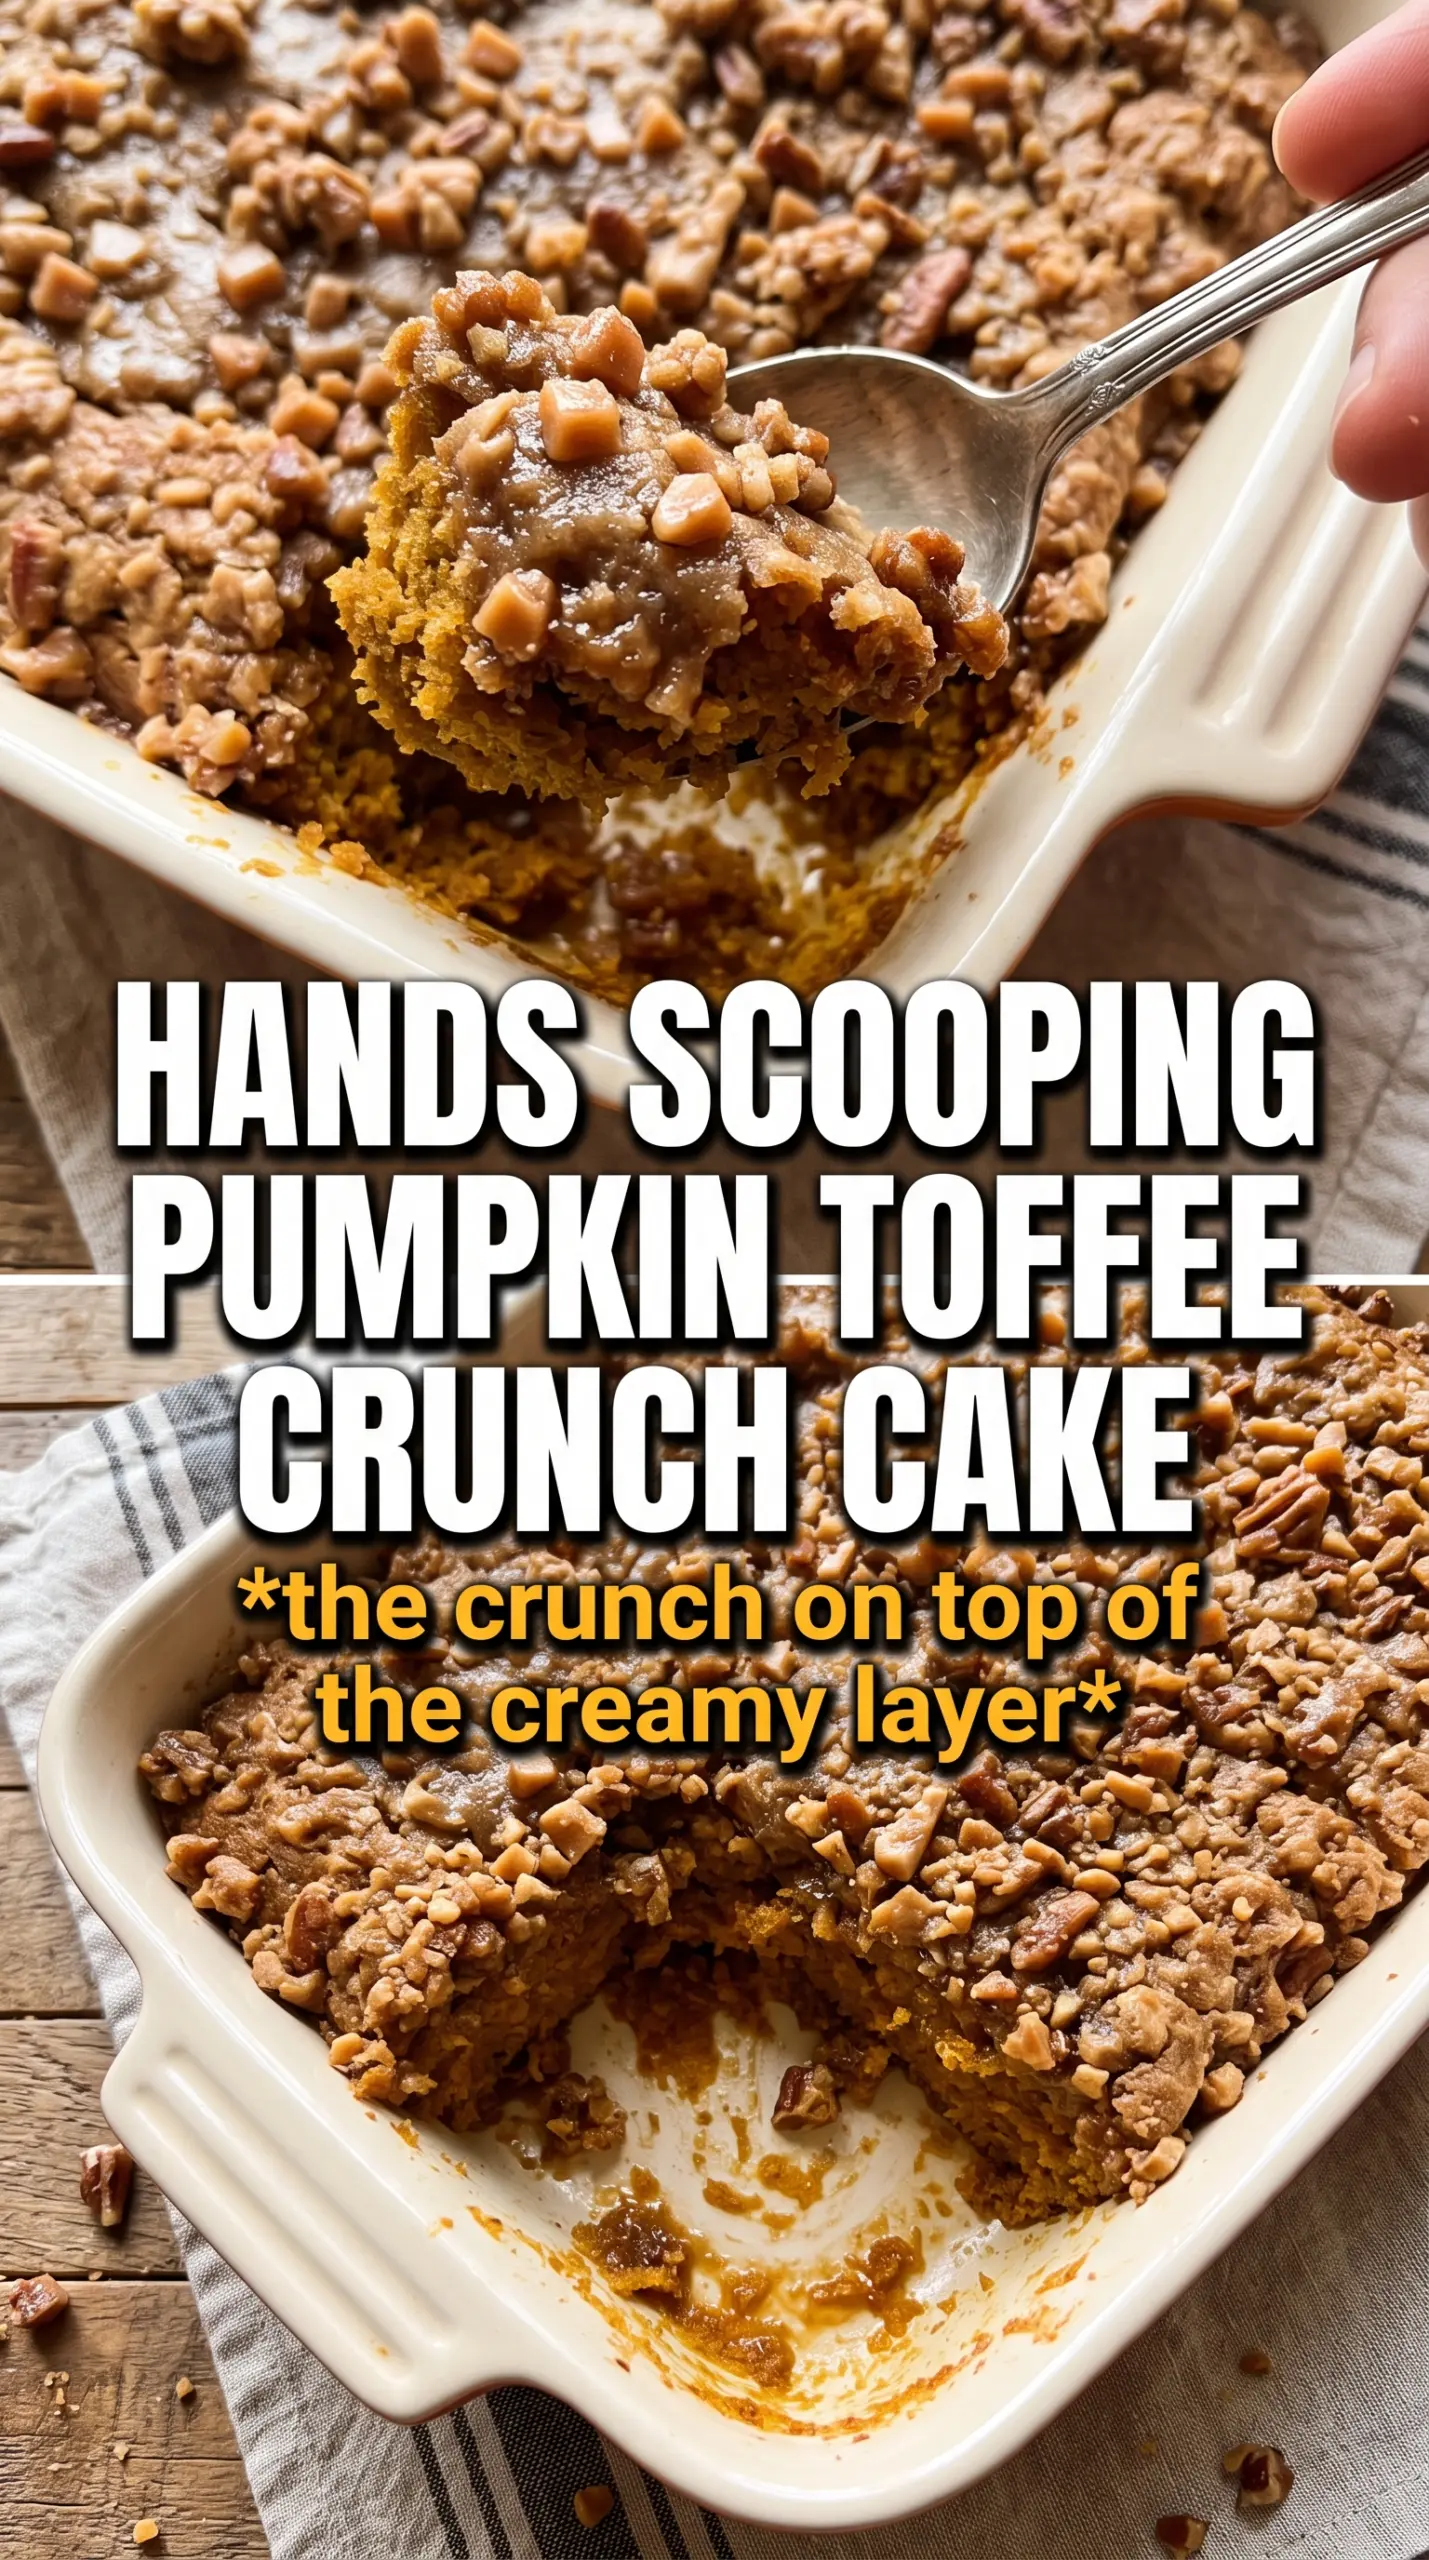
- Pumpkin puree — Use canned pumpkin puree, not pumpkin pie filling. Puree gives you moisture, color, and that earthy pumpkin taste without extra sugar or spices throwing off the balance.
- Sour cream — This keeps the cake tender and gives the crumb a little richness that stands up to the sweet frosting. Full-fat sour cream works best here; yogurt can work in a pinch, but the cake won’t taste quite as plush.
- Brown sugar — White sugar would make the cake flatter in flavor. Brown sugar adds caramel notes that echo the toffee and the brown butter, which is why the whole cake tastes layered instead of just sweet.
- Toffee bits — The packaged bits hold their shape better than chopped toffee candy, which can melt into sticky patches. Fold them in at the end so they stay suspended through the crumb.
- Brown butter — Brown the butter for the frosting, then cool it until solid again. That step gives the frosting a nutty, toasted flavor and keeps it from turning soft and greasy when you whip it.
Building The Layers Without Losing The Crunch
Brown the Butter First
Start with the butter for the frosting so it has time to cool completely. Cook it over medium heat until the milk solids turn amber and smell nutty, then pour it into a bowl and refrigerate it until solid. If you try to beat it while it’s still soft or warm, the frosting will slacken and won’t whip into that thick, fluffy texture you need for stacking.
Mix the Cake Batter Gently
Cream the softened butter and brown sugar until the mixture looks lighter in color and a little fluffy, then add the eggs one at a time. Once the pumpkin, sour cream, and vanilla go in, the batter may look slightly curdled for a second; that’s normal and it comes together as soon as the dry ingredients are added. Stop mixing the moment the flour disappears, because overworking the batter is the fastest way to turn a tender cake into a tight one.
Fold in the Toffee and Bake Until Just Set
Fold in the toffee bits with a spatula, not the mixer, so they stay intact and evenly scattered. Divide the batter between two greased 9-inch pans and bake until the centers spring back lightly and a tester comes out with just a few moist crumbs. If you wait for the cakes to look deeply browned all over, they’ll likely be overbaked by the time the centers finish.
Whip the Frosting Until It Holds
Beat the solidified brown butter with powdered sugar, cream, and vanilla until the frosting turns pale and airy. If it looks stiff and crumbly at first, keep mixing and add the cream slowly; once the butter loosens, it comes together fast. Spread it between the layers, frost the outside, and press the extra toffee bits onto the sides while the frosting is still tacky.
How To Adapt This Cake Without Losing What Makes It Good
Dairy-Free Version
Use plant-based butter in both the cake and frosting, and swap the sour cream for a thick dairy-free yogurt. The cake will still stay moist, but the frosting won’t have quite the same brown butter depth, so lean on the vanilla and brown sugar notes for balance.
Gluten-Free Cake
A good 1:1 gluten-free flour blend can work here, especially one that already includes xanthan gum. The cake may bake a touch more tender and need a few extra minutes in the oven, but the pumpkin and sour cream keep it from drying out.
Cupcakes Instead of Layer Cake
Divide the batter into lined muffin cups and bake until the tops spring back and a tester comes out clean. You’ll lose the dramatic layers, but you gain better toffee distribution in every bite and a much easier make-ahead dessert for a crowd.
Storage and Reheating
- Refrigerator: Store the frosted cake covered for up to 4 days. The crumb stays moist, and the toffee bits soften slightly but still give you texture.
- Freezer: Freeze unfrosted layers tightly wrapped for up to 2 months. Thaw them in the refrigerator before frosting so condensation doesn’t loosen the buttercream.
- Reheating: This cake is best served at cool room temperature, not warmed. If it’s been refrigerated, let slices sit out for 30 to 45 minutes so the frosting softens and the cake doesn’t taste dense.
Answers to the Questions Worth Asking
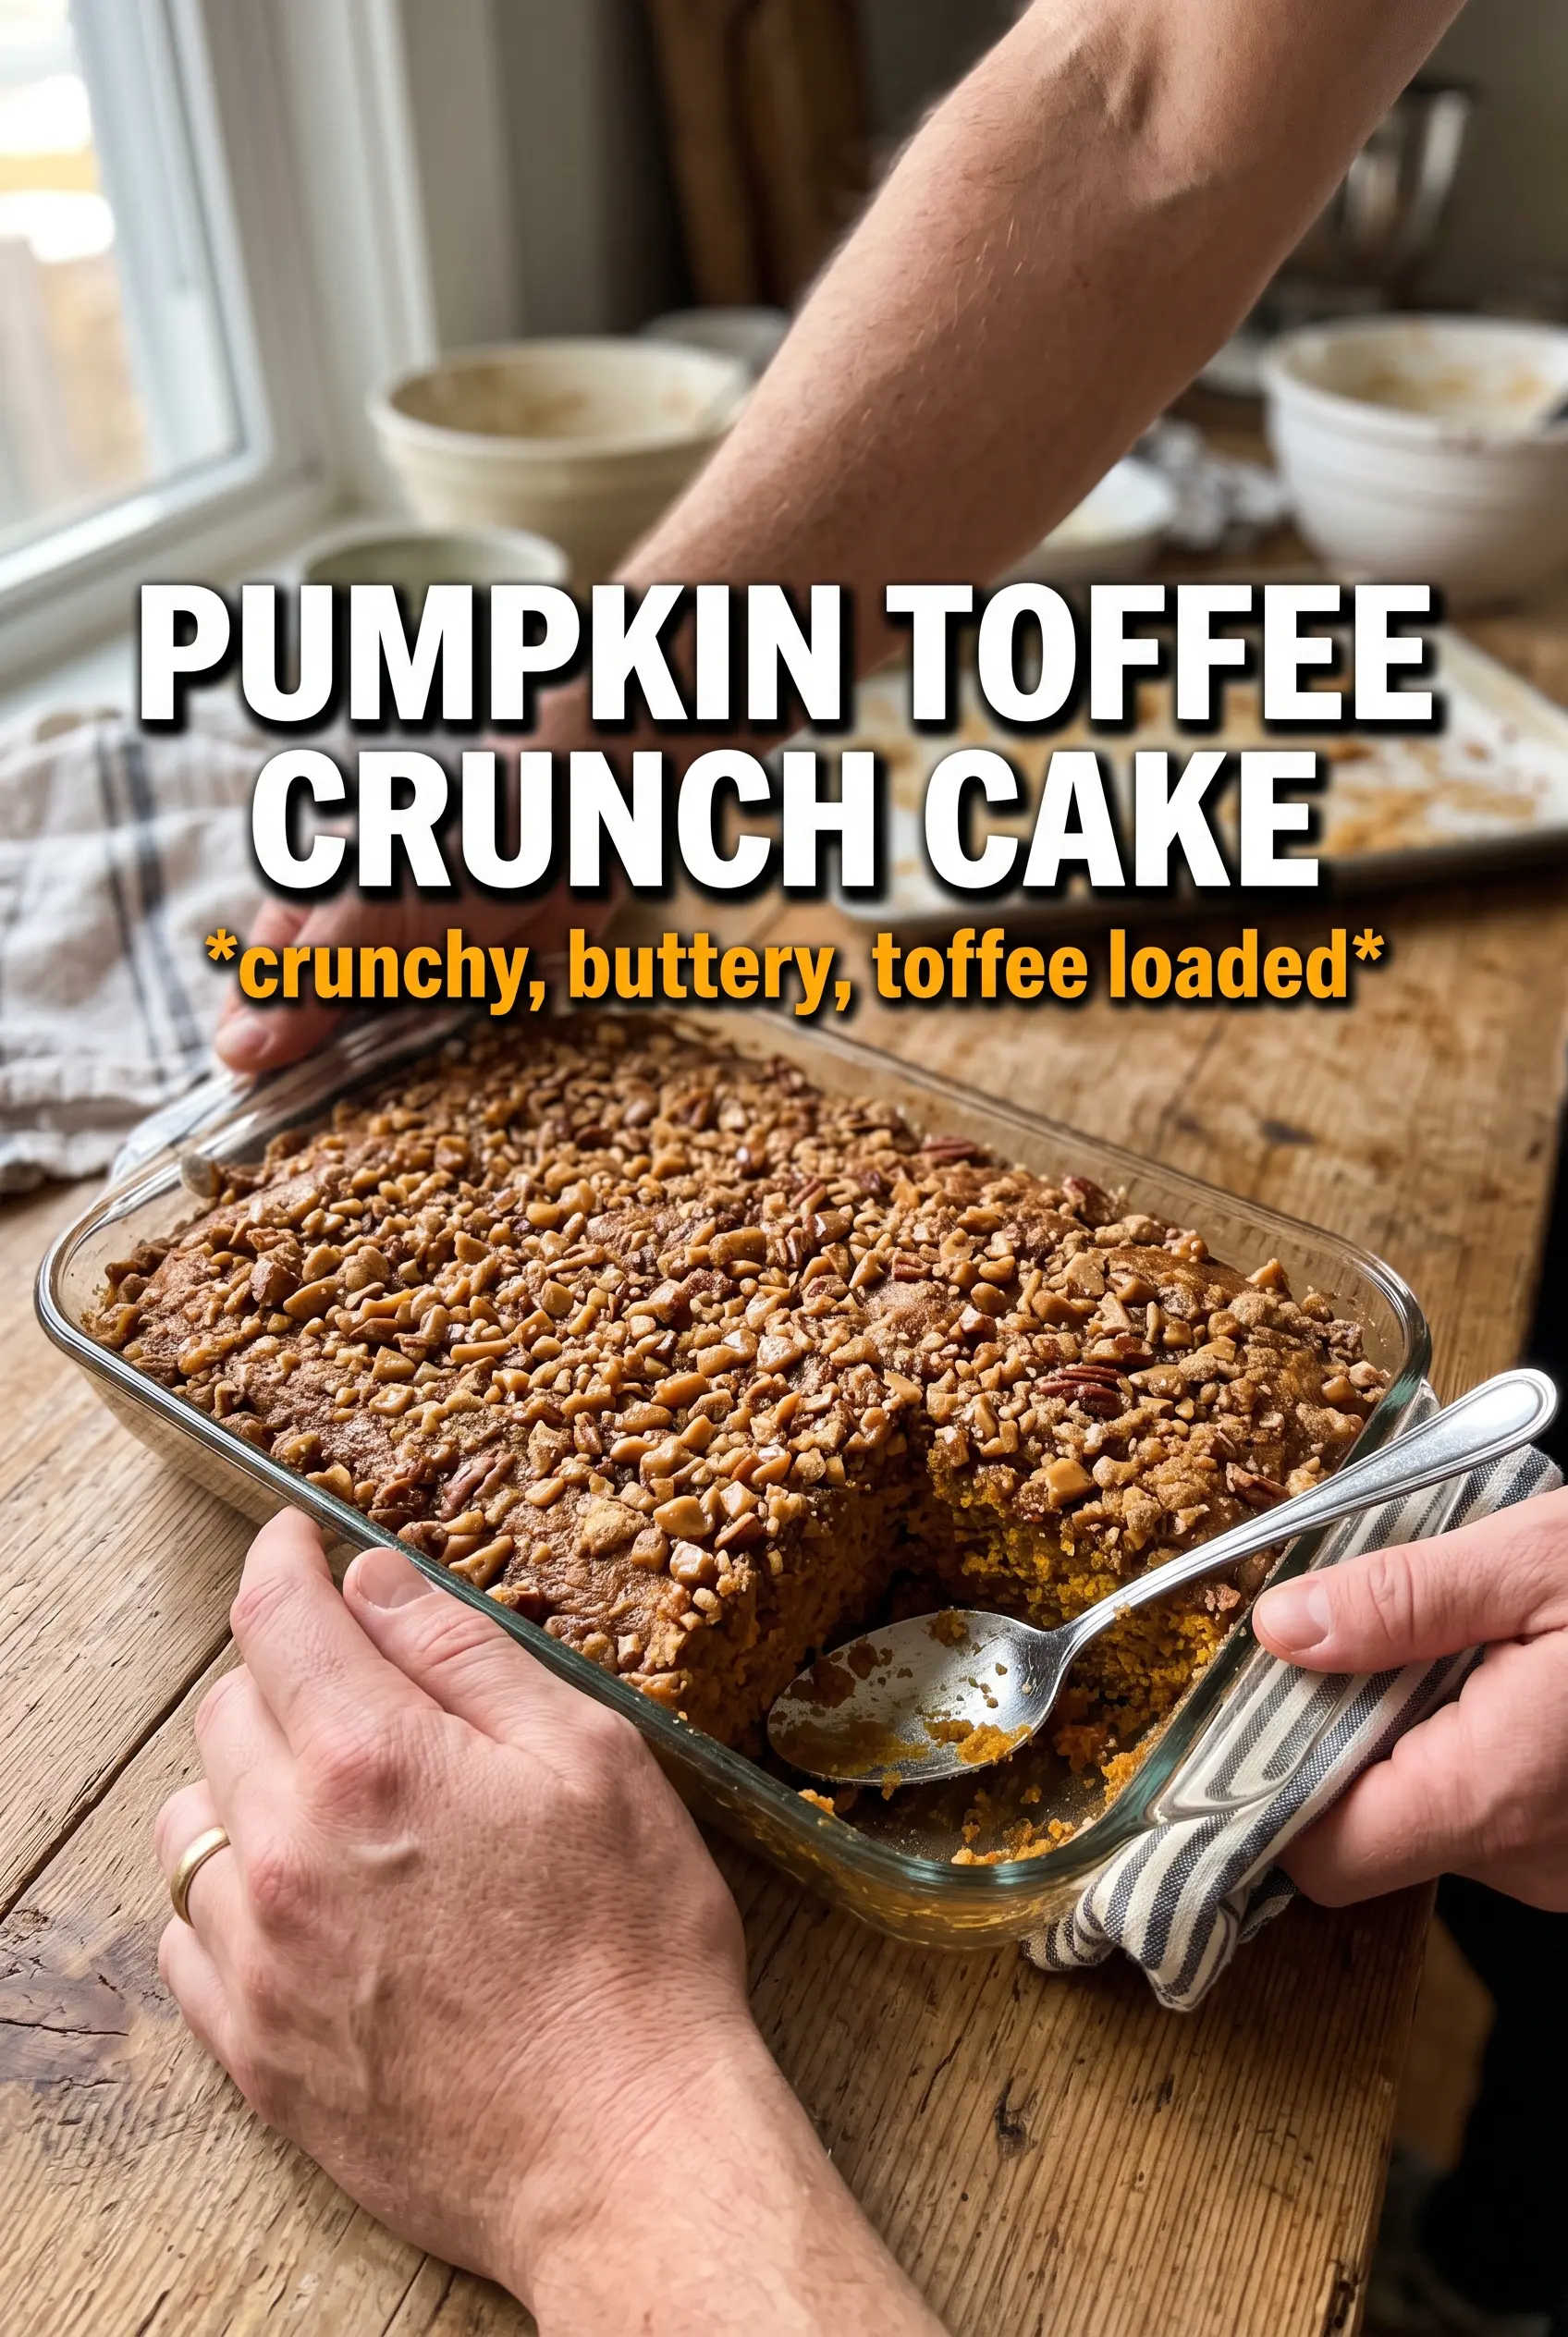
Pumpkin Toffee Crunch Cake
Ingredients
Equipment
Method
- Brown 1 cup butter and refrigerate until solid.
- Preheat oven to 350F, then grease two 9-inch pans.
- Beat softened butter with brown sugar.
- Beat in eggs, pumpkin, sour cream, and vanilla until smooth.
- Fold in flour, baking powder, baking soda, pumpkin pie spice, cinnamon, and salt.
- Fold in toffee bits to distribute them through the batter.
- Bake for 35-40 minutes, until a toothpick in the center comes out clean.
- Cool completely before frosting.
- Beat solidified brown butter with powdered sugar, heavy cream, and vanilla until very fluffy.
- Frost and stack the cooled layers, then press extra toffee bits onto the sides.