Bright, blistered sauteed green beans with golden garlic and a hit of lemon are the kind of side dish that disappears before the main course settles on the table. The beans stay crisp-tender, the edges pick up a little char, and the toasted almonds bring just enough crunch to keep every bite interesting. It’s simple food, but the payoff feels polished enough for company and easy enough for a Tuesday night.
The trick is giving the beans direct contact with the pan before the butter goes in. That first stretch over medium-high heat builds color and keeps them from turning soft and gray. Once the beans are blistered, the garlic cooks briefly in butter so it turns fragrant and golden instead of bitter, and the lemon goes in at the end so the dish stays bright instead of tasting flat.
Below, I’ve included the timing cue that keeps the beans crisp, the ingredient details that matter most, and a few smart variations if you need to adjust for what’s in your kitchen.
The beans stayed crisp-tender and the garlic browned just enough to taste rich instead of sharp. I added the lemon at the end like you said, and the whole pan tasted bright and fresh.
Love these blistered green beans with garlic, lemon, and toasted almonds? Pin them for the next time you need a fast side that still feels special.
The Part That Keeps Green Beans Crisp Instead of Soft
Most soggy green beans happen because the pan is overcrowded or the heat is too low at the start. Green beans need direct heat on the surface first, before any butter or liquid is added, so they blister instead of steaming. If you add the fat too early, the beans slide around in the pan and lose that dry, sharp edge that gives this dish its best texture.
The other place people go wrong is with the garlic. Garlic burns fast, and burned garlic turns the whole skillet bitter. That’s why it goes in after the beans have taken on color and the heat is lowered a bit; by then, the pan is hot enough to perfume the butter, but not so hot that the slices scorch in seconds.
What Each Ingredient Is Actually Doing in This Skillet
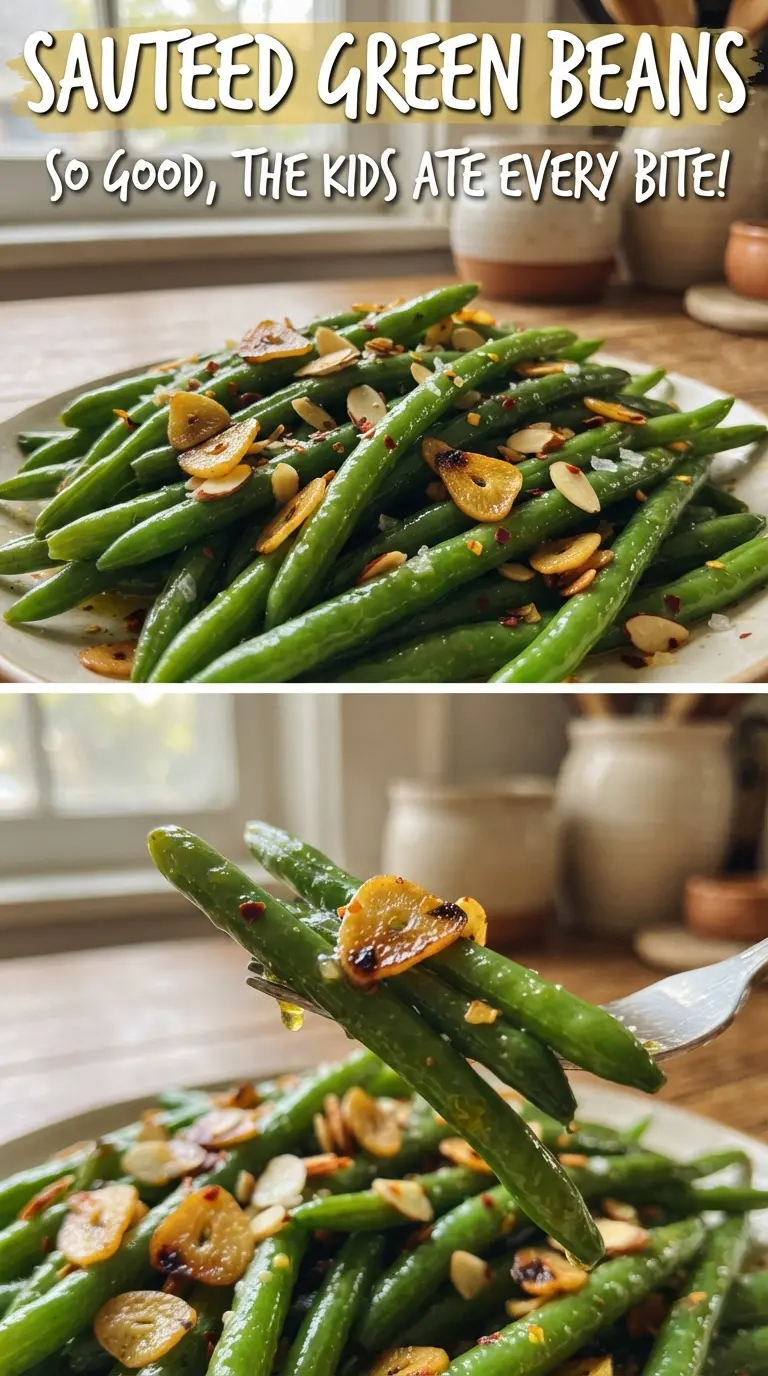
- Fresh green beans — Use fresh, trimmed beans here. They stay snappy and blister well; frozen beans release too much moisture and go soft before they brown.
- Olive oil — This gives the beans enough slickness to sear without sticking. Any neutral oil works, but olive oil adds a little extra savory depth under the butter.
- Butter — Butter is what gives the garlic its rich finish. It also coats the beans at the end so the lemon and seasoning cling instead of sliding off.
- Garlic — Thin slices are better than minced here because they toast in the butter without disappearing. Minced garlic would brown too fast and can turn bitter before the beans are done.
- Lemon zest and juice — Zest brings the aroma; juice wakes up the whole dish at the end. Add both off the heat or right before serving so the flavor stays bright.
- Toasted almonds — They add crunch and a little nutty sweetness. If you skip toasting them, they’ll taste flat next to the browned garlic and blistered beans.
Getting the Beans Blistered, Then Finishing Them Cleanly
Building Color First
Heat the olive oil in a large skillet over medium-high heat, then add the green beans in a single layer if you can. Let them sit long enough to pick up color before you start tossing, because constant stirring keeps them pale. You’re looking for blistered skins, a few browned spots, and beans that still bend with a little resistance.
Letting the Garlic Toast in Butter
Once the beans are crisp-tender, lower the heat to medium and add the butter and sliced garlic. The garlic should go pale gold and smell nutty, not dark brown. If the pan looks dry, that’s a good sign the beans have already taken on some color; if the garlic starts to race toward brown, pull the pan off the heat for a few seconds.
Finishing With Lemon and Almonds
Season the skillet, then toss in the lemon zest, lemon juice, and toasted almonds right at the end. The lemon juice should hit the hot pan and disappear into the butter without making the beans watery. Serve right away while the beans still have a little bite and the almonds are crunchy.
How to Adapt These Green Beans for Different Tables
Dairy-Free Green Beans
Swap the butter for another tablespoon of olive oil. You’ll lose a little of the buttery finish and some richness around the garlic, but the beans will still blister well and the lemon will keep the dish lively.
Nut-Free Version
Leave out the almonds and finish with an extra pinch of lemon zest for lift. You’ll lose the crunch, so serve the beans with a second vegetable that has texture, like roasted mushrooms or crisp salad greens.
Extra Savory Skillet Beans
Add a pinch of grated Parmesan at the very end, off the heat, for a saltier, more savory finish. Stir fast so it melts into the butter instead of clumping, and skip any extra salt until you taste it.
Storage and Reheating
- Refrigerator: Store leftovers in an airtight container for up to 3 days. The beans will soften a bit, but the flavor stays good.
- Freezer: I don’t recommend freezing this one. The beans lose their crisp bite and turn soft once thawed.
- Reheating: Warm them in a skillet over medium heat just until hot. The biggest mistake is microwaving until they steam; that wipes out the blistered texture you worked for.
Answers to the Questions Worth Asking
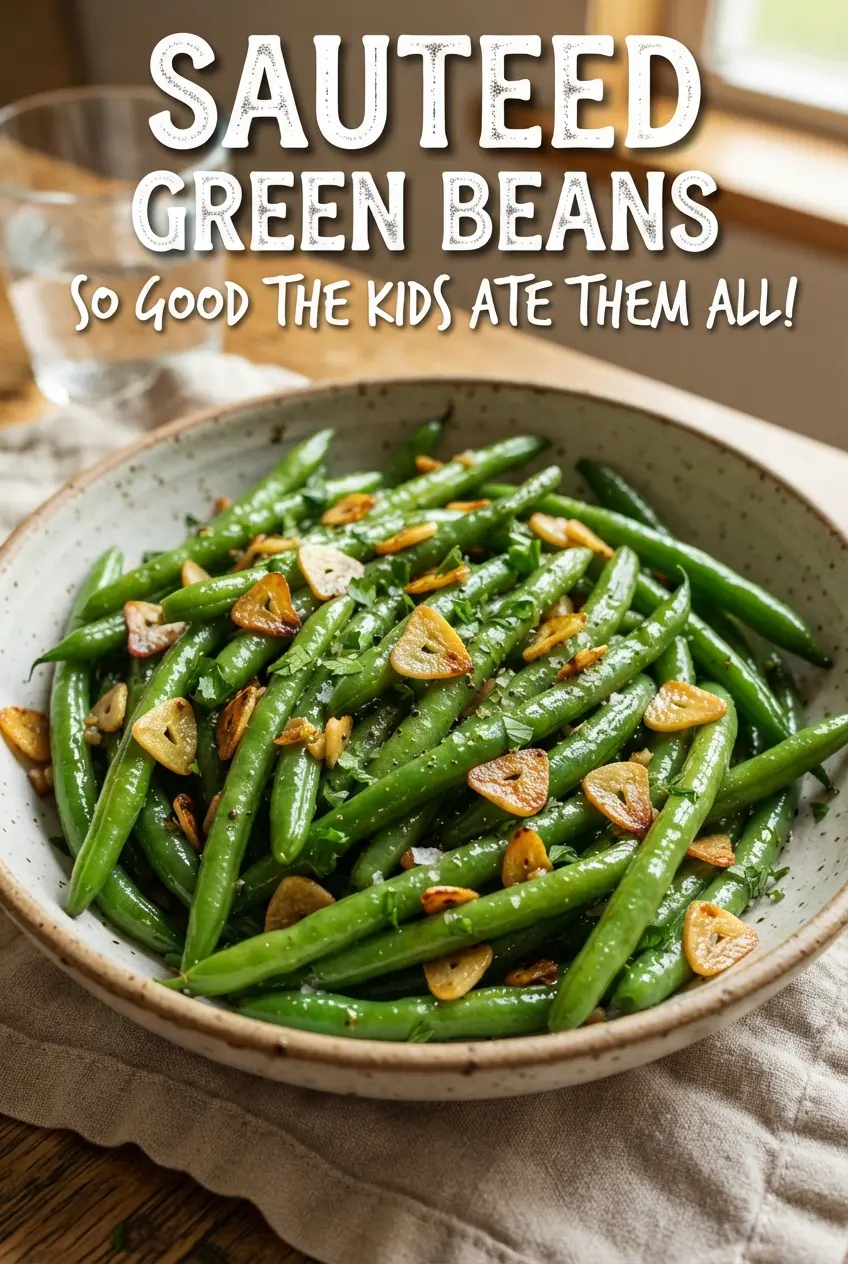
Sauteed Green Beans
Ingredients
Equipment
Method
- Heat olive oil in a large skillet over medium-high heat until shimmering.
- Add green beans and cook 6-8 minutes, tossing, until blistered and crisp-tender.
- Reduce heat to medium and add butter and garlic, cooking 1-2 minutes until the garlic is golden.
- Season with salt, black pepper, and red pepper flakes.
- Toss with lemon zest, lemon juice, and toasted almonds, then serve right away.