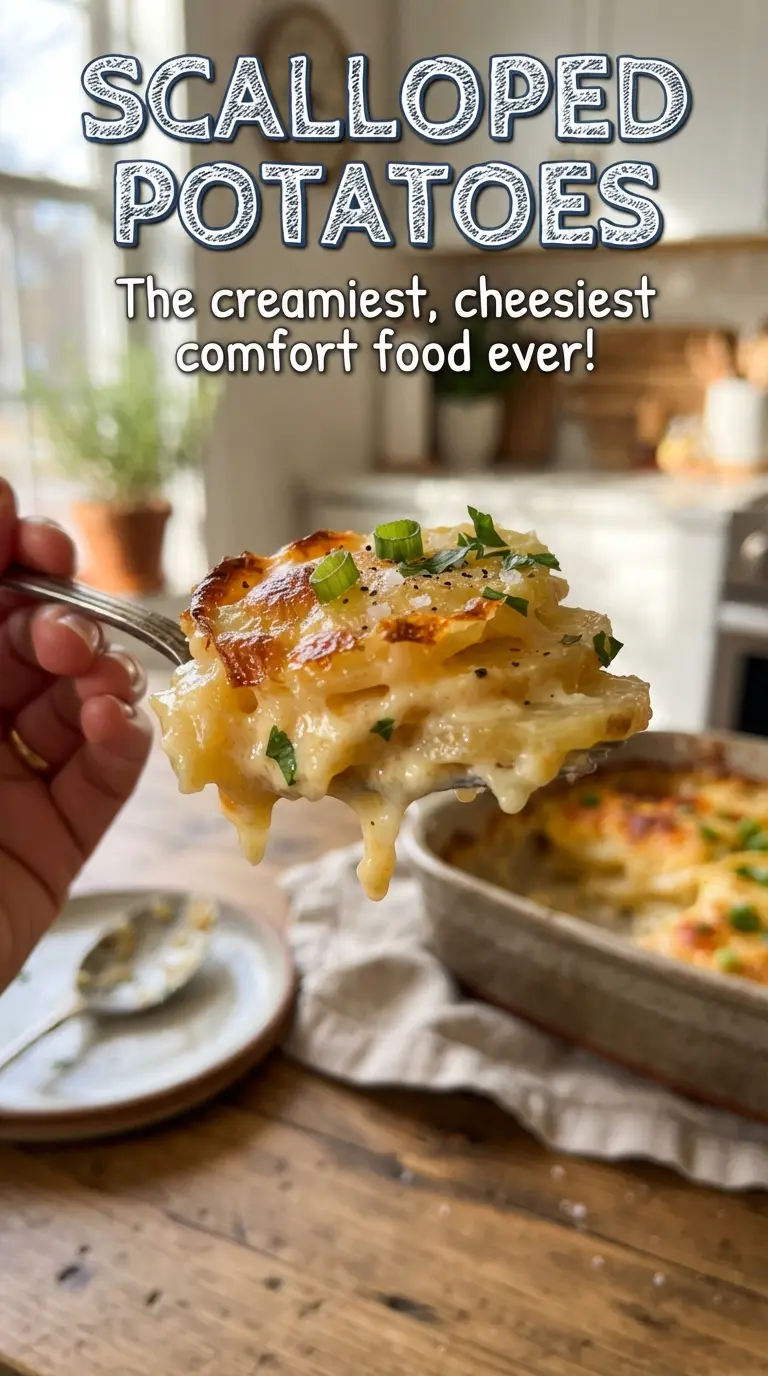
Scalloped potatoes earn their place on the table when the layers turn tender without collapsing and the top bakes into a deep golden crust that crackles under the spoon. The best version tastes rich but not heavy, with each slice coated in a sauce that settles into the dish instead of turning loose and watery. When they come out right, you get creamy potatoes, a little sweetness from the onion, and a browned Parmesan top that makes people go back for another scoop.
The trick is building a sauce that thickens before it goes into the oven and slicing the potatoes evenly enough that they finish at the same time. Russets work especially well here because their starch helps the sauce cling to the layers, and the flour-and-butter base keeps the dairy from separating during the long bake. Thin onion slices melt into the dish as it cooks, giving you flavor without chunks that distract from the potatoes.
Below, I’ll show you how to keep the sauce smooth, what to look for when the potatoes are done, and the small rest at the end that keeps the whole thing from sliding apart when you serve it.
The sauce thickened up beautifully, and the potatoes were tender all the way through without falling apart. I made it for Sunday dinner and the pan was nearly empty by the time we cleared the table.
Save these scalloped potatoes for the nights when you want a creamy, golden side dish with tender layers and a browned Parmesan top.
Why the Sauce Has to Thicken Before It Meets the Potatoes
If the sauce goes into the baking dish too thin, it never really recovers. The potatoes release moisture as they cook, and a loose sauce turns soupy instead of creamy. A quick simmer on the stovetop gives the flour time to lose its raw edge and lets the dairy thicken enough to coat the back of a spoon before it ever hits the oven.
The other mistake is rushing the layering. If the slices are uneven, the thin ones turn soft before the thicker ones are done. Keep the potato slices close to 1/8 inch and pour the sauce over each layer so every piece gets coated. That even coverage is what keeps the finished dish from baking up dry in the middle and watery at the edges.
What Each Ingredient Is Actually Doing in This Dish
- Russet potatoes — These are the right potato for a creamy, substantial scalloped dish because their starch helps the sauce cling. Waxy potatoes hold their shape a little more, but they don’t give you the same thick, cohesive texture. Slice them evenly so they finish at the same rate.
- Whole milk and heavy cream — The combination gives you body without making the sauce feel greasy. You can swap in half-and-half, but the result will be a little lighter and not quite as luxurious. If you use lower-fat milk, the sauce needs extra care on the stove so it still thickens properly.
- Butter and flour — This is the base that keeps the sauce stable in the oven. Don’t skip the full minute of whisking the flour in the butter, or the sauce can taste pasty. That short cook time gets rid of the raw flour taste and helps the sauce thicken smoothly.
- Onion and garlic — They add depth without taking over. The garlic only needs a brief cook so it softens instead of turning bitter. Thin onion slices work best because they melt into the layers and season the potatoes from the inside out.
- Parmesan — This is what gives the top its salty, browned finish. Freshly grated Parmesan melts and browns better than the canned kind. Add it at the end so it doesn’t disappear into the sauce before the dish has a chance to brown.
Building the Layers So They Bake Evenly
Cooking the Base
Melt the butter and cook the garlic just until fragrant, about 30 seconds. The goal is to wake it up, not brown it. Whisk in the flour and keep it moving for a full minute so it turns into a smooth paste. If the heat is too high here, the roux can scorch at the bottom of the pan and leave the sauce tasting bitter.
Turning the Dairy into a Creamy Sauce
Pour in the milk and cream gradually while whisking, then let the sauce simmer until it lightly coats a spoon. It should look silky and slightly thick, not pudding-thick. Season it at this stage so the flavor gets into every layer of the dish. If it boils hard, it can catch or turn grainy, so keep the heat at a gentle simmer.
Layering Without Gaps
Build the potatoes and onion in three layers, and pour sauce over each layer instead of saving it all for the top. That keeps the middle from drying out and helps the potatoes cook through evenly. Press the layers down lightly with the back of a spoon so the sauce settles between the slices. Don’t pack them so tightly that the sauce can’t move through.
Finishing the Top
Cover the dish for the first hour so the potatoes steam and soften. When they’re nearly tender, uncover it, add the Parmesan, and bake until the top is golden and the edges are bubbling. Let the dish rest for 15 minutes before serving. That pause lets the sauce set, which keeps the first scoop from running all over the plate.
Three Ways to Adapt These Scalloped Potatoes
Dairy-Free Version
Use unsweetened oat milk or cashew milk and a dairy-free butter substitute, then thicken the sauce a little more on the stove so it still coats the potatoes. The flavor will be less rich than the original, but the texture can still be creamy if you keep the simmer gentle and don’t skip the flour base.
Gluten-Free Version
Swap the all-purpose flour for a measure-for-measure gluten-free blend that works as a thickener. The sauce may need an extra minute or two to thicken fully, but the finished dish will still bake up creamy and set. Avoid using cornstarch here unless you’re comfortable adjusting the method, because it behaves differently and can turn glossy instead of velvety.
Make It a Little Lighter
You can replace part of the heavy cream with more whole milk if you want a lighter dish, but don’t go all the way to low-fat milk. The sauce will still work, just with a thinner, less plush finish. This is the swap to use when you want the dish to feel a little less rich without losing the creamy layers.
Storage and Reheating
- Refrigerator: Store covered for up to 4 days. The sauce will thicken as it chills, and the potatoes may absorb a little more moisture.
- Freezer: It freezes, but the texture softens after thawing. Freeze in portions, wrapped tightly, and expect the sauce to be a little less smooth when reheated.
- Reheating: Cover and warm in a 325F oven until hot in the center. If you reheat it uncovered or too fast, the top dries out before the middle warms through.
Questions I Get Asked About This Recipe

Scalloped Potatoes
Ingredients
Equipment
Method
- Preheat the oven to 375F, then butter a 9x13-inch baking dish. Use a thin layer of butter so the potatoes release cleanly.
- Melt the butter, then cook the garlic for 30 seconds. The garlic should be fragrant but not browned.
- Whisk in the all-purpose flour for 1 minute. Keep whisking until it looks slightly smoother and cooked.
- Gradually whisk in the whole milk and heavy cream, then simmer until slightly thickened. Stir often so the mixture stays silky and smooth.
- Season with salt, black pepper, and fresh thyme leaves. Taste and adjust so the sauce is well-seasoned.
- Layer the potatoes and onion in the dish in three layers. Aim for even thickness so they bake uniformly.
- Pour sauce over each layer as you build the casserole. Make sure the potatoes are well coated between layers.
- Cover with foil, then bake for 1 hour at 375F. Look for bubbling at the edges before moving to the next step.
- Uncover, sprinkle with Parmesan, and bake 25-30 minutes at 375F until golden and fork-tender. The top should be browned and the potatoes should feel soft when pierced.
- Rest the scalloped potatoes for 15 minutes before serving. This helps the sauce set so each slice holds its layers.