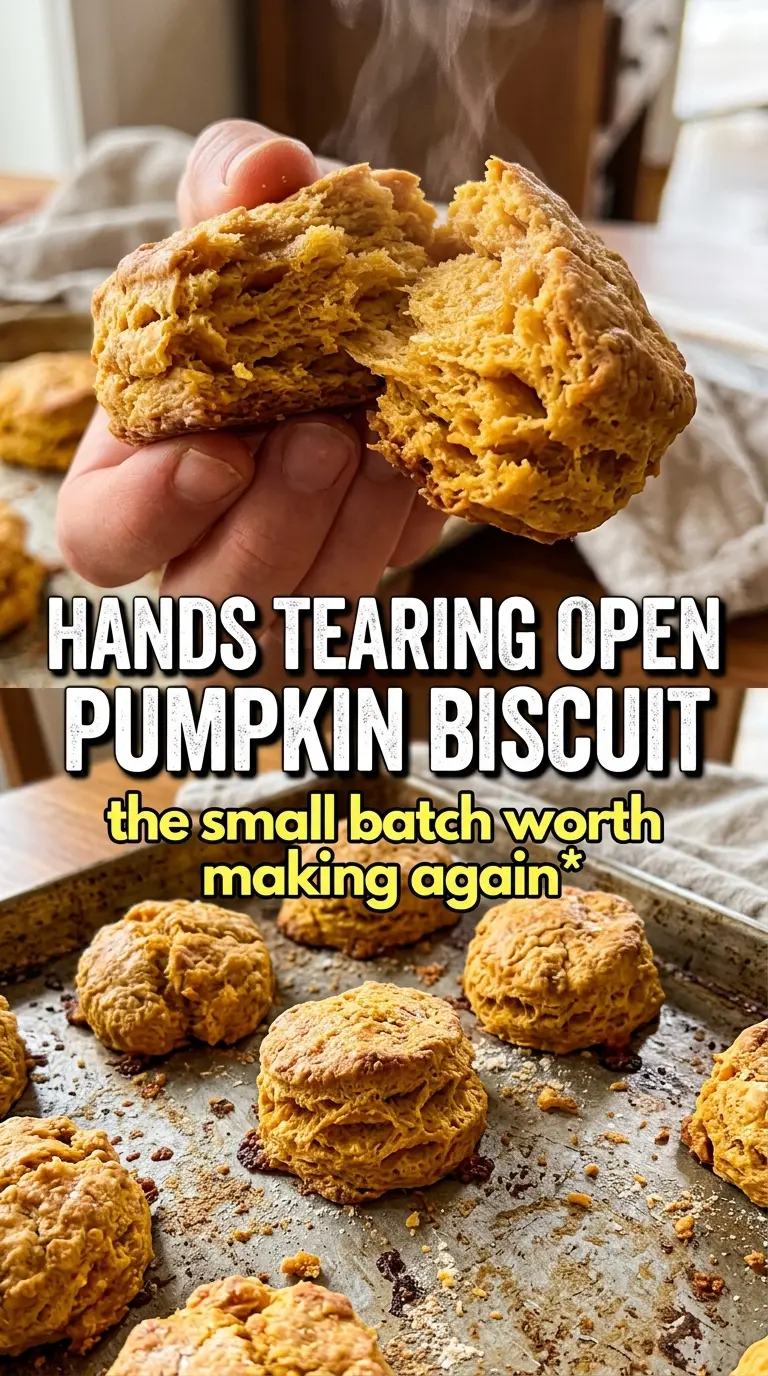
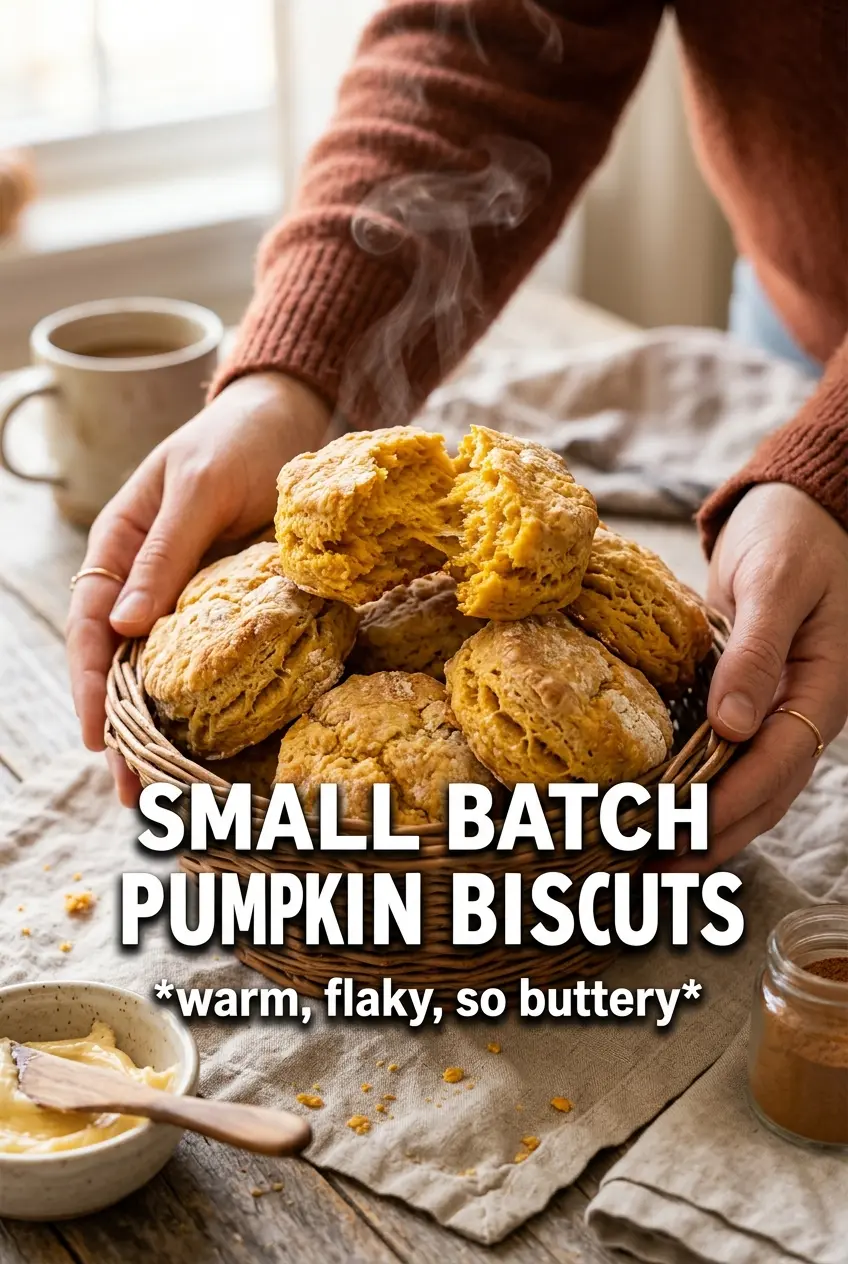
These small batch pumpkin biscuits bake up tall, flaky, and tender with just enough pumpkin to give the crumb a warm orange color and a gentle richness. The edges turn crisp in the oven while the centers stay soft and layered, which is exactly what you want when you split one open and let honey butter melt into every crease.
What makes this version work is the balance: enough pumpkin puree for flavor and moisture, but not so much that the dough turns heavy. The cold buttermilk keeps the batter from getting thick and pasty, and the butter stays in visible bits until the oven turns those bits into steam pockets. That’s the difference between biscuits that rise and biscuits that spread.
Below, I’ve included the part that matters most if biscuits have ever come out dense for you: how to handle the dough without working it too much, plus the one fold that builds flake fast. The honey butter at the end is simple, but it turns these into the kind of breakfast people reach for before they’ve even sat down.
The biscuits rose beautifully and stayed flaky instead of getting cakey. I loved that the pumpkin flavor was there without being heavy, and the honey butter melted right into the layers.
Love the flaky layers and warm pumpkin spice in these small batch pumpkin biscuits? Save them to Pinterest for a cozy breakfast with honey butter.
The Mistake That Makes Pumpkin Biscuits Dense Instead of Flaky
Pumpkin biscuits get heavy fast when the dough is treated like bread dough. The puree brings moisture, but it also adds weight, so the goal is to mix just enough to bring everything together and then stop. If you keep kneading after the dough looks rough and shaggy, the biscuits lose the lift that makes them worth baking.
The other thing that matters is temperature. Cold butter has to stay cold long enough to hit the oven in distinct pieces, because those pieces melt into steam pockets and push the dough upward. If your butter softens while you’re mixing, the biscuits bake up more like soft scones than layered biscuits.
- Cold butter — This is the engine of the whole recipe. Tiny visible bits are a good sign; they should look like peas, not disappear into the flour.
- Pumpkin puree — Use plain pumpkin puree, not pumpkin pie filling. The filling brings sugar and spices you can’t control, and it throws off the texture.
- Buttermilk — The acidity helps tenderness and supports the rise. If you need a substitute, mix regular milk with a little lemon juice or vinegar and use it cold.
- Flour amount — Start with the measured flour, but don’t dump in extra unless the dough is truly sticky. A slightly tacky dough bakes up lighter than a dry one.
What Each Ingredient Is Doing in These Biscuits
- All-purpose flour — This gives the biscuits enough structure to rise without turning bready. Cake flour is too soft here, and bread flour makes them tougher.
- Baking powder — The full tablespoon gives these biscuits their lift. Don’t cut it back, or the layers won’t open up the way they should.
- Sugar, cinnamon, and nutmeg — These season the dough lightly without turning it into dessert. The spices should read as warm in the background, not loud.
- Pumpkin puree — It adds color, moisture, and that subtle earthy sweetness. If the puree looks watery, blot it lightly with a paper towel first so the dough doesn’t turn wet.
- Cold buttermilk — This loosens the dough just enough to bring it together while keeping the crumb tender. If you use a thicker yogurt-based substitute, thin it until it pours like buttermilk.
- Honey butter — Softened butter, honey, and cinnamon make the finishing touch. It’s optional, but the biscuits taste complete with it because the sweetness plays off the pumpkin and spice.
How to Build the Layers Without Overworking the Dough
Mix the Dry Ingredients First
Whisk the flour, baking powder, sugar, cinnamon, nutmeg, and salt together until everything looks evenly speckled. That first mixing step matters because the baking powder needs to be spread throughout the flour, or some biscuits rise unevenly while others stay flat. Once the dry mix is even, stop stirring and move on.
Cut in the Butter Until It Looks Like Rough Crumbs
Add the cold cubed butter and work it in with a pastry cutter until you see pea-sized pieces throughout the flour. Those pieces are what create the layers, so don’t keep going until the mixture looks sandy and uniform. If the butter starts smearing, chill the bowl for a few minutes before continuing.
Bring the Dough Together Gently
Stir the pumpkin puree and cold buttermilk together, then add that mixture to the flour. Use a fork or spatula and stir only until the dry flour disappears and the dough looks shaggy. If the bowl looks a little messy at this point, that’s fine; overmixing here is what turns tender biscuits tough.
Fold, Cut, and Bake Hot
Turn the dough onto a floured surface, pat it to about 3/4-inch thick, then fold it in thirds and pat again. That one fold gives you more layers without making the dough complicated. Cut straight down with a 2.5-inch cutter, don’t twist, and bake on a hot oven rack until the tops are golden and the edges are set.
How to Adapt These Pumpkin Biscuits for Different Mornings
Dairy-Free Pumpkin Biscuits
Swap the butter for a high-quality plant butter that stays solid when cold, and replace the buttermilk with a cold unsweetened dairy-free milk mixed with a teaspoon of lemon juice. The biscuits will still rise and flake, though the flavor will be a little less rich than the original.
Make Them More Savory
Cut the sugar down to 1 teaspoon and skip the honey butter. These become a better match for eggs, sausage, or gravy, and the pumpkin still gives the biscuits a soft color and tender crumb without tasting sweet.
Gluten-Free Version
Use a 1:1 gluten-free baking flour that includes xanthan gum. The dough may need a shorter rest in the fridge if it feels too soft, and the biscuits may spread a little more, but they’ll still bake up tender instead of crumbly.
Storage and Reheating
- Refrigerator: Store baked biscuits in an airtight container for up to 3 days. The tops soften a bit, but the crumb stays tender.
- Freezer: These freeze well. Wrap each biscuit tightly and freeze for up to 2 months, or freeze the cut unbaked rounds and bake them straight from frozen with a few extra minutes.
- Reheating: Warm in a 300F oven for 8 to 10 minutes. The mistake is microwaving them too long, which makes the layers rubbery instead of flaky.
Questions I Get Asked About This Recipe
Small Batch Pumpkin Biscuits
Ingredients
Equipment
Method
- Preheat the oven to 425°F and line a baking sheet with parchment.
- Whisk together all-purpose flour, baking powder, sugar, cinnamon, nutmeg, and salt.
- Cut in cold unsalted butter with a pastry cutter until pea-sized crumbles form.
- Stir pumpkin puree and cold buttermilk together, then add to the flour mixture and stir until just combined.
- Turn the dough onto a floured surface and pat to 3/4-inch thickness.
- Fold in thirds, pat again to 3/4-inch thickness, then cut into 6 rounds using a 2.5-inch cutter.
- Place the rounds on the baking sheet and bake 16 to 18 minutes, until golden.
- Mix softened butter, honey, and cinnamon until smooth and spreadable.
- Serve the hot biscuits split open with cinnamon honey butter melting into the layers.