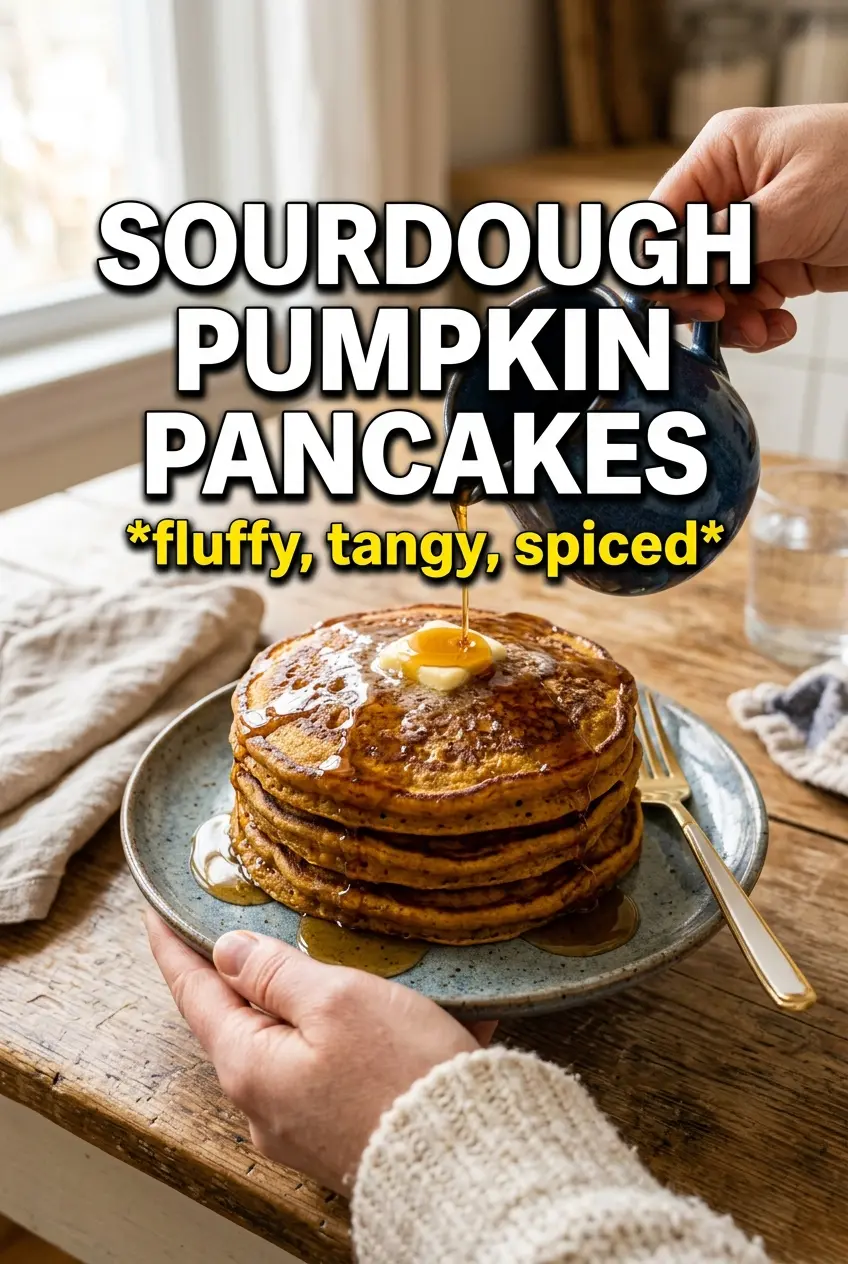
These sourdough pumpkin pancakes come off the griddle with crisp, lacy edges, a tender middle, and just enough tang to keep the pumpkin and maple from tipping into one-note sweetness. The sourdough starter gives the batter a little lift and a deeper, almost nutty flavor, while the pumpkin keeps each pancake soft without turning them heavy. They stack beautifully, hold their shape, and soak up butter and syrup without collapsing.
The trick is treating the starter like part of the flavor, not just part of the liquid. Pumpkin puree adds moisture fast, so the batter needs a brief rest only if your starter is very thick; otherwise, you want to mix and cook without dragging your feet. The baking soda goes in at the end because that quick reaction is what gives you those airy bubbles and the lightest texture in the stack.
Below, I’m breaking down the few ingredients that matter most, the part of the process that keeps the batter from going flat, and a couple of smart variations for different starters and diets.
The batter puffed up right away after I added the baking soda, and the pancakes stayed soft in the middle with those little sourdough tangy edges. My kids asked for seconds before I’d even finished the first batch.
Save these sourdough pumpkin pancakes for a breakfast stack with tangy edges, fluffy centers, and a maple-sweet finish.
The Secret to Keeping the Batter Light After the Starter Goes In
The biggest mistake with sourdough pancake batter is overmixing after the leavening goes in. Starter, pumpkin puree, and flour already make a thick base; once baking soda hits the bowl, the clock starts. Stir just until the batter looks a little foamy and the dry streaks disappear, then get it onto the griddle while those bubbles are still active.
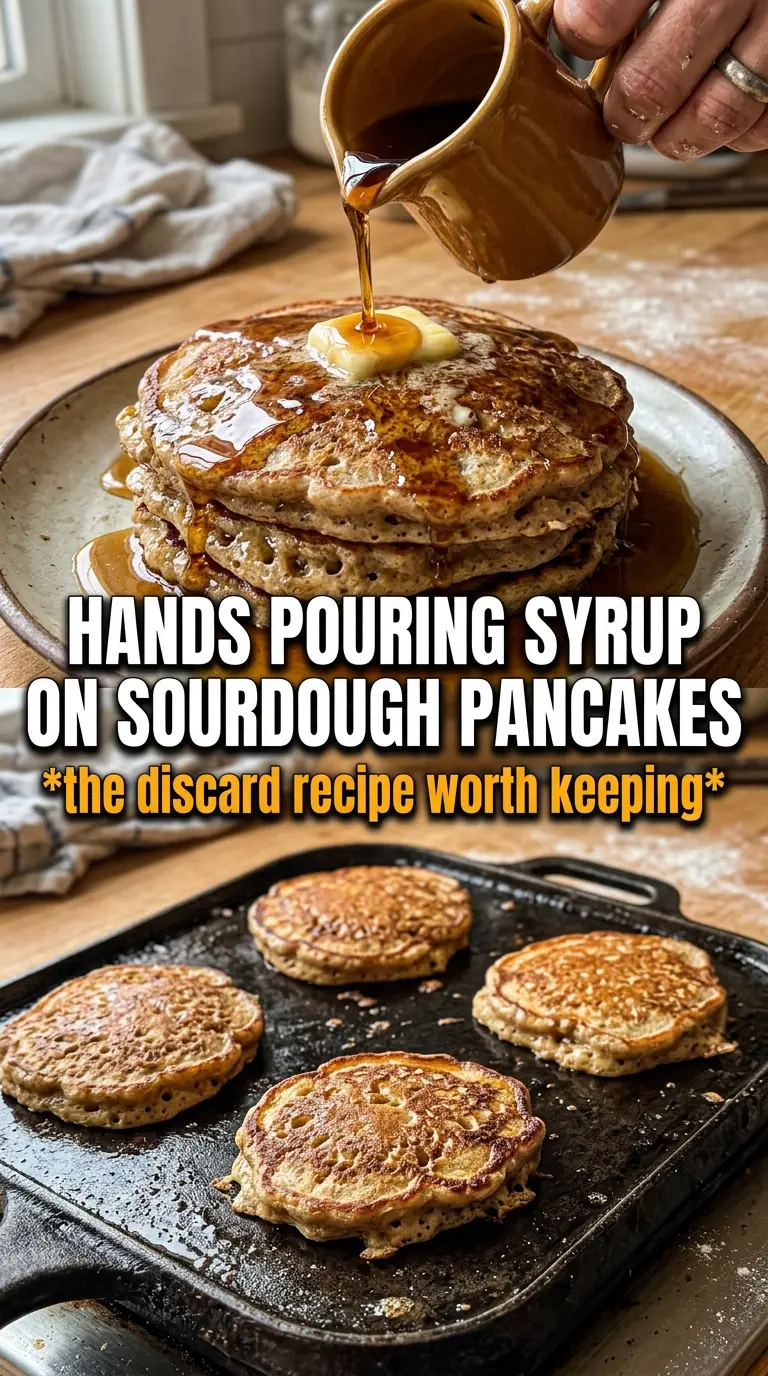
Medium heat matters more here than with plain pancakes because pumpkin browns faster and the sugars in the maple syrup can scorch. If the pan is too hot, the outside sets before the center has time to cook through, and you end up with a dark pancake that still feels gummy in the middle. A proper griddle temperature gives you a matte top with bubbles that pop and leave tiny holes before you flip.
What Each Ingredient Is Actually Doing in This Stack
- Sourdough starter — Active starter gives the strongest rise and the most obvious tang, but discard works well if you want a milder pancake. If your starter is very thick, loosen the batter with a splash more milk rather than forcing it to behave like regular pancake batter.
- Pumpkin puree — This is there for moisture, color, and a soft crumb. Use pure pumpkin puree, not pumpkin pie filling, or the pancakes will come out overly sweet and spiced before you’ve even added the syrup.
- Milk — Milk thins the batter to a pourable consistency and helps the pancakes cook up tender. Any dairy or unsweetened non-dairy milk works, but thicker plant milks can make the batter heavier, so start with the listed amount and adjust only if needed.
- Baking soda — This is the lift. Stir it in right before cooking, because it reacts immediately with the acidity in the starter and gives you the light, bubbly texture you want.
- Maple syrup and vanilla — They round out the tang without making the pancakes taste like dessert. Real maple syrup gives a cleaner finish than pancake syrup, which can taste flat once it’s cooked into the batter.
The Few Minutes That Decide Whether They Stay Fluffy
Mixing the Base
Whisk the starter, flour, pumpkin puree, milk, eggs, melted butter, maple syrup, pumpkin pie spice, cinnamon, and vanilla until the batter is smooth and thick but still pourable. A few small lumps are fine; what you want to avoid is beating in extra air and then knocking it all out later. If the batter looks stiff, add a spoonful of milk at a time until it slides off the whisk in ribbons.
Adding the Lift at the Last Second
Stir in the baking soda and salt right before the batter hits the pan. You should see the surface loosen and get a little foamy almost immediately. If you let this sit, the reaction slows down and the pancakes lose the lift that makes them tall and tender.
Cooking Until the Edges Set
Spoon about 1/4 cup batter per pancake onto a lightly greased skillet or griddle over medium heat. Wait for bubbles to form across the top and for the edges to look dry and set before you flip; that’s the sign the bottom has enough structure to turn cleanly. If the pancake spreads too much, the pan is probably too cool or the batter is too thin.
Flipping for a Golden Finish
Flip once and cook for about 2 minutes more, until the second side is golden and the center springs back lightly when touched. Don’t press down on the pancakes with the spatula or you’ll squeeze out the air you just worked to build. Serve them hot with salted butter and real maple syrup so the tangy crumb and sweet topping can balance each other.
How to Adapt These Pancakes When Your Starter or Pantry Changes
Use active starter for a taller pancake
Active starter gives the strongest rise and the most noticeable sourdough flavor. The batter will puff a little more in the pan and cook up with a lighter center, which is great if you want a breakfast stack that feels extra airy.
Make them dairy-free without losing the soft crumb
Swap the milk for unsweetened oat milk or almond milk and use a neutral dairy-free butter or oil in place of the melted butter. Oat milk gives the closest texture because it has a little body, while almond milk makes the batter slightly lighter.
Reduce the sweetness for a more breakfast-forward stack
Cut the maple syrup in the batter to 1 tablespoon if you want the pumpkin and sourdough to lead instead of the sweetness. You’ll still get nice browning, but the finished pancakes will taste more balanced under a generous pour of syrup at the table.
Storage and Reheating
- Refrigerator: Store cooked pancakes in an airtight container for up to 4 days. They soften a bit in the fridge, but they warm up well.
- Freezer: These freeze nicely. Layer them with parchment, seal them in a freezer bag, and freeze for up to 2 months.
- Reheating: Reheat in a toaster, toaster oven, or skillet over low heat until hot. The most common mistake is microwaving them too long, which makes the centers rubbery and the edges limp.