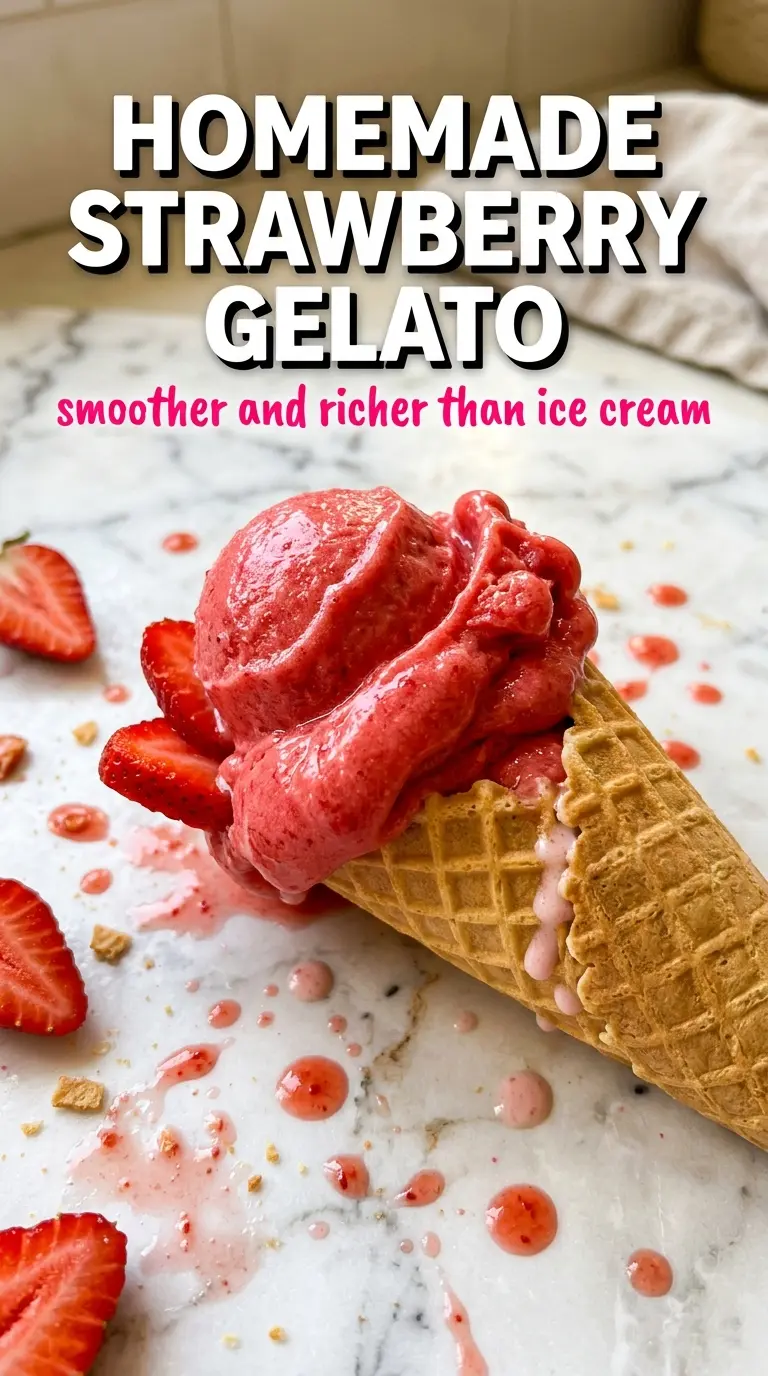
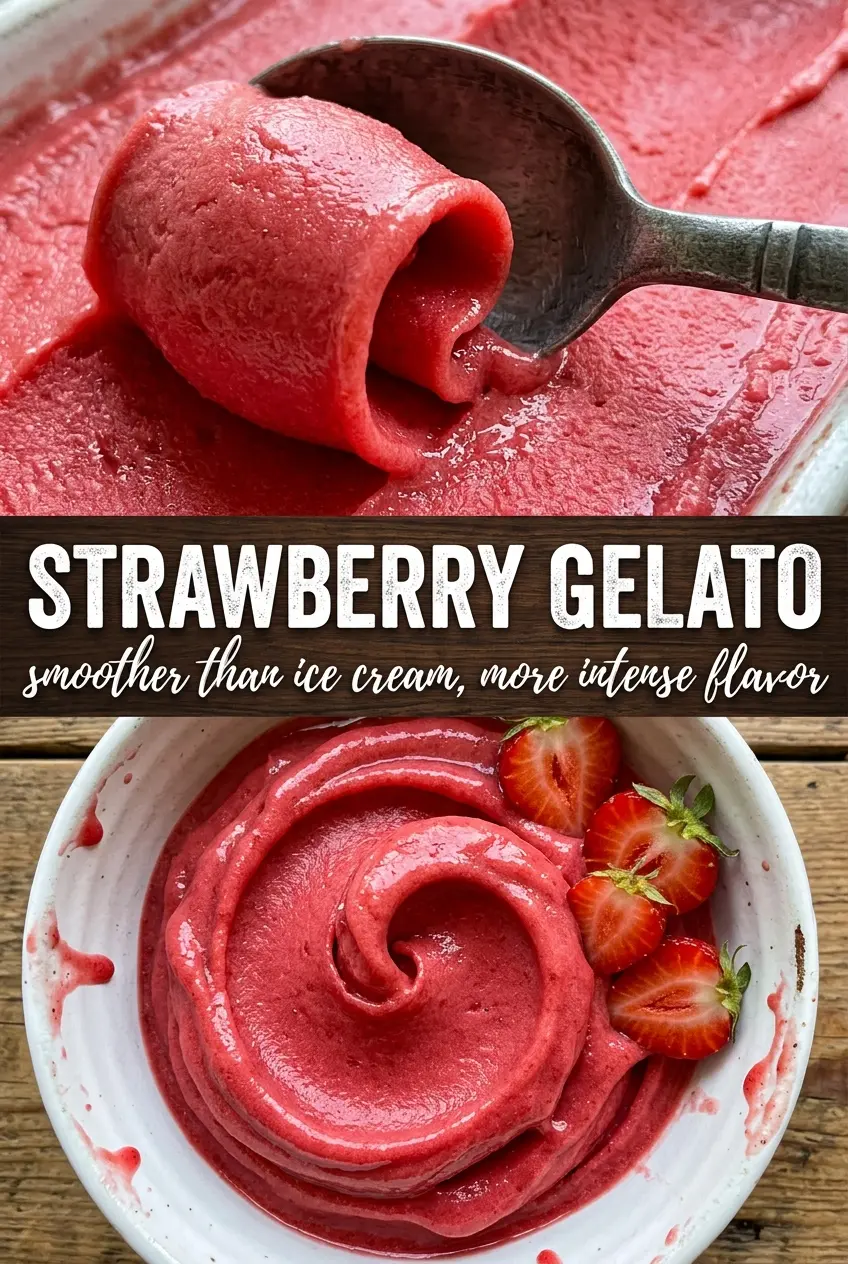
Dense strawberry gelato has a way of tasting like the fruit turned up to full volume. The color goes vivid pink-red, the texture stays silky and spoonable, and every bite lands with a clean strawberry finish instead of the muted, milky flavor that can happen when berries are buried under too much cream. This version keeps the strawberry front and center, and that’s what makes it worth pulling out the churner for.
The trick is separating the berry flavor from the dairy until each part is doing its job. The strawberries are blended with sugar and lemon juice first, which wakes up their brightness, then strained so the finished gelato stays smooth instead of seedy. A small amount of cornstarch helps the base thicken without turning heavy, and the egg yolks give it that dense, custardy body that sets gelato apart from standard ice cream.
Below, I’ll walk through the part that matters most: getting the custard thick enough without scrambling the yolks, plus the best way to chill and churn it so the texture stays tight and creamy. If you’ve ever had homemade strawberry ice cream turn pale or icy, this is the version that fixes that.
The strawberry flavor stayed bright after freezing, and the custard thickened up in about five minutes just like you said. It churned into the creamiest gelato I’ve made at home.
Love how this strawberry gelato turns bright, silky, and deeply fruity? Save it to Pinterest for the next time you want a homemade dessert with real berry flavor.
The Custard Has to Thicken Before the Strawberries Go In
The biggest mistake with strawberry gelato is adding the puree too early and then wondering why the base tastes flat or turns watery. The custard needs to cook until it coats the back of a spoon and looks like loose pudding, because that thickness gives the churned gelato its dense body. If you stop while it still looks thin, the freezer will finish the job with ice crystals instead of a smooth scoop.
Keep the heat at medium and stir constantly, scraping the bottom and corners of the pan. Cornstarch helps stabilize the base, but it still needs a gentle cook to lose that raw starch taste and bind with the yolks. The moment the custard thickens and leaves a clear trail when you drag a spatula through it, pull it off the heat. It will tighten a little more as it cools.
What Each Ingredient Is Actually Doing in This Ice Cream
- Base ingredient (cream, milk, or custard) — This provides the foundation and richness. Quality matters.
- Sweetener (sugar, honey, or condensed milk) — This sweetens and prevents ice crystals. The ratio is critical.
- Flavor element (vanilla, fruit, chocolate, coffee, or other) — This defines the ice cream personality. Use quality ingredients.
- Egg yolks (if making custard base) — These create richness and silky texture. Optional but elevates ice cream.
- Churning (if using ice cream maker) — This incorporates air and prevents ice crystals. Critical for smooth texture.
- Freezing temperature and time — Proper freezing prevents rock-hard texture. Store at 0°F or below.
- Mix-ins (chocolate, cookies, fruit, or swirls) — These add texture and prevent one-dimensional flavor. Add near end of churning.
- Serving temperature (slightly soft, not rock hard) — This provides creamy mouthfeel. Remove from freezer 5 minutes before serving.
What the Strawberries Are Doing Besides Adding Color
- Fresh strawberries — Fresh berries give this gelato its clean, bright flavor. Frozen strawberries can work in a pinch, but they usually bring more water, so cook the base a little longer and expect a softer set.
- Lemon juice — This sharpens the berry flavor and keeps the finished gelato tasting fresh instead of dull. Don’t skip it; that small amount is what keeps the strawberries from tasting cooked.
- Egg yolks — The yolks make the texture dense and silky. Whole eggs won’t give the same custardy body, and the gelato will feel looser after freezing.
- Cornstarch — This is the quiet insurance policy in the recipe. It helps the custard thicken without needing a lot of eggs, and it keeps the base from freezing as hard as a block of fruit cream.
- Heavy cream and whole milk — The whole milk keeps the strawberry flavor bright, while the cream adds just enough richness to smooth out the texture. Using all cream would make the fruit taste heavier and less vivid.
Chilling the Base, Churning the Texture, and Knowing When to Stop
Making the Strawberry Purée
Blend the strawberries with part of the sugar and the lemon juice until completely smooth, then strain out the seeds. Straining matters here because gelato should feel dense and polished, not gritty or seedy on the tongue. The sugar pulls juice from the berries and helps the puree stay bright after freezing. Set it aside until the custard base is fully cooled so the fruit flavor stays fresh.
Cooking the Custard Base
Heat the milk and cream until steaming, not boiling. Whisk the yolks, remaining sugar, and cornstarch until the mixture looks smooth and slightly pale, then slowly stream in the hot dairy while whisking so the eggs don’t scramble. Return everything to the pan and stir constantly over medium heat until the mixture thickens like pudding. If you stop too early, it will still be thin in the freezer; if you rush it on high heat, the yolks can curdle at the bottom of the pan.
Finishing and Chilling
Off the heat, stir in the strawberry purée and vanilla. The base should look pink immediately and smell like fresh berries rather than cooked jam. Set the pan over an ice bath and stir until it’s cool, then refrigerate for at least four hours. That cold rest is what gives the churned gelato a fine, dense texture instead of a fluffy one.
Churning for a Dense Scoop
Churn the mixture on the lowest setting your machine allows, and stop as soon as it reaches a soft, thick, almost elastic texture. Gelato should look tighter than regular ice cream, not whipped and airy. If your machine runs warm or you churn too long, the base can soften too much and lose that compact, scoopable body. Serve it soft for the silkiest texture, or freeze it for an hour or two if you want cleaner quenelles.
How to Adapt This Strawberry Gelato Without Losing the Texture
Dairy-Free Version with Coconut Milk
Swap the whole milk and heavy cream for full-fat canned coconut milk, keeping the same total volume. The gelato will be a little more aromatic and less neutral, but it still churns into a smooth frozen dessert. Keep the strawberry puree strong so the coconut doesn’t take over.
Strawberry-Basil Gelato
Infuse the milk mixture with a small handful of torn basil leaves while it heats, then strain them out before tempering the yolks. Basil adds a fresh, slightly peppery note that plays well with strawberries, but keep it light or it will push the gelato away from dessert and into herb territory.
Lower-Sugar Version
You can cut the sugar slightly, but don’t remove too much or the gelato will freeze hard and taste dull. Sugar does more than sweeten here; it also keeps the texture supple. If you reduce it, expect a firmer scoop and plan to soften the container at room temperature for a few minutes before serving.
Storage and Reheating
- Refrigerator: The base can be held up to 24 hours before churning, which actually helps the texture. Once churned, store the gelato in a shallow airtight container for up to 2 weeks.
- Freezer: It freezes well, but homemade gelato always firms up more than the machine version. Press parchment or plastic wrap directly on the surface to limit ice crystals and keep the color bright.
- Reheating: Let it sit at room temperature for 5 to 10 minutes before scooping. The common mistake is microwaving it, which melts the edges and leaves the center icy and uneven.
Answers to the Questions Worth Asking
Strawberry Gelato
Ingredients
Equipment
Method
- Blend the fresh strawberries with 1/4 cup sugar and the lemon juice until smooth, then strain to remove seeds and set the puree aside.
- Set the strained strawberry puree aside while you prepare the custard so it stays vivid and ready to fold in.
- Heat the whole milk and heavy cream together in a saucepan until steaming, then reduce heat to maintain gentle steam.
- Whisk the egg yolks, remaining 1/2 cup sugar, and cornstarch until smooth with no lumps.
- Slowly whisk the hot milk mixture into the egg mixture to temper it, then return everything to the saucepan.
- Cook over medium heat, stirring constantly, until thickened like a pudding—about 5 minutes with a glossy, spoon-coating texture.
- Remove from the heat and stir in the strawberry puree and vanilla extract until evenly pink-red.
- Cool the mixture completely over an ice bath, stirring occasionally to prevent a film from forming.
- Refrigerate at least 4 hours to fully chill the base before churning.
- Churn in an ice cream maker on the lowest setting for a dense, gelato-style texture.
- Serve soft right away, or freeze 1-2 hours until firm enough to scoop.