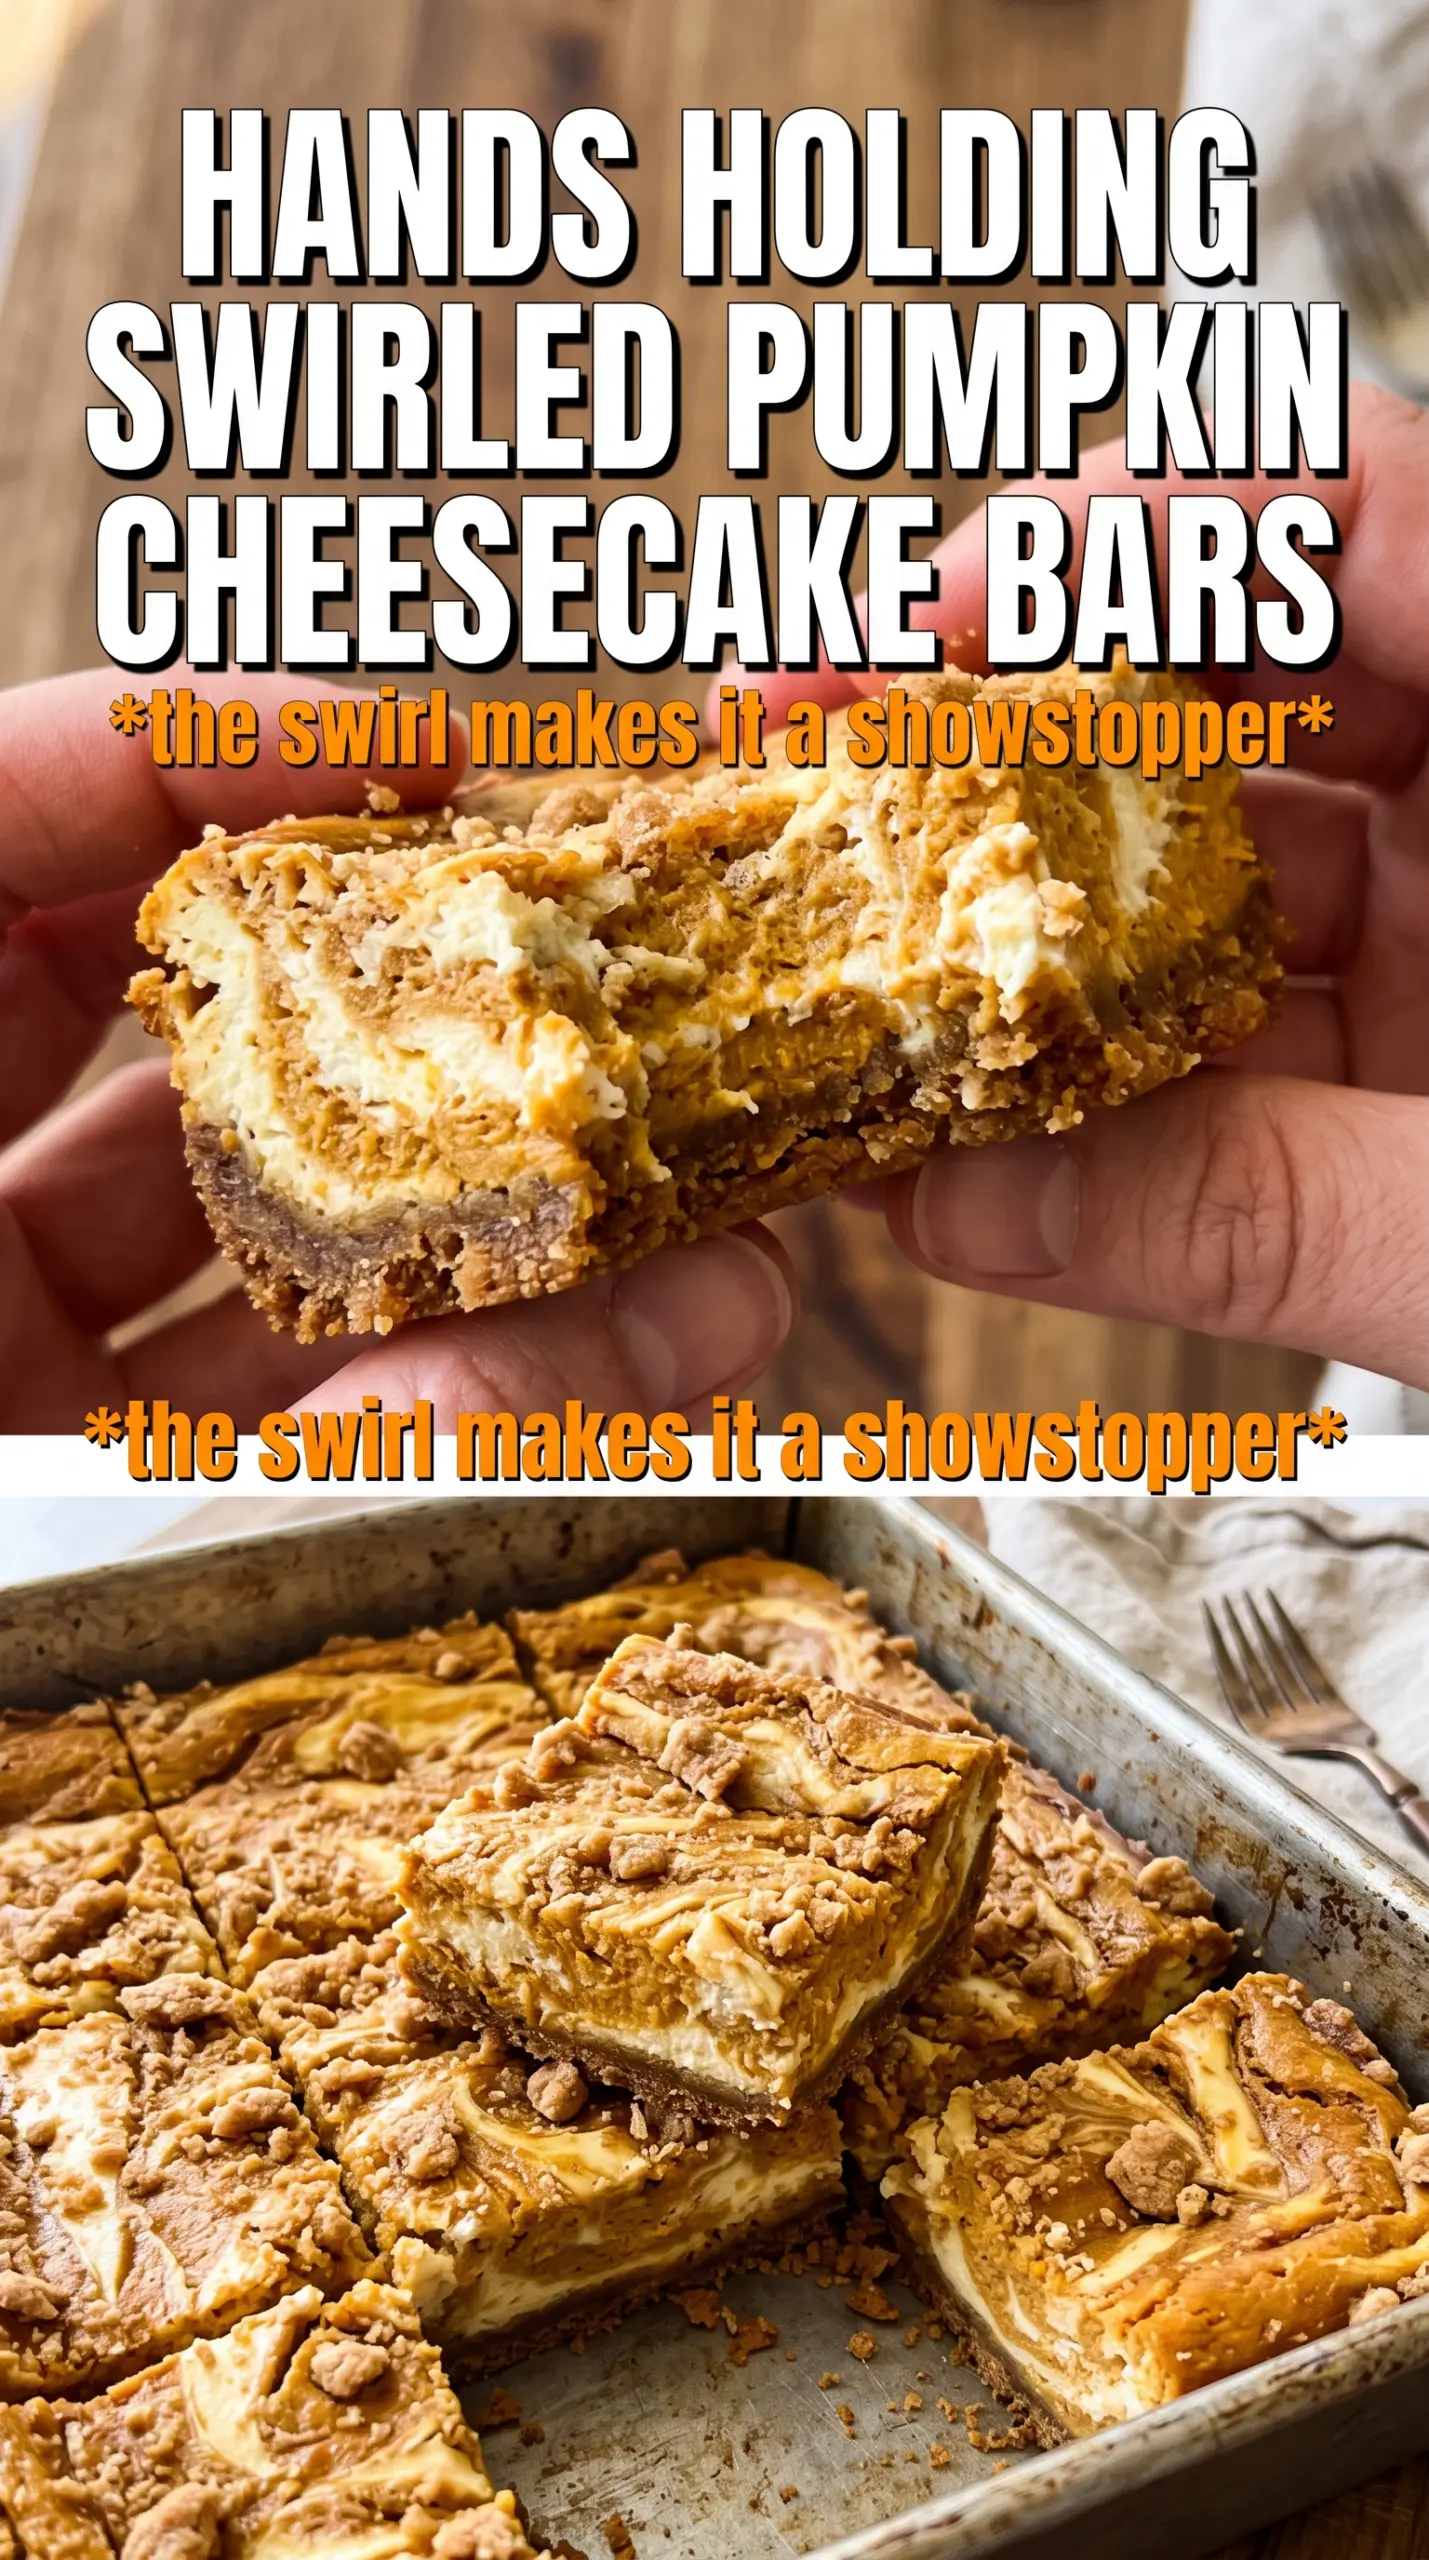
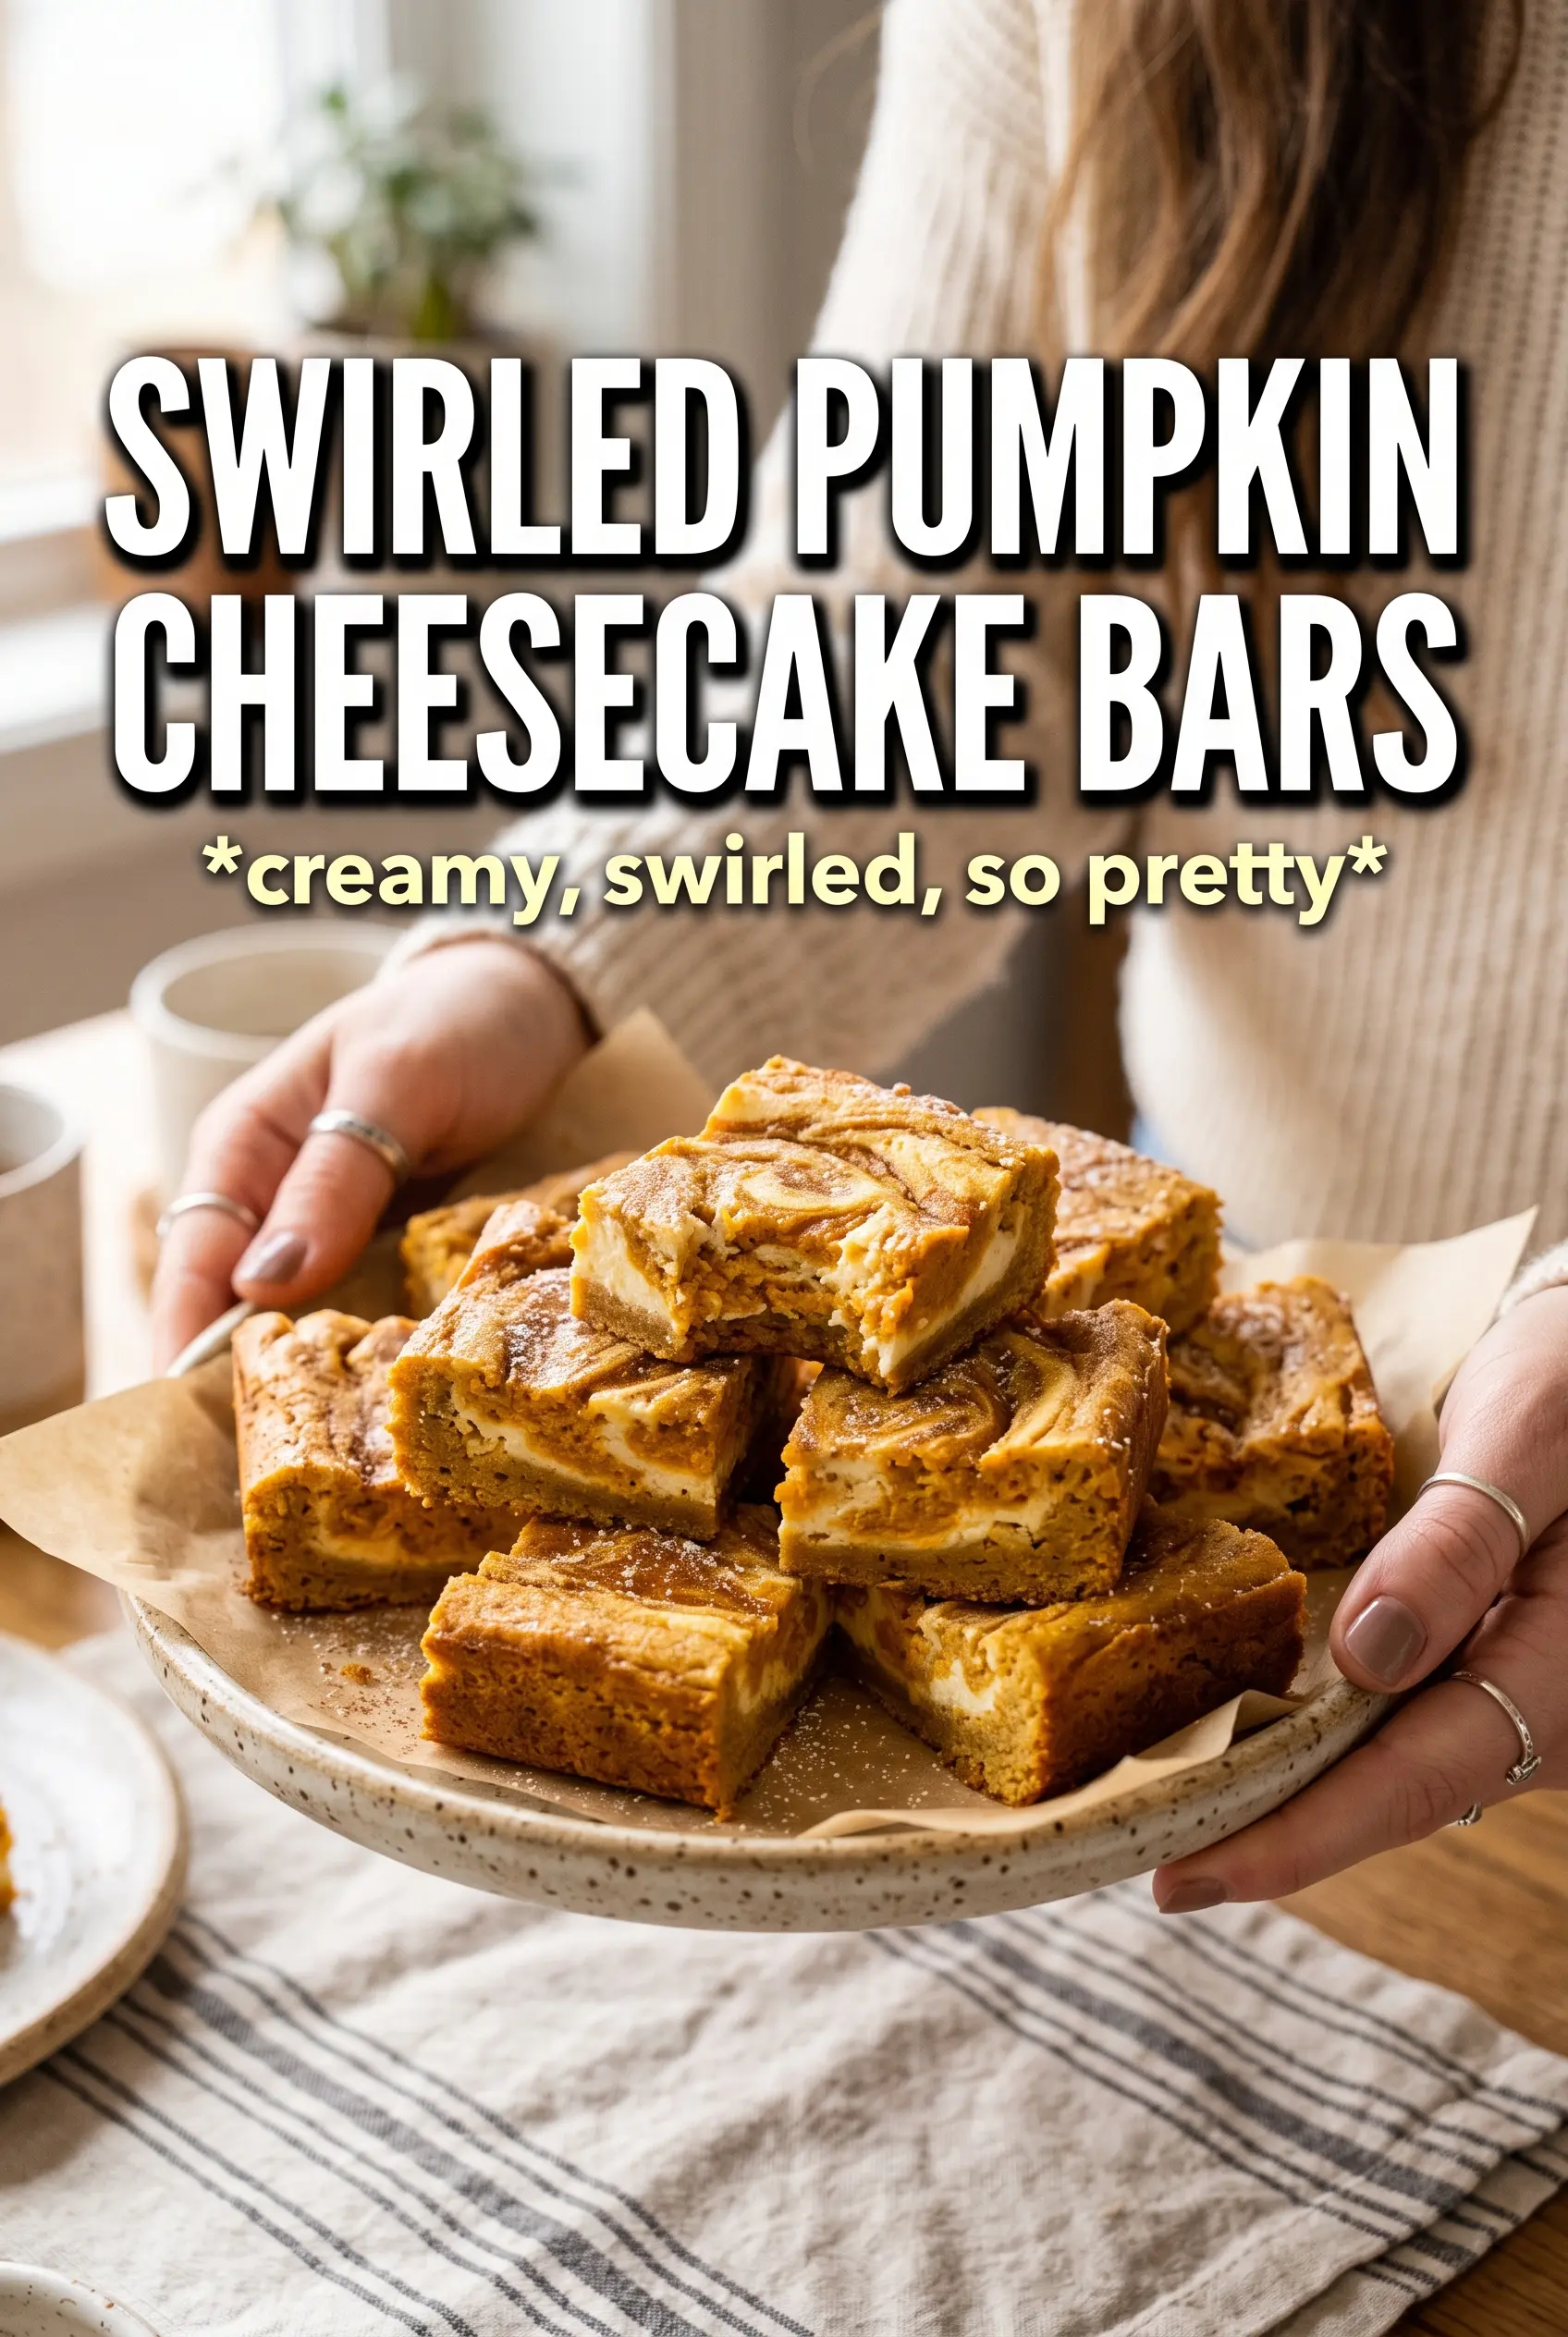
Swirled pumpkin cheesecake bars land right in the sweet spot between a classic cheesecake and a pumpkin dessert that actually slices cleanly. The filling bakes up creamy and tangy, the pumpkin swirl gives each bar a marbled look without turning the whole pan muddy, and the crust stays firm enough to hold the bars in your hand. It’s the kind of dessert that looks like you worked harder than you did.
The trick is keeping both layers smooth before they go into the pan. Softened cream cheese beats into a satiny base much faster, and that matters because lumps don’t disappear once the eggs are in. I also like baking the crust briefly before adding the filling; that small head start keeps it from going sandy under the weight of the cheesecake.
Below, you’ll find the easiest way to get that dramatic swirl without overmixing it away, plus the little chilling step that gives you sharp slices instead of a soft, messy pan.
The swirl stayed gorgeous after baking and the bars chilled into perfect squares. The gingersnap crust gave them just enough spice without taking over.
Save these swirled pumpkin cheesecake bars for the dessert table — that marbled top and crisp gingersnap edge are worth coming back to.
The Swirl That Keeps the Layers Separate
Most cheesecake bars go wrong when the pumpkin mixture gets stirred too deeply into the vanilla layer and the whole pan turns one flat color. The goal here is contrast: a creamy base with defined ribbons of pumpkin running through it. Large spoonfuls and a light hand with the knife give you that marbled look without blending the batters into one another.
The other thing that matters is doneness. Cheesecake bars should still have a slight wobble in the center when they come out of the oven. If the middle looks completely firm, they’ve usually gone a little too far, and that’s when the texture turns dry instead of creamy after chilling.
- Crust — Graham crumbs give you a classic, mildly sweet base, while gingersnap crumbs bring extra spice that works especially well with the pumpkin swirl. Either one should be mixed until every crumb looks evenly coated in butter; dry patches bake up crumbly and fall apart when you cut the bars.
- Cream cheese — This is the backbone of both layers. Full-fat cream cheese gives the smoothest texture and the cleanest slice, and softened cream cheese beats much more evenly than cold blocks. If you rush this step, you’ll end up chasing lumps later.
- Sour cream — This keeps the vanilla layer from tasting heavy. It adds a little tang and helps the filling stay silky after chilling. Plain full-fat Greek yogurt can work in a pinch, but the texture is a touch less lush.
- Pumpkin puree — Use plain pumpkin puree, not pumpkin pie filling. The filling already has sugar and spice built in, and pie filling will push the bars into overly sweet, overly soft territory. Drain off any excess liquid if your puree looks loose.
What Each Ingredient Is Actually Doing in This Recipe
- Primary ingredient (the star) — Quality matters most. Choose the best you can find.
- Cooking medium (oil, butter, or broth) — This carries flavors and prevents dryness.
- Seasonings (salt, pepper, spices, herbs) — Layer flavors so nothing overpowers. Build depth gradually.
- Aromatics (garlic, onion, herbs) — Cook with fat to bloom flavors. Become the foundation.
- Supporting ingredients — Complement the main ingredient without overpowering it.
- Sauce or liquid (if applicable) — Brings flavors together. Balance richness with acid.
- Acid (lemon, vinegar, wine, or other) — Brightens and prevents flat-tasting results.
- Final finish (garnish, glaze, or sauce) — Prevents one-dimensional taste and adds visual appeal.
Building the Pan So the Bars Slice Cleanly
Pressing and Baking the Crust
Mix the crumbs, sugar, and melted butter until the texture feels like damp sand, then press it firmly into a lined 9×13 pan. Use the bottom of a measuring cup to pack it down evenly, especially in the corners where loose crumbs tend to collect. Bake it just until it smells toasty and looks set around the edges, about 8 minutes. That quick bake keeps the crust from tasting raw once the filling goes in.
Mixing the Two Fillings Separately
Beat the vanilla cheesecake layer until it looks smooth and glossy, then set it aside before making the pumpkin swirl. The pumpkin mixture should be equally smooth, with no streaks of cream cheese left behind. Overbeating after the eggs go in can add too much air, and that air turns into cracks as the bars cool, so stop mixing as soon as the batter comes together.
Creating the Marbled Top
Pour the vanilla filling over the crust first, then drop the pumpkin mixture in large spoonfuls across the surface. Don’t spread it out completely; the spoonfuls need to sit on top long enough for the knife to drag them into ribbons. Run a knife through the surface in broad S-shapes or figure-eights, just a few passes. If you swirl too much, the layers blur and you lose the pattern.
Baking Until Just Set
Bake until the edges look set and the center still has a gentle jiggle when you move the pan. The bars will finish setting from residual heat as they cool, so pulling them at the right moment matters more than waiting for them to look fully firm in the oven. Let them cool completely before chilling, then refrigerate for at least 3 hours. Cutting them warm is the fastest way to end up with sloppy edges and a smeared swirl.
How to Adapt These Bars Without Losing the Texture
Use a gingersnap crust for a spicier finish
Gingersnap crumbs make the bars taste a little more autumn-spiced and give the bottom layer a deeper, snappier flavor. They’re especially good if you want the pumpkin filling to stay front and center without the crust tasting plain. Bake and press them the same way you would graham crumbs.
Make them gluten-free with one simple swap
Use gluten-free graham-style crumbs or gluten-free gingersnaps in the crust, then keep the filling exactly the same. The texture stays nearly identical as long as the crumbs are finely ground and well-buttered. A coarse gluten-free cookie crust can crumble when sliced, so pulse it a little finer than you think you need.
Swap in dairy-free cream cheese for a softer result
A good dairy-free cream cheese substitute will work, but expect a slightly softer set and a gentler tang. Choose one that’s meant for baking, not a spread that stays loose at room temperature. Chill the bars a full extra hour before cutting so the filling has time to firm up.
Storage and Reheating
- Refrigerator: Store covered for up to 5 days. The crust stays best in the first 2 to 3 days, and the filling firms up even more after the first night.
- Freezer: These freeze well. Cut into bars, wrap individually, and freeze in an airtight container for up to 2 months. Thaw in the refrigerator so the texture stays creamy instead of watery.
- Reheating: Serve these chilled or barely cool. Warming cheesecake bars softens the filling and can make the crust greasy, so don’t microwave them unless you want a very soft dessert.
Questions I Get Asked About This Recipe
Swirled Pumpkin Cheesecake Bars
Ingredients
Equipment
Method
- Preheat the oven to 325F. Press the crumbs, sugar, and melted butter into a lined 9x13 pan, then bake for 8 minutes with the edges lightly set and fragrant.
- Beat the softened cream cheese, sugar, eggs, sour cream, and vanilla for the vanilla cheesecake layer until smooth, then set aside. Stop when the mixture looks glossy and lump-free.
- Beat the softened cream cheese, pumpkin puree, brown sugar, egg, pumpkin pie spice, cinnamon, and vanilla for the pumpkin swirl layer until smooth, then set aside. Stop when the pumpkin mixture is thick but pourable.
- Pour the vanilla cheesecake over the crust, covering it in an even layer. Use the pour to spread to the corners.
- Dollop the pumpkin mixture in large spoonfuls over the vanilla layer. Scatter them so you can see plenty of orange dots across the surface.
- Use a knife to swirl dramatically to create a marbled pattern. Drag through the top layer in wide strokes, then lift the knife to prevent fully blending.
- Bake at 325F for 32-35 minutes until the center is just set with a slight jiggle. Look for faintly matte surfaces with no wet liquid spots.
- Cool the bars before refrigerating for 3 hours. Refrigerate until fully firm, then cut into bars with clean edges.