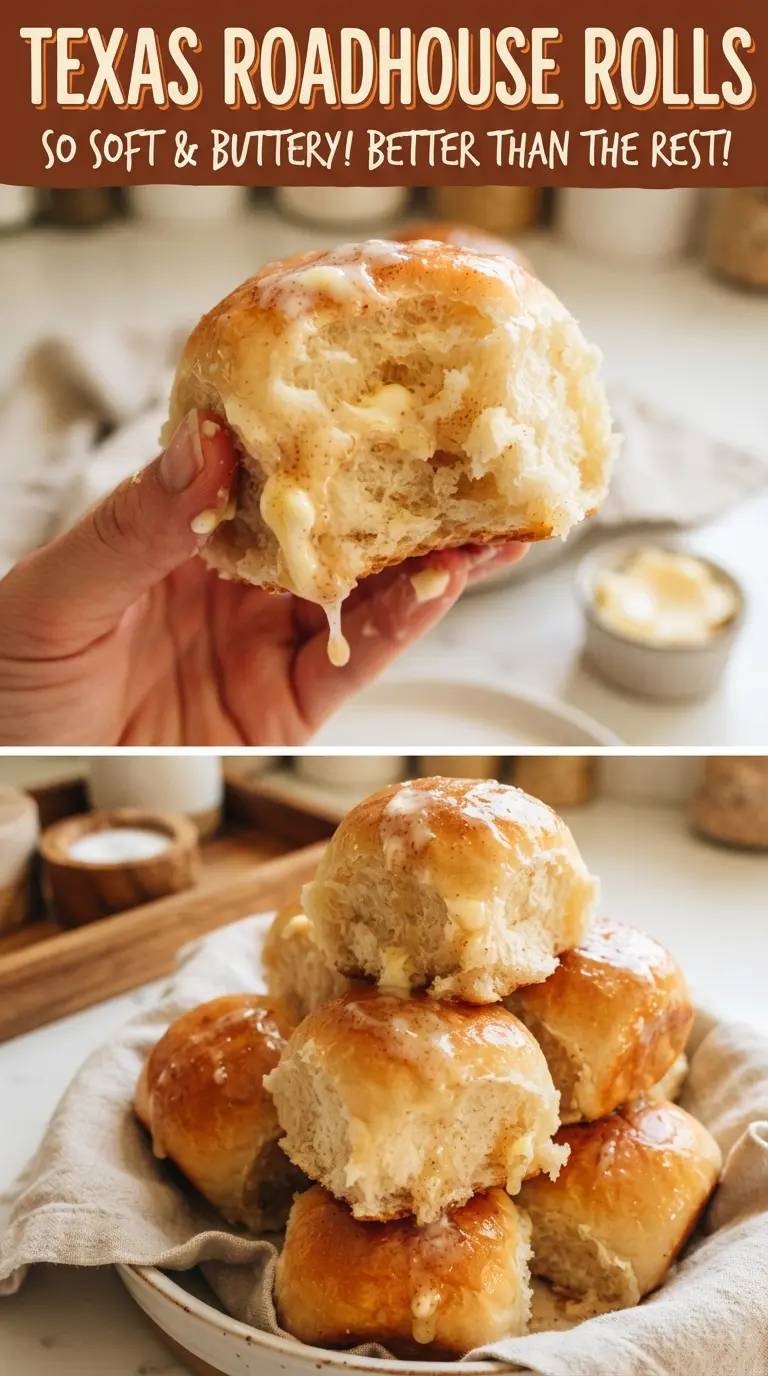
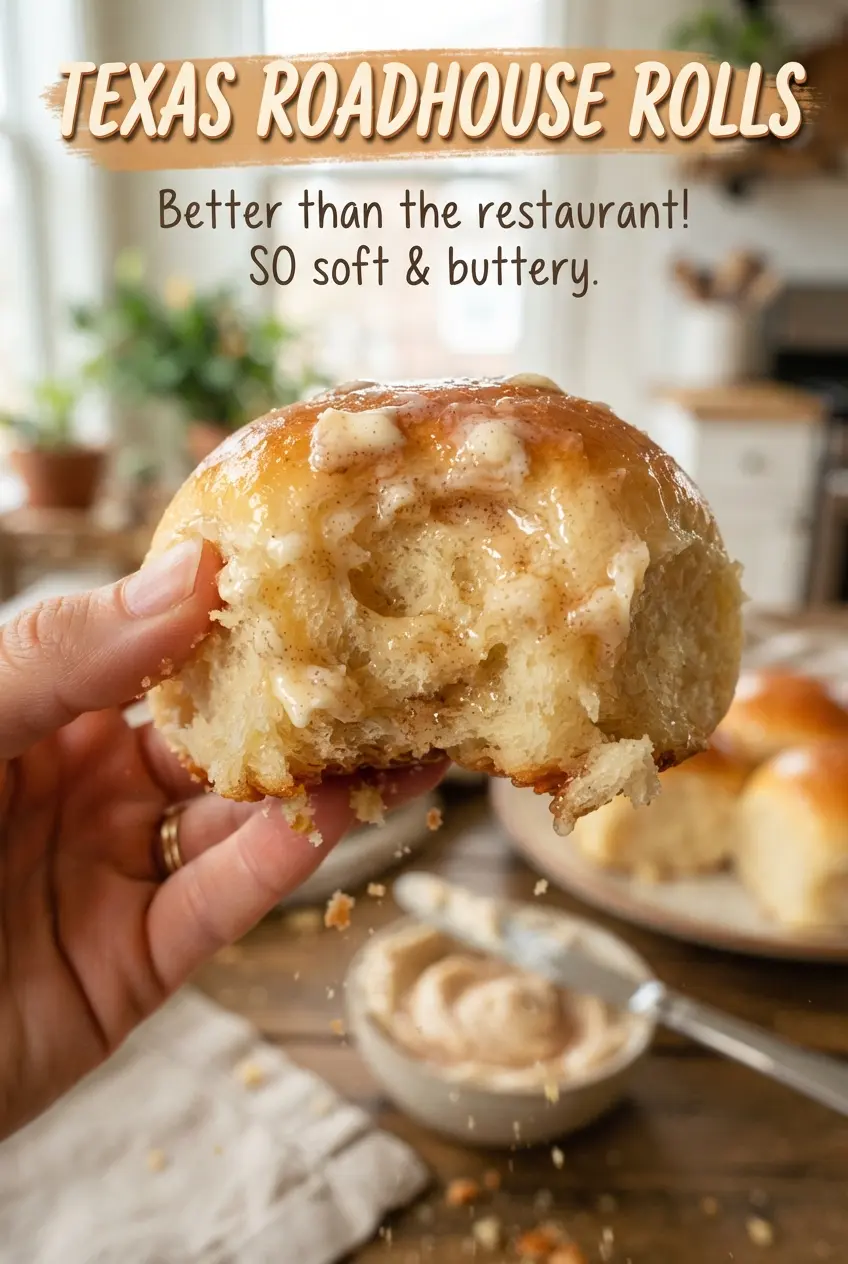
Texas Roadhouse Rolls bake up soft, pillowy, and just a little sweet, with that shiny buttered top that makes people reach for a second one before they’ve finished the first. The texture is the whole point here: tender enough to tear apart with your fingers, sturdy enough to split open and fill with a thick swipe of cinnamon honey butter. When they’re right, the centers stay fluffy and the bottoms bake to a light golden color without getting dry.
What sets these apart is the balance in the dough. The milk, butter, and egg give richness, but the dough still needs a good knead to build enough structure for that signature cloudlike bite. The first rise gives flavor, and the second rise is what keeps the rolls light instead of dense. The butter wash at the end matters too; it softens the crust just enough and gives the rolls that familiar bakery-style finish.
Below, you’ll find the small details that make these rolls work every time, plus the best way to shape them if you want evenly puffy squares with clean edges.
The dough rose right on schedule and baked up unbelievably soft — the squares pulled apart cleanly, and the cinnamon honey butter melted into every little nook.
Save these Texas Roadhouse Rolls for the softest copycat dinner rolls with cinnamon honey butter on the side.
The Detail That Keeps These Rolls Soft Instead of Dense
The most common mistake with copycat dinner rolls is adding too much flour. This dough should feel soft and a little tacky before the first rise, not stiff and dry. If you keep dusting in flour until it stops sticking to your hands completely, the rolls will bake up tight and bready instead of airy.
The second thing that matters is the double rise. The first rise builds flavor, but the second rise is what gives the rolls their tall, fluffy interior. If you rush that step, the squares will still bake, but they’ll lose the light pull-apart texture that makes these rolls worth making at home.
- Whole milk — Warm milk helps wake up the yeast and adds richness. It should feel barely warm, not hot; anything above about 115°F can weaken the yeast.
- Active dry yeast — This gives the rolls their lift and that soft, airy crumb. If your yeast doesn’t foam in the first five minutes, start over; the dough won’t rise properly.
- Butter — Melted butter in the dough makes the crumb tender, and softened butter in the cinnamon honey butter gives you that smooth, spreadable finish. Use real butter here; substitutes won’t taste the same.
- All-purpose flour — This is the right balance for a soft roll without making it too delicate. Bread flour will make them a little chewier and less true to the original texture.
- Honey and cinnamon — These belong in the finishing butter, not the dough. That keeps the rolls from tasting overly sweet while still giving you the signature spread people expect.
What Each Ingredient Is Actually Doing in This Recipe
- Primary ingredient (the star) — Quality matters most. Choose the best you can find.
- Cooking medium (oil, butter, or broth) — This carries flavors and prevents dryness.
- Seasonings (salt, pepper, spices, herbs) — Layer flavors so nothing overpowers. Build depth gradually.
- Aromatics (garlic, onion, herbs) — Cook with fat to bloom flavors. Become the foundation.
- Supporting ingredients — Complement the main ingredient without overpowering it.
- Sauce or liquid (if applicable) — Brings flavors together. Balance richness with acid.
- Acid (lemon, vinegar, wine, or other) — Brightens and prevents flat-tasting results.
- Final finish (garnish, glaze, or sauce) — Prevents one-dimensional taste and adds visual appeal.
How to Shape the Dough So the Rolls Bake Evenly
Building the Dough
Start by letting the yeast foam in the warm milk and water with a little sugar. That foam tells you the yeast is alive and ready. Once the flour goes in, knead until the dough turns smooth and elastic; it should spring back slowly when pressed. If it tears easily or feels shaggy after several minutes, it needs more kneading, not more flour.
Letting the First Rise Do Its Job
Cover the bowl and let the dough rise until it doubles in size. The dough should look puffy and hold soft indentations when you press it gently with a finger. If your kitchen is cool, this may take a bit longer, and that’s fine. Cutting the rise short is one of the fastest ways to end up with rolls that bake up dense in the middle.
Rolling, Folding, and Cutting
Roll the dough into a 1/2-inch-thick rectangle, fold it in half, and cut it into squares. That fold gives the rolls a little extra height and helps create the soft layered look inside. Use a sharp knife or bench scraper for clean edges; dragging a dull cutter can compress the dough and knock out too much air. Place the squares with a little space between them so they can puff instead of merging into one mass.
The Final Rise and Bake
After the shaped rolls rest again, they should look airy and almost marshmallow-soft. Bake them until the tops are lightly golden and the bottoms are set, then brush with melted butter while they’re still hot. If you wait too long to butter them, the surface won’t soften the same way. The cinnamon honey butter can be whipped while the rolls bake, so everything lands on the table warm.
How to Adapt These Rolls for Different Tables and Schedules
Dairy-Free Swap
Use an unsweetened plant-based milk and a solid vegan butter with a similar fat content. The rolls will still rise and bake up soft, but the flavor will be a little less rich, so don’t skip the butter brushing at the end. The cinnamon honey butter can be made with the same dairy-free butter substitute and still turns out fluffy.
If You Want Slightly Sweeter Rolls
Add a tablespoon or two more sugar to the dough if you want a more dessert-like roll, but keep it modest. Too much sugar slows the yeast and can make the crumb heavier. The cinnamon honey butter already brings plenty of sweetness, so the dough only needs a gentle nudge.
Make-Ahead Timing
Shape the rolls, cover the pan tightly, and refrigerate overnight after the first rise and shaping. The next day, let them sit at room temperature until puffy before baking. If you bake them straight from the fridge, the centers lag behind and the tops brown before the rolls finish rising in the oven.
Storage and Reheating
- Refrigerator: Store in an airtight container for up to 4 days. They’ll firm up a little, but the texture comes back with gentle reheating.
- Freezer: Freeze baked rolls for up to 2 months. Wrap tightly and thaw at room temperature before reheating, or freeze the unbaked shaped rolls and let them thaw and rise before baking.
- Reheating: Warm in a 300°F oven for 5 to 8 minutes, covered loosely with foil so the tops don’t dry out. The common mistake is using the microwave too long, which turns the crumb rubbery instead of soft.
Questions I Get Asked About This Recipe
Texas Roadhouse Rolls
Ingredients
Equipment
Method
- Combine whole milk, warm water, active dry yeast, and 1 tablespoon sugar, then let stand 5 minutes until foamy (visual cue: yeast mixture looks bubbly and active).
- Add the remaining sugar, large egg, melted butter, salt, and all-purpose flour, then knead until the dough is soft and smooth, about 8 minutes (visual cue: dough becomes elastic and cohesive).
- Cover and let the dough rise for 1 hour until doubled in size (visual cue: dough expands about twice and looks airy).
- Roll the dough into a 1/2-inch thick rectangle, fold it in half, and cut into 2-inch squares (visual cue: uniform squares ready to proof).
- Place the squares on a parchment-lined sheet, cover, and rise for 1 hour until puffy (visual cue: rolls look swollen and touch each other slightly).
- Preheat the oven to 350F, then bake for 12-15 minutes until golden (visual cue: tops turn light golden and set).
- Brush the hot rolls with melted butter (visual cue: glossy butter sheen on the surface).
- Whip softened butter, powdered sugar, honey, and ground cinnamon until fluffy (visual cue: mixture turns pale and holds soft peaks).
- Serve the warm rolls with the whipped cinnamon honey butter (visual cue: butter melts slightly into the fluffy center).