Tri-tip rewards a hot pan or grill with a deeply seasoned crust and a pink, juicy center that slices cleanly after a proper rest. It’s the kind of roast that looks casual on the platter but eats like something you planned around, which is exactly why it earns repeat status.
The trick is keeping the seasoning simple and giving the meat enough heat at the start to build color before you finish it gently. A good rub of salt, pepper, garlic, paprika, and oregano brings out the beef without burying it, and the olive oil helps the crust cling instead of flaking off in the heat. Whether you grill it or roast it, the target is the same: pull it at medium-rare and let the carryover heat do the last little bit of work.
Below you’ll find the timing that keeps tri-tip tender instead of dry, plus the one slicing step that makes the difference between chewy and perfect.
The crust turned out beautifully seasoned and the center stayed pink and tender after the rest. I sliced it too early the first time, and you were right — waiting the full 15 minutes made all the difference.
Save this grilled or oven-roasted tri-tip for the nights when you want a crusty, medium-rare beef roast without a long list of ingredients.
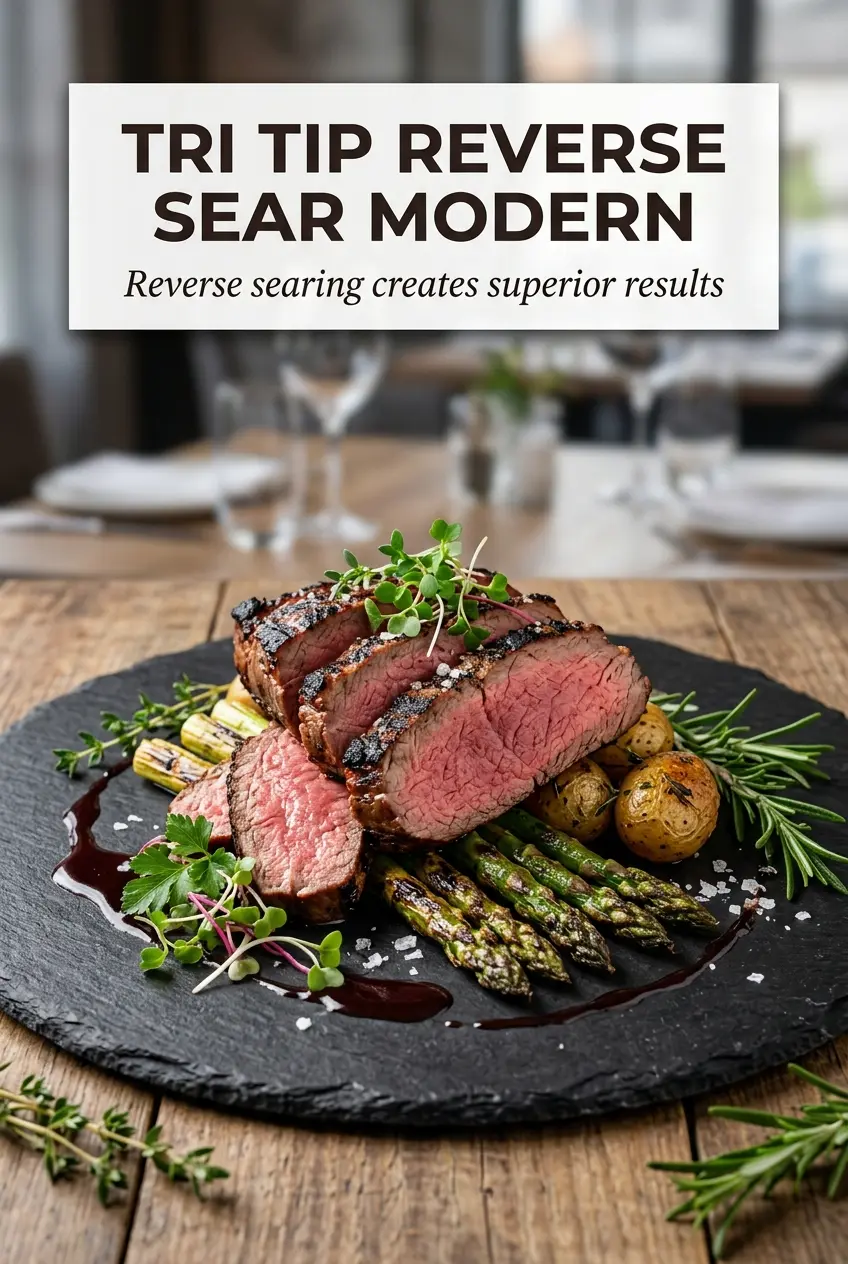
The Sear Is Doing More Work Than the Oven Ever Will
Tri-tip can go dry fast if you treat it like a lean roast that needs gentle heat from the start. It needs a hard sear first. That first blast of heat builds the crust, wakes up the spice rub, and gives you the deep beefy flavor that makes this cut worth buying. Once that exterior is set, the finish is just about nudging the center to 130-135°F and stopping there before carryover heat pushes it past medium-rare.
The other place people miss is the rest. If you slice tri-tip the minute it comes off the heat, the juices run out and the meat eats tighter than it should. Letting it sit for 15 minutes keeps those juices where they belong. Then slice against the grain, which matters even more on tri-tip because the muscle fibers change direction across the roast.
- Salt in the rub — This is what seasons the meat all the way through, not just the surface. Use kosher salt for the best control.
- High heat at the beginning — Whether you grill or use a skillet, the first side should hit real heat. That’s how you get browning before the interior overcooks.
- Resting before slicing — This isn’t optional here. Tri-tip needs those 15 minutes to relax so the slices stay juicy.
What Each Ingredient Is Actually Doing Here
- Tri-tip roast — This cut has great beef flavor and a nice sliceable texture when cooked to medium-rare. Don’t push it to well-done if you want it tender.
- Olive oil — It helps the seasoning cling and encourages even browning. Any neutral oil works, but olive oil gives the rub a little more richness.
- Kosher salt — This is the backbone of the rub. Fine salt can work, but you’ll want less by volume because it packs more tightly.
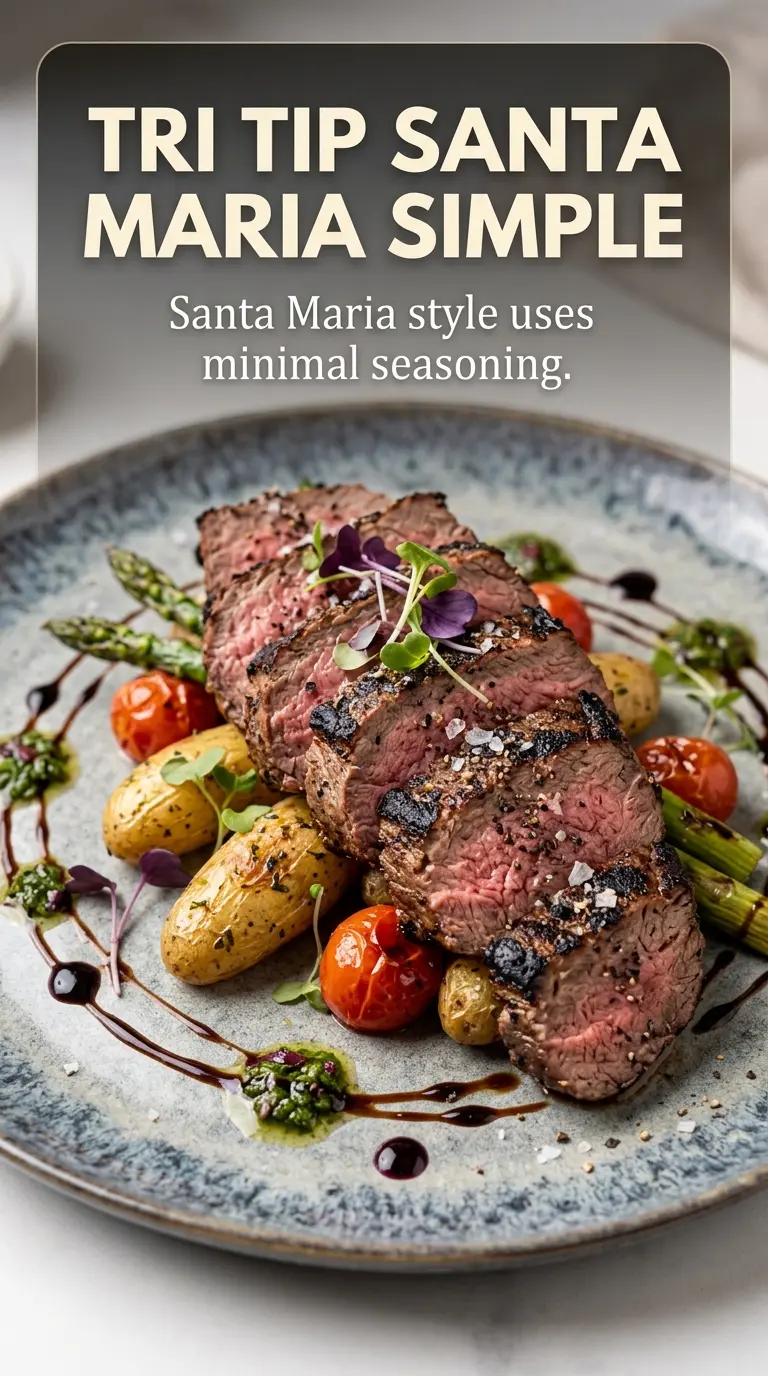
- Black pepper, garlic powder, paprika, onion powder, dried oregano — Together they build that Santa Maria-style barbecue flavor without needing a marinade. Paprika helps the crust color, garlic and onion add depth, and oregano gives the roast its classic savory edge.
Getting the Crust Right Before the Center Catches Up
Seasoning and Resting at Room Temperature
Mix the rub until the spices are evenly distributed, then coat the tri-tip with olive oil before pressing the seasoning on generously. The oil helps the rub stick and gives the surface a better chance of browning instead of drying out. Let the roast sit at room temperature for about 30 minutes so the chill comes off the meat; that helps the center cook more evenly and keeps the outside from racing ahead too fast.
Grilling for a Deep Brown Crust
Start over high heat and sear the tri-tip for about 5 minutes per side. You want a dark, crusty exterior with good grill marks and some rendered fat, not just a pale surface with spice stuck to it. After that, move it to indirect heat and finish until the internal temperature reads 130-135°F. If the flames are too aggressive, they’ll char the rub before the roast has time to cook through, so shift it off the hottest spot once the crust is set.
Oven Roasting After a Stovetop Sear
For the oven version, sear the roast first in a hot skillet to build color, then transfer it to a 425°F oven for 20-25 minutes. That skillet step matters because the oven alone won’t give you the same crust. Start checking early if your tri-tip is smaller than 3 pounds or your skillet ran especially hot. Pull it as soon as it reaches 130-135°F in the thickest part.
The Rest and Slice
Let the roast rest for 15 minutes before cutting into it. The juices settle back into the meat during that time, and the temperature usually climbs a few more degrees on its own. When you’re ready to slice, turn the roast so you can cut against the grain. If the slices look long and stringy, you’re cutting the wrong direction.
How to Adapt This for the Grill, the Oven, or a Lighter Plate
Santa Maria-style on the grill
Use the grill method and keep the heat high for the first sear, then finish over indirect heat. This version gives you the smokiest crust and the most classic barbecue edge.
Oven-roasted when the grill isn’t available
Sear in a cast-iron skillet, then finish in a hot oven. You’ll lose a little smoke flavor, but the crust stays strong and the cooking is more consistent.
Lower-sodium version
Cut the kosher salt back to 1 tablespoon if you need a lighter hand on sodium. The roast will still taste seasoned, but the crust won’t be quite as assertive.
Leftovers for sandwiches or bowls
Slice the leftovers thin and cold, or warm them gently just until no longer chilled. If you reheat them hard, the roast turns chewy fast.
Storage and Reheating
- Refrigerator: Store sliced tri-tip in an airtight container for up to 4 days. It stays best if you keep a little of the resting juices with it.
- Freezer: It freezes well for up to 2 months. Wrap tightly, then place in a freezer bag and thaw overnight in the fridge.
- Reheating: Warm slices gently in a covered skillet with a splash of beef broth or in a low oven. High heat dries tri-tip out fast, especially once it’s already been sliced.
Answers to the Questions Worth Asking
Tri Tip - Grilled or Oven-Roasted
Ingredients
Equipment
Method
- In a bowl, mix kosher salt, black pepper, garlic powder, paprika, onion powder, and dried oregano until evenly combined.
- Pat the tri-tip roast dry so the seasoning clings for a crusty exterior.
- Drizzle olive oil over the tri-tip roast and rub it in, then coat all sides generously with the spice rub.
- Let the seasoned tri-tip sit at room temperature for 30 minutes, until it looks tacky and slightly dried on the surface.
- Sear the tri-tip over high heat for 5 minutes per side, until you see a dark, crusted exterior.
- Move to indirect heat and cook until the center reaches 130-135°F for medium-rare, watching for the pink interior to set.
- Sear the tri-tip in a hot skillet until browned on the outside, building a crusty surface before roasting.
- Roast at 425°F for 20-25 minutes until the center reaches 130-135°F for medium-rare, checking doneness near the low end for best pink texture.
- Let the tri-tip rest for 15 minutes before slicing, so juices redistribute and the crust stays intact.
- Slice against the grain into thin pieces, aiming to show a pink medium-rare interior and a dark seasoned exterior.