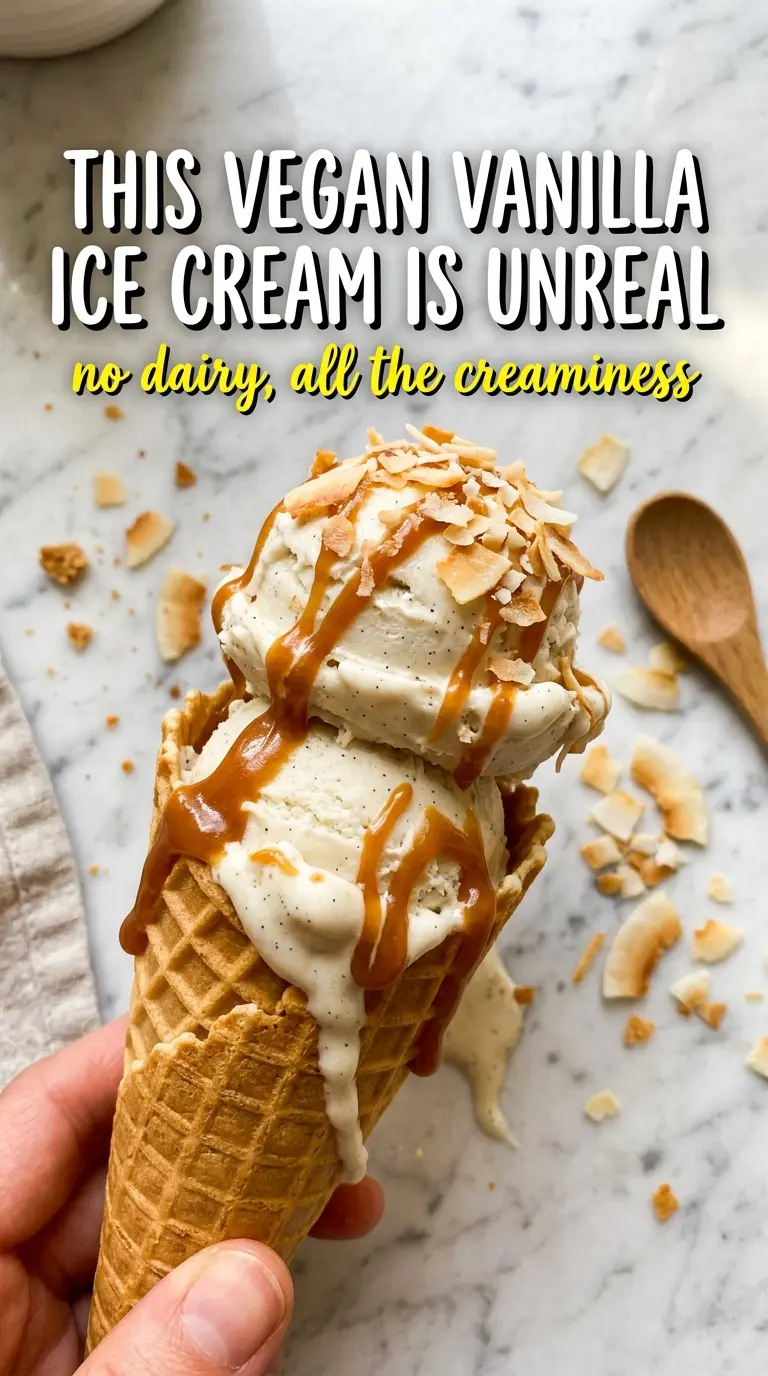
Silky vegan vanilla ice cream has a way of disappearing faster than the rest of the dessert on the table. The good versions taste clean and creamy, not icy or coconut-heavy, with a soft ivory color and a vanilla flavor that lands right in the center of the spoon. This version earns its place because it freezes with a smooth scoop and a rich finish that doesn’t give away the fact that there’s no dairy in it.
The trick is building a light custard base before it ever goes into the ice cream maker. Coconut cream gives you the fat you need for body, maple syrup or agave keeps the sweetness rounded, and a small amount of starch helps the mixture thicken just enough so it doesn’t freeze into a block of coconut ice. The coconut oil adds another layer of richness and helps the texture stay supple after freezing.
Below, you’ll find the detail that matters most when working with coconut milk, plus the one chill step that makes the churned texture noticeably better. If you’ve had vegan ice cream turn crumbly or hard before, this method is built to avoid exactly that.
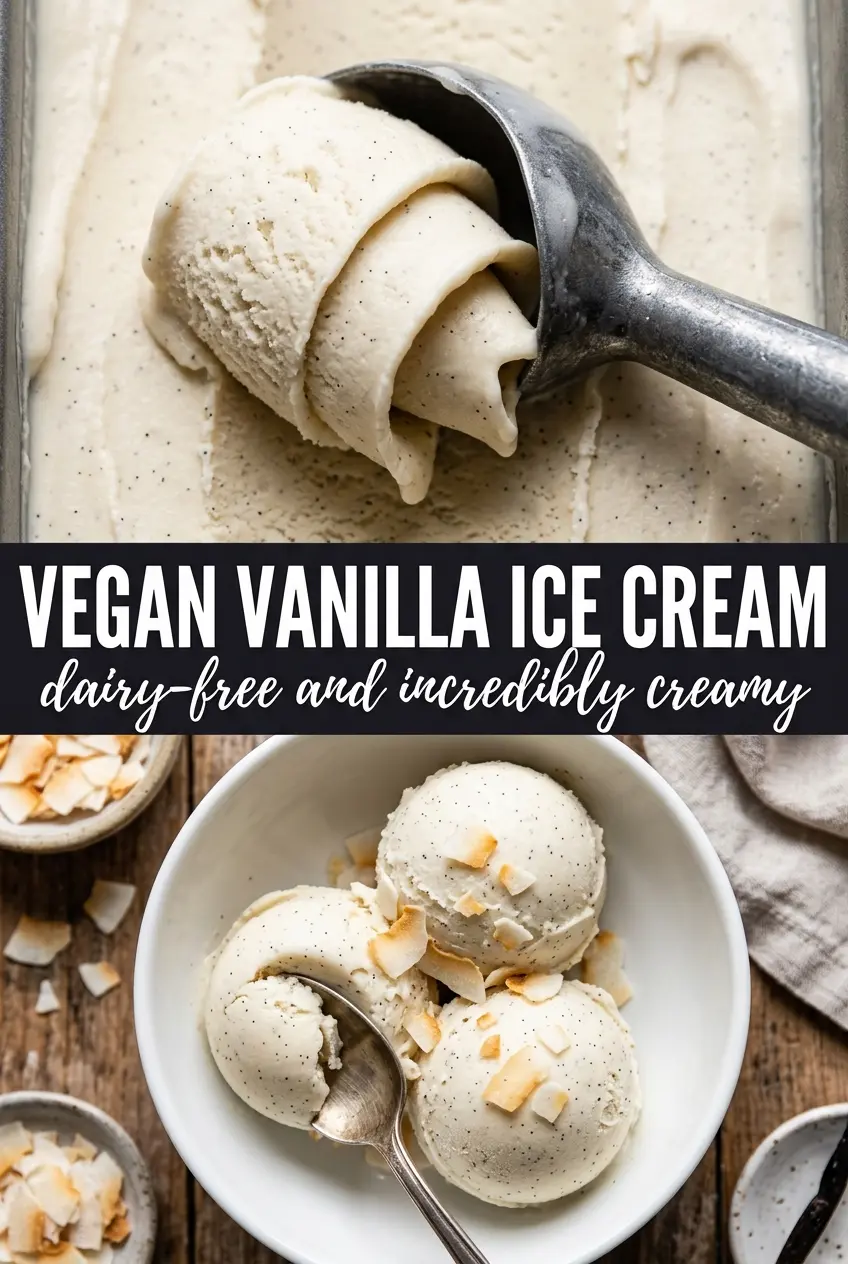
The texture was shockingly creamy after the overnight chill, and the vanilla really came through instead of tasting like coconut. Mine scooped cleanly after a short freeze, which never happens with the dairy-free ice creams I’ve tried before.
Love the creamy coconut base and pure vanilla finish? Save this vegan vanilla ice cream for the next time you want a scoopable dairy-free dessert that freezes smooth.
The Step That Keeps Coconut Ice Cream from Turning Grainy
The biggest mistake with vegan ice cream is rushing the base and freezing it before the starch and fat have done their work. Coconut milk can separate if it’s heated too hard, and if the mixture never thickens even a little on the stove, the finished ice cream tends to freeze hard and icy instead of creamy. You want a base that lightly coats the back of a spoon, not a pudding, but definitely not a thin milk.
Refrigerating the cans overnight matters here. The solid cream rises to the top, and that’s the part you want for body and richness. If you shake the can before chilling, you’ll end up with a looser mixture and less control over the texture. The other key is cooling the base completely before churning, because warm custard going into the machine melts the freezing bowl too fast and gives you a softer, looser set.
- Full-fat coconut milk — This is the backbone of the recipe. Light coconut milk won’t give you the same body, and it freezes much icier. Chill the cans overnight so the cream separates cleanly from the water.
- Maple syrup or agave — Either one works, but both help keep the ice cream softer straight from the freezer because liquid sweeteners interfere with large ice crystals. Maple adds a faint caramel note; agave stays a little cleaner and more neutral.
- Arrowroot or cornstarch — This is the quiet insurance policy. It thickens the base just enough to improve the texture after freezing. Whisk it in before heating so it dissolves evenly and doesn’t clump.
- Coconut oil — A small amount boosts richness and helps the finished ice cream stay scoopable. If you skip it, the flavor still works, but the texture will lean firmer and less lush.
What Each Ingredient Is Actually Doing in This Ice Cream
- Base ingredient (cream, milk, or custard) — This provides the foundation and richness. Quality matters.
- Sweetener (sugar, honey, or condensed milk) — This sweetens and prevents ice crystals. The ratio is critical.
- Flavor element (vanilla, fruit, chocolate, coffee, or other) — This defines the ice cream personality. Use quality ingredients.
- Egg yolks (if making custard base) — These create richness and silky texture. Optional but elevates ice cream.
- Churning (if using ice cream maker) — This incorporates air and prevents ice crystals. Critical for smooth texture.
- Freezing temperature and time — Proper freezing prevents rock-hard texture. Store at 0°F or below.
- Mix-ins (chocolate, cookies, fruit, or swirls) — These add texture and prevent one-dimensional flavor. Add near end of churning.
- Serving temperature (slightly soft, not rock hard) — This provides creamy mouthfeel. Remove from freezer 5 minutes before serving.
How to Build the Base Before It Goes Into the Machine
Separating the Coconut Cream
Open the chilled cans without shaking them and scoop out the thick cream from the top, leaving the coconut water behind. The cream should look dense and spoonable, almost like soft shortening. If the can is still mixed, chill it longer instead of trying to force the separation, because the extra liquid will thin the base and make the final texture less rich.
Heating Until It Lightly Thickens
Whisk the coconut cream, sweetener, vanilla, starch, salt, and coconut oil in a saucepan over medium heat. Keep whisking until the mixture looks glossy and begins to thicken just enough to coat a spoon, usually around 5 minutes. Don’t let it boil hard; high heat can make the coconut fat separate and give you a greasy finish. If you see small bubbles around the edges and the whisk starts leaving brief trails, you’re there.
Cooling and Chilling for a Better Freeze
Transfer the base to a bowl and cool it completely before it goes into the refrigerator. Warm ice cream base in the fridge takes longer to chill through, and that delay works against the churn. Four hours is the minimum, but overnight is even better if you have the time. The colder the base, the faster it sets in the machine, which means smaller ice crystals and a smoother scoop.
Churning and Firming It Up
Churn the cold base according to your machine’s instructions until it looks like soft-serve. That texture is your cue to stop; if you keep going until it looks hard in the machine, you’re past the point where the motor is helping. Scrape it into a container and freeze until scoopable. If it gets too firm, let it sit at room temperature for 5 to 10 minutes before serving instead of microwaving it, which creates uneven melting.
How to Change the Flavor Without Losing the Creamy Texture
Berry Ripple Version
Swirl in a thick cooled berry compote after churning, not before. Keeping the fruit separate preserves the vanilla base and gives you ribbons instead of a uniformly icy mixture. Cook the berries down until syrupy so they don’t water out the ice cream.
Gluten-Free and Naturally Dairy-Free as Written
This recipe already works for gluten-free and dairy-free eaters as long as your vanilla extract and cornstarch are certified if needed. No flour, no eggs, and no milk are required, so the texture comes entirely from the coconut fat and starch.
Vanilla Bean Upgrade
Swap the extract for the seeds of one vanilla bean plus a small splash of extract if you want a deeper, speckled vanilla flavor. The bean itself gives you aroma and visible flecks, while the extract helps round out the finish. This version tastes a little more elegant without changing the base formula.
Less Sweet, More Coconut
Cut the sweetener back slightly if you want a firmer, less dessert-like profile, but don’t remove too much. Sugar is part of the texture here, not just the flavor, and reducing it too far makes the ice cream freeze harder. If you want a cleaner coconut taste, use agave instead of maple.
Storage and Reheating
- Refrigerator: The base can sit chilled for up to 24 hours before churning, which often improves the texture. Once churned, keep the ice cream tightly covered in the freezer instead of the fridge.
- Freezer: It freezes well for about 2 weeks with the best texture in the first few days. After that, it can start to pick up a little iciness around the edges if air gets in.
- Reheating: There’s no reheating here, but if the ice cream is too hard to scoop, let it stand at room temperature for 5 to 10 minutes. Don’t microwave the whole container, because the edges melt before the center softens.
Answers to the Questions Worth Asking
Vegan Vanilla Ice Cream
Ingredients
Equipment
Method
- Scoop the solid coconut cream from the top of refrigerated coconut milk cans, reserving the coconut water for another use.
- In a saucepan, combine the coconut cream, maple syrup (or agave), vanilla extract, arrowroot (or cornstarch), salt, and coconut oil.
- Heat over medium heat, whisking constantly, until the mixture thickens slightly, about 5 minutes.
- Cool the mixture completely, then refrigerate for at least 4 hours.
- Churn the chilled coconut vanilla mixture in an ice cream maker until thick and the texture looks like soft-serve.
- Transfer to a freezer-safe container and freeze until scoopable.