American Flag Taco Dip is the kind of party appetizer that disappears fast because it checks every box at once: creamy, salty, scoopable, and built to look like you tried a lot harder than you did. The layers stay distinct enough for the flag design to read clearly, but every chip still gets a little bit of beans, seasoned cream cheese, guacamole, salsa, and cheese in one bite.
The trick is getting the layers thick enough to support the toppings without sliding into a muddy mess. Softened cream cheese mixed with taco seasoning gives the middle layer enough body to hold up under the sour cream stripes, and chilling the dip for a short stretch helps the whole surface settle so the flag design stays neat. Using a rectangular dish matters here because the shape does half the decorating work for you.
Below you’ll find the easiest way to build the layers without disturbing the base, plus a few swaps that keep the red, white, and blue look intact whether you’re serving a crowd for the 4th of July or just want a sharp-looking Tex-Mex dip for any gathering.
The layers held up beautifully and the sour cream stripes stayed sharp after chilling. I used pico instead of salsa and the dip still looked great on the table until the chips started digging in.
Save this American Flag Taco Dip for the next party when you want a sharp red, white, and blue centerpiece that still tastes like real taco dip.
The Layer Order That Keeps the Flag Design from Sinking
The biggest mistake with a flag-style taco dip is putting the soft layers on top too early. If the base is too loose, the sour cream stripes drag through the surface and the whole thing starts looking smeared instead of crisp. The layers here are built from firmest to softest so the tray can carry the weight without collapsing.
Refried beans give you the sturdiest foundation. The cream cheese and taco seasoning mixture adds body and helps the guacamole sit on a layer that won’t slide around. Once the guacamole and cheese are in place, the sour cream stays on top as decoration instead of trying to behave like part of the filling.
- Spread the beans all the way to the corners. Thin edges dry out faster and make the border look unfinished.
- Use softened cream cheese, not cold. Cold cream cheese leaves little lumps that make the middle layer hard to spread evenly.
- Chill before serving. Thirty minutes is enough for the layers to firm up and for the flag pattern to hold its shape when you cut in.
What Each Layer Is Doing in the Flag Dip
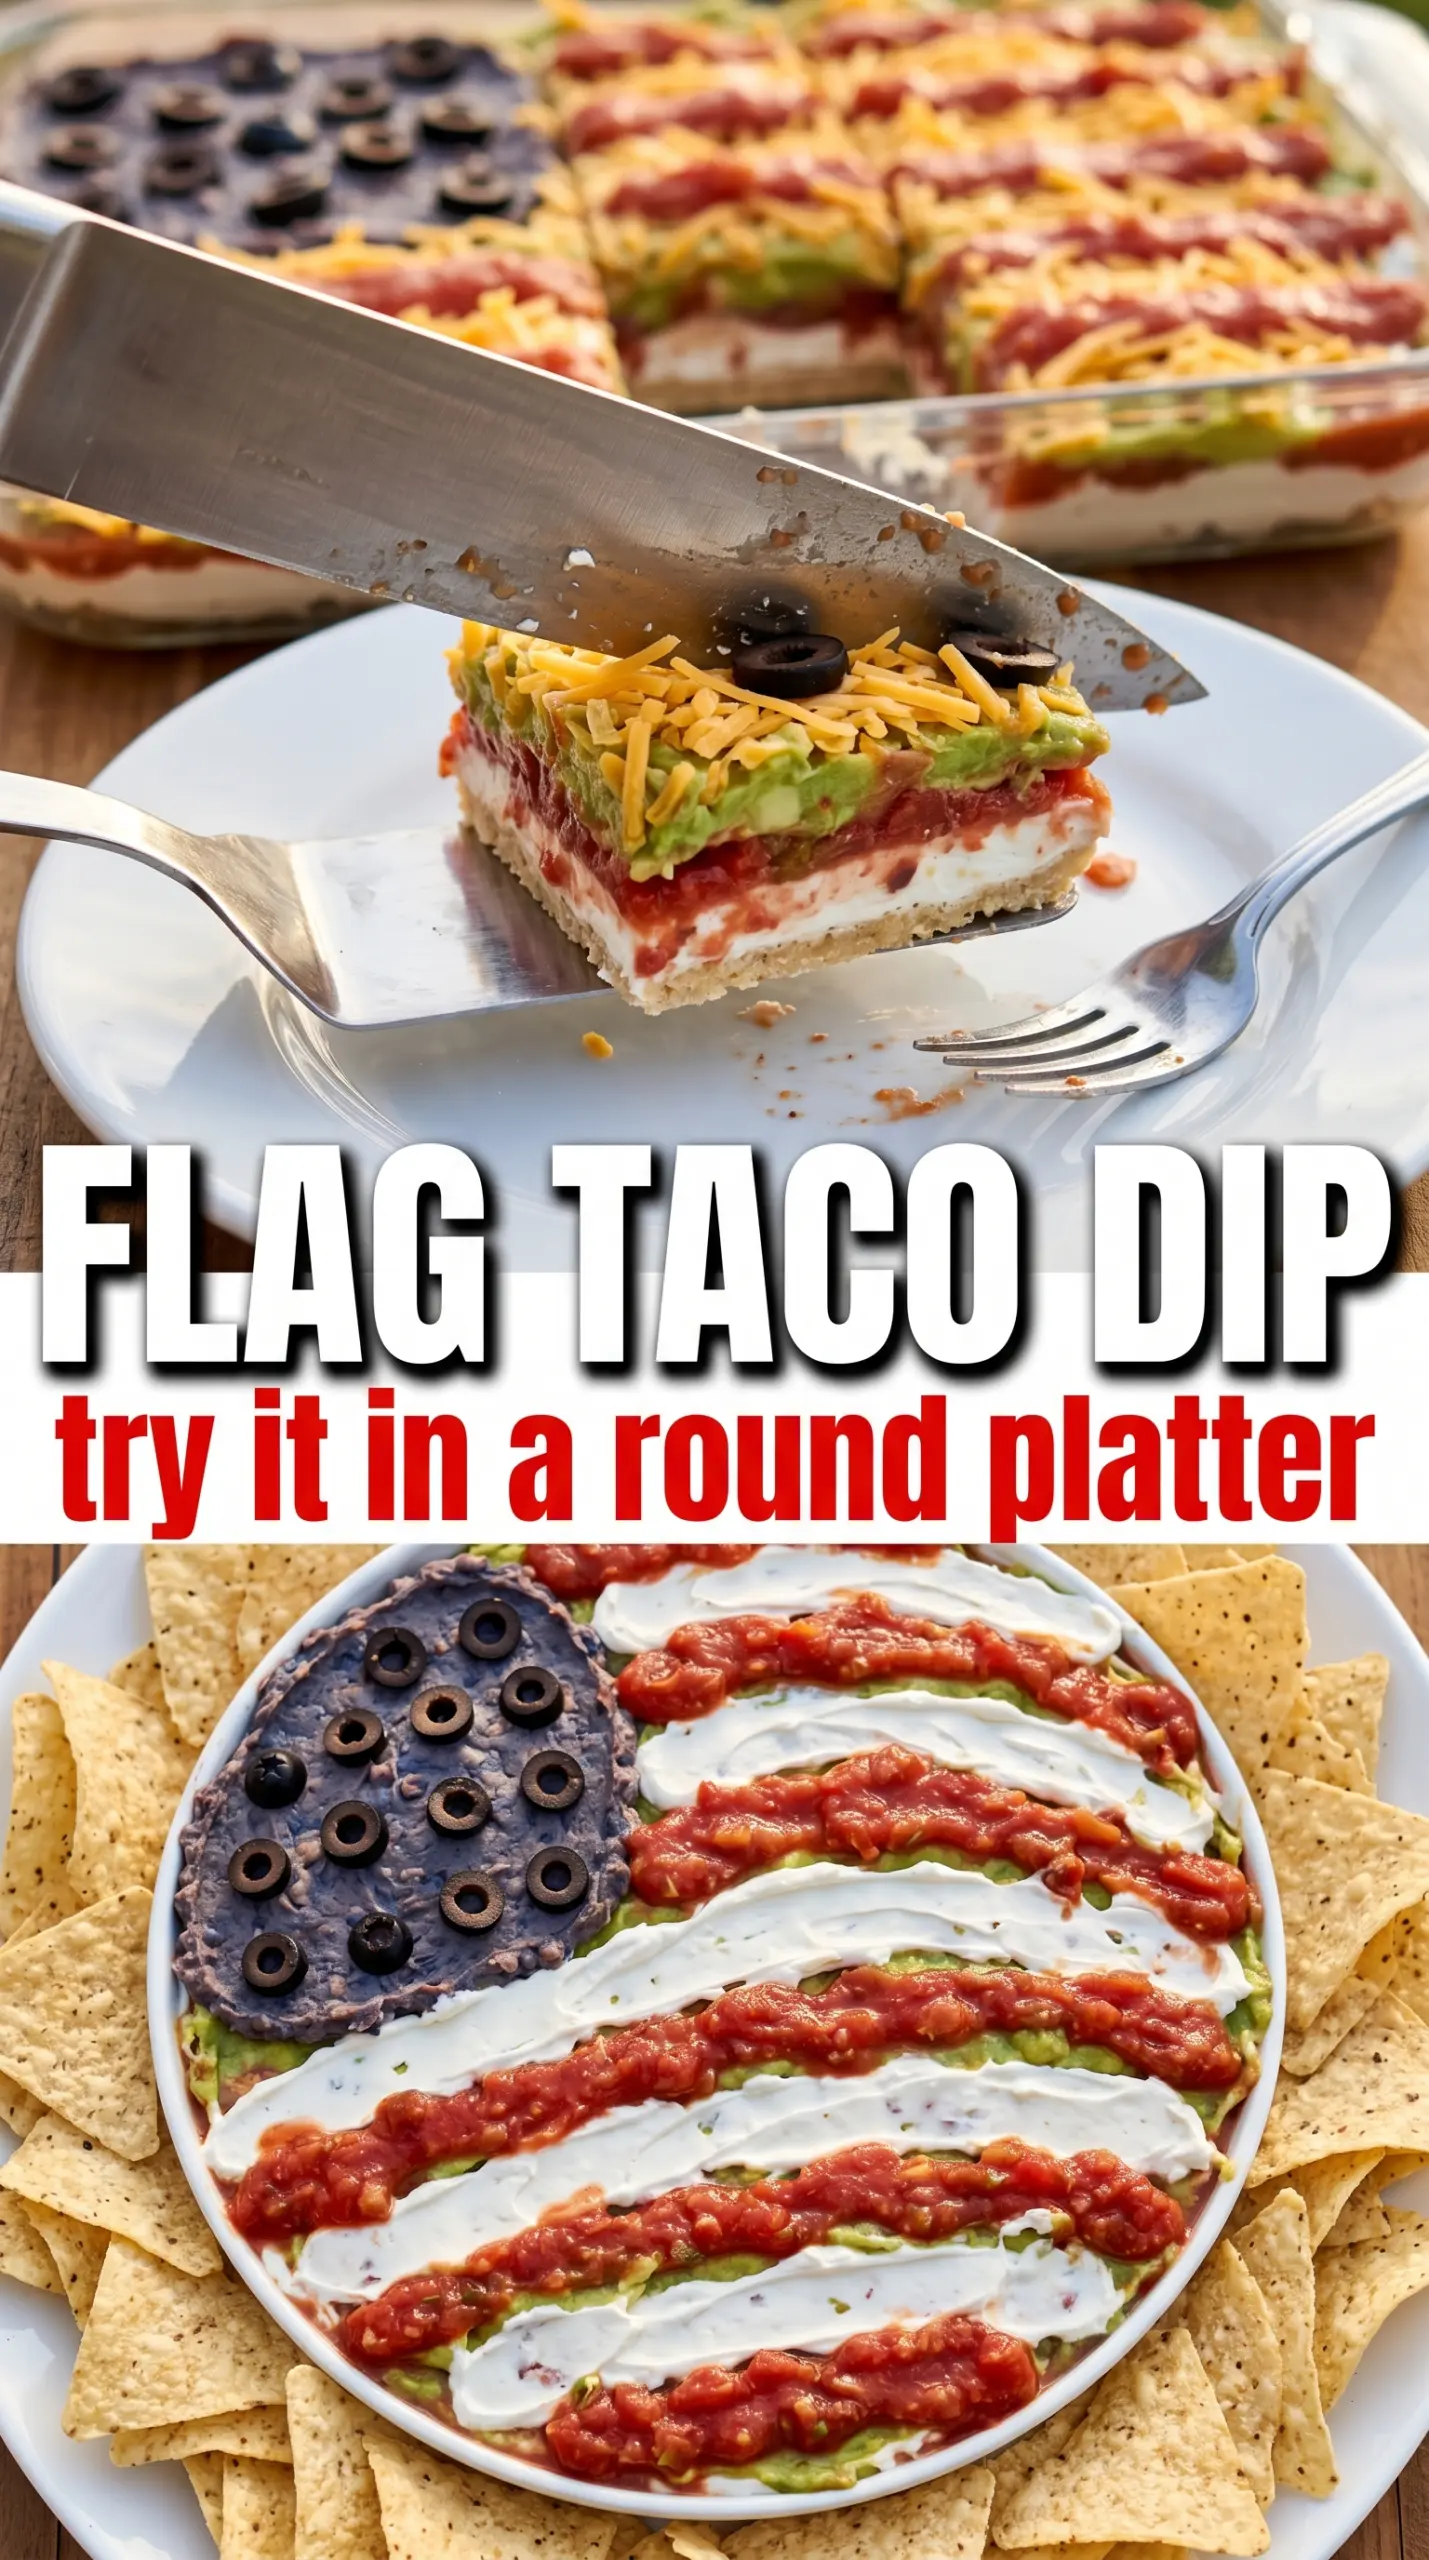
The refried beans are the anchor. A thicker canned version works fine here, but if yours looks loose in the can, stir in a spoonful or two of shredded cheese before spreading it down. That helps the base stay put when people start scooping from the center.
Cream cheese is what makes the dip taste like more than beans and salsa. The taco seasoning gives it the familiar Tex-Mex backbone, and softening the cream cheese fully before mixing keeps the layer smooth instead of streaked. Guacamole adds richness and helps bridge the savory layers, while the shredded cheese gives the surface just enough texture to catch the sour cream stripes.
- Refried beans — Use a brand you already like eating plain, because the bean flavor comes through. If they seem stiff, warm them slightly so they spread without tearing the layer below.
- Cream cheese — Full-fat cream cheese gives the best structure. Low-fat versions can work, but they soften faster and don’t hold the middle layer as cleanly.
- Chunky salsa or pico de gallo — Chunky texture looks better than thin salsa here. If yours is watery, drain off excess liquid first or the red stripes will bleed.
- Guacamole — Fresh guacamole gives the dip its green layer and keeps the top from tasting one-note. Store-bought guacamole works if it’s thick, not loose.
- Sour cream — The sour cream needs enough body to pipe lines. If it’s thin, stir in a little extra cream cheese so the stripes hold their shape.
- Black olives or cherry tomatoes — Olives create the blue corner look best because they’re dark and compact. If you use tomatoes for the red stripes, pat them dry so they don’t bleed into the sour cream.
Building the Flag So the Stripes Stay Clean
Start With a Flat, Even Base
Spread the beans in a large rectangular dish and press them into an even layer all the way across. A spoon works, but an offset spatula gives you a smoother finish and cleaner corners. If the base is lumpy, every layer above it will telegraph those ridges, and the flag pattern will look uneven before you even start decorating.
Mix the Middle Layer Until It’s Fully Smooth
Stir the softened cream cheese and taco seasoning until there are no streaks left. You want it spreadable, not whipped airy, because too much air makes the layer fragile when you add the guacamole. Spread it gently over the beans so you don’t pull the bottom layer up with it.
Pipe the Top Instead of Spreading It
Use a zip-top bag with a corner snipped off for the sour cream stripes. Piping gives you clean lines and keeps the white from sinking into the cheese layer. Lay the salsa or tomato rows between the sour cream lines with a spoon, then place the olive cluster tightly in the upper left corner so the blue field reads as a solid rectangle.
Chill Before the First Chip Goes In
Let the dip rest in the refrigerator for 30 minutes. That short chill helps the sour cream set and gives the layers a firmer bite. If you serve it immediately, the flag can still taste great, but the stripes are more likely to blur the moment someone scoops through the top.
How to Adapt the Flag Dip for Different Crowds
Make It Vegetarian Without Changing the Look
This version is already vegetarian as written, which makes it easy for a mixed crowd. Just check that your refried beans and taco seasoning are meat-free, because some packaged versions sneak in animal broth or lard. The texture stays the same, and you don’t lose any of the flag effect.
Use Greek Yogurt for a Tangier White Stripe
You can swap part or all of the sour cream for thick plain Greek yogurt if that’s what you have on hand. The topping will taste a little sharper and the stripes may be a touch less rich, but the texture still works if the yogurt is full-fat and not watery. Stir it first and keep the layer thick enough to pipe cleanly.
Make a Mild Version for Kids
Use mild taco seasoning and choose a salsa that leans smooth instead of fiery. The dip still tastes layered and savory, but the heat stays out of the way so the cream cheese and guacamole come through more clearly. If you want extra color without extra spice, use diced red bell pepper in place of part of the tomatoes.
Storage and Reheating
- Refrigerator: Store covered for up to 3 days. The sour cream stripes may soften, but the flavor holds well.
- Freezer: Don’t freeze this dip. The dairy layers separate and the guacamole turns grainy when thawed.
- Reheating: This dip is served cold, so don’t reheat it. If it has been chilled for a long time, let it sit out for 10 to 15 minutes before serving so the beans aren’t too firm and the chips don’t crack on contact.
Answers to the Questions Worth Asking
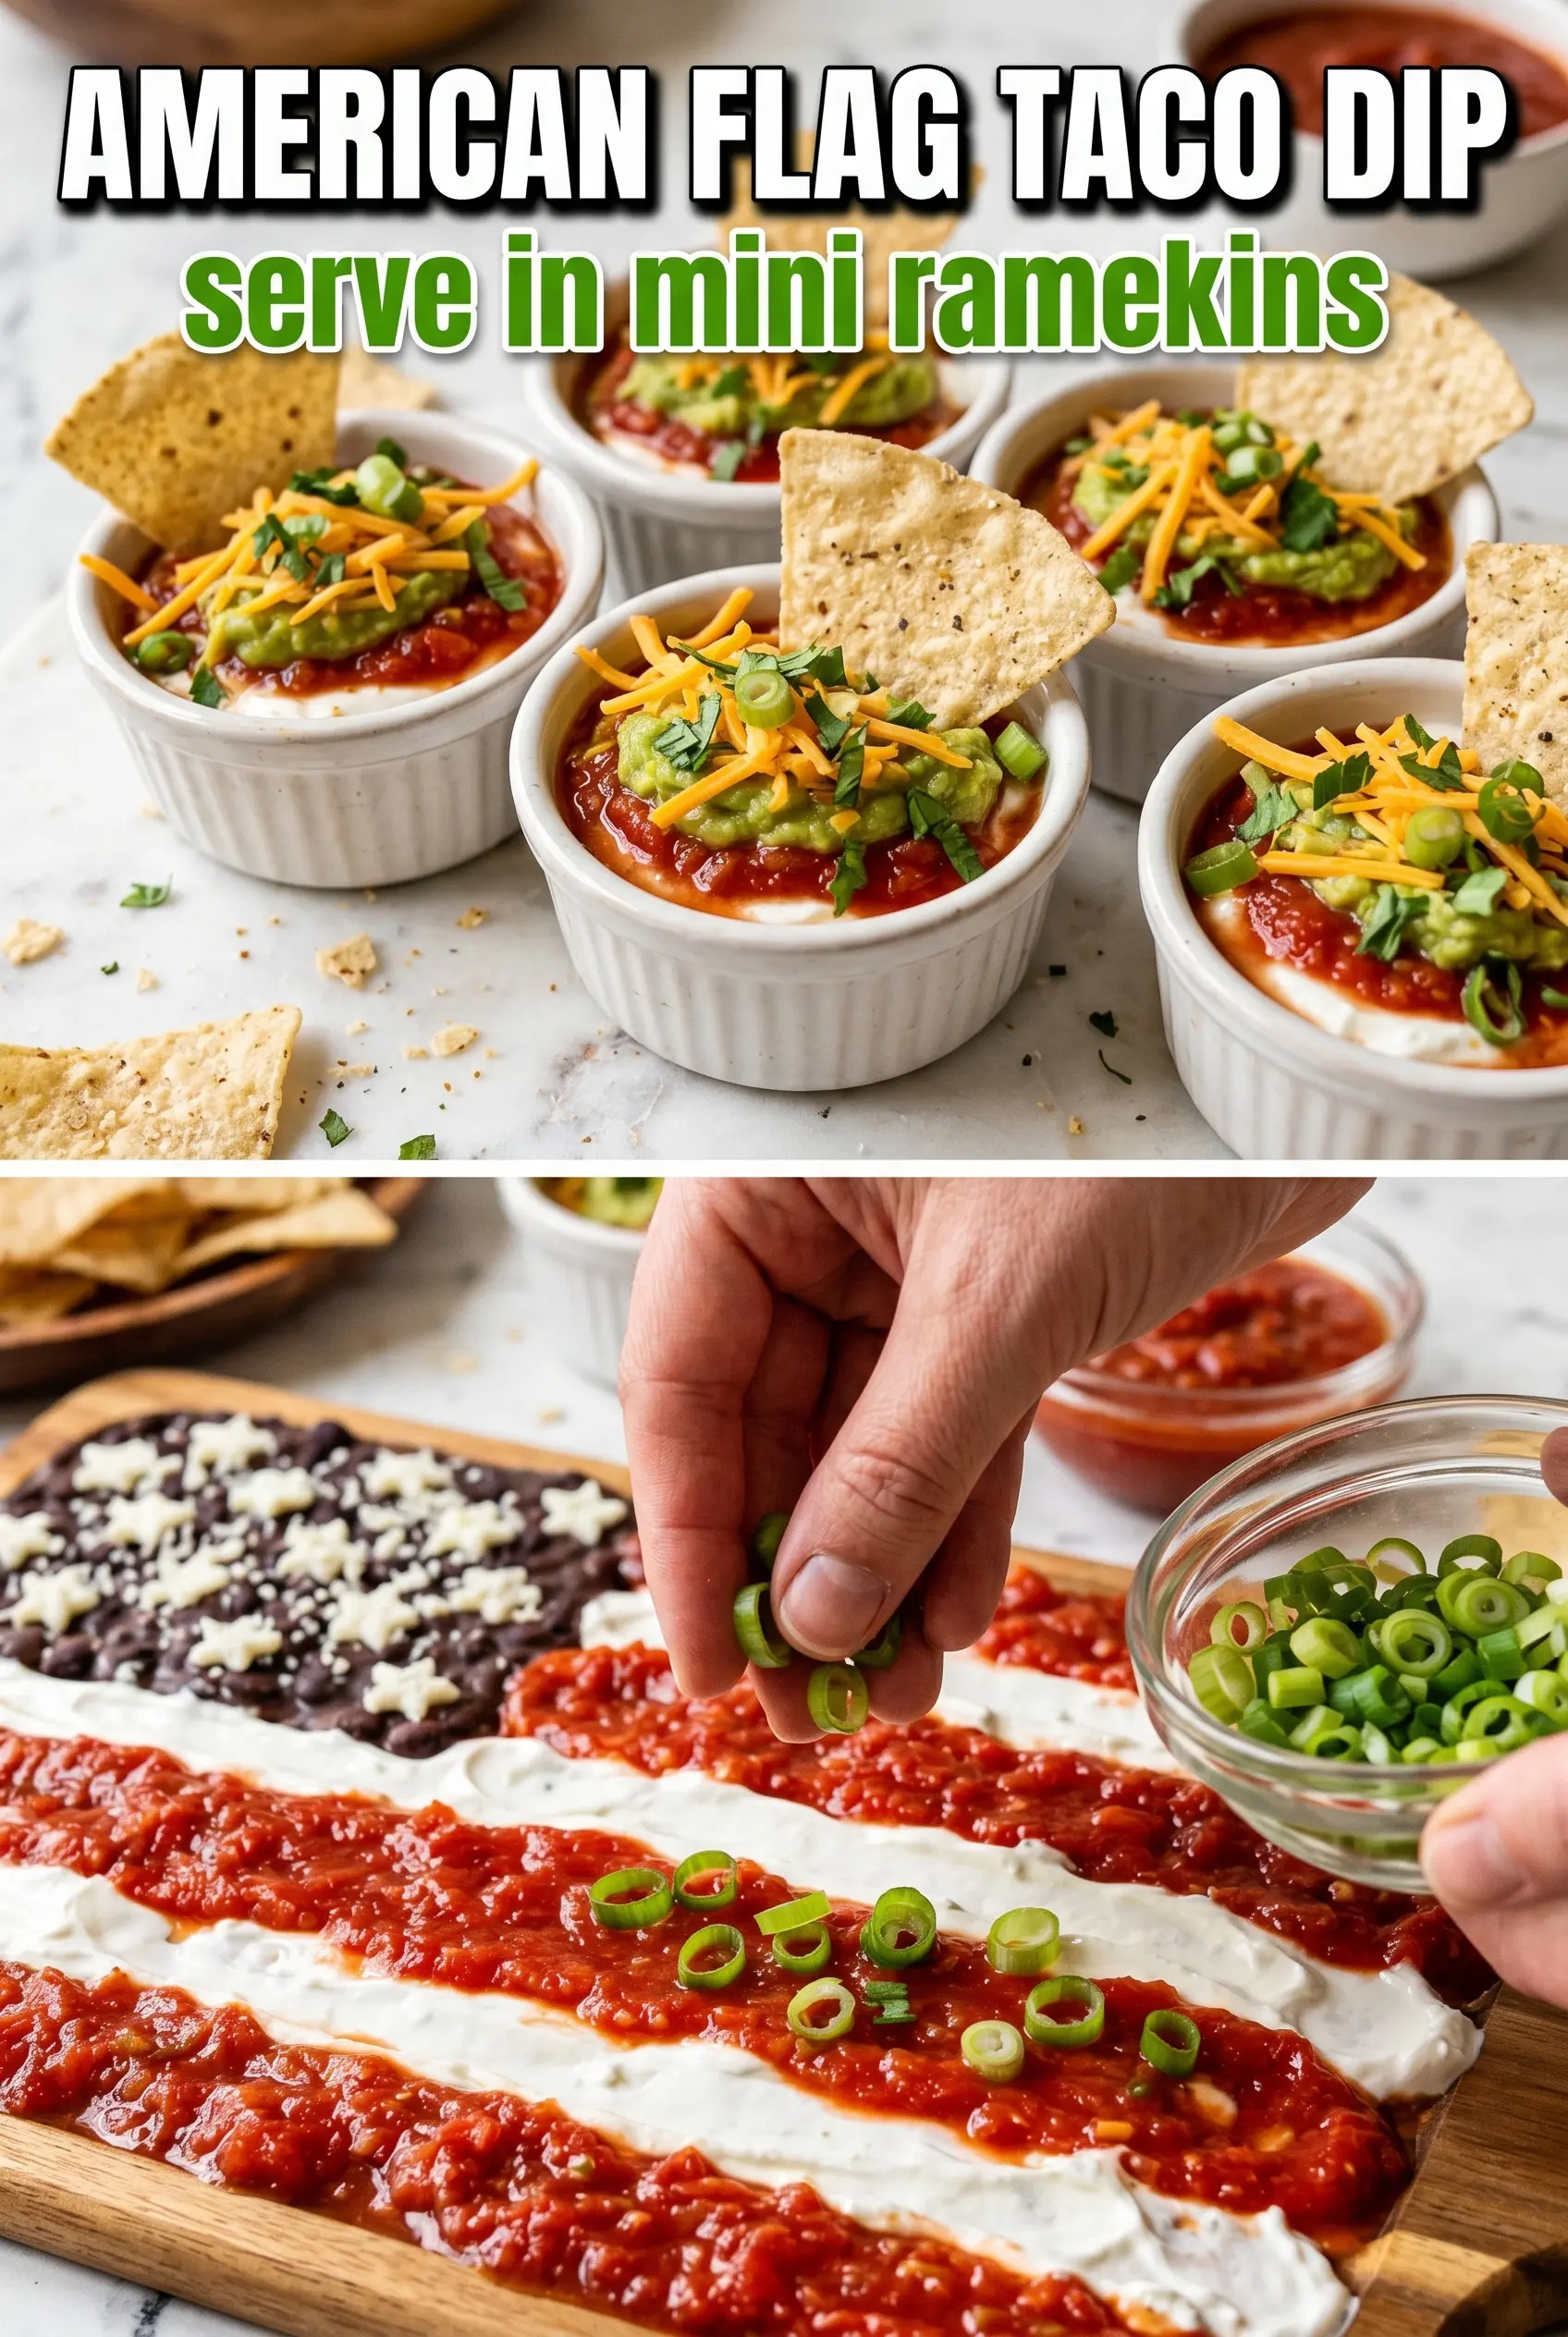
American Flag Taco Dip
Ingredients
Equipment
Method
- Spread refried beans in an even layer across the bottom of a large rectangular baking dish or serving tray.
- Mix cream cheese with taco seasoning until smooth, then spread evenly over the bean layer.
- Spread guacamole over the cream cheese layer, then top with the shredded cheese blend.
- Spoon sour cream into a piping bag or zip-lock bag with a corner snipped and pipe horizontal white stripes across the top of the dip.
- Add rows of salsa or diced red tomato between the sour cream stripes to create the red stripe effect.
- In the upper left corner, arrange sliced black olives tightly to form the blue canton rectangle.
- Scatter green onions across the top.
- Chill the dip for 30 minutes, then serve with tortilla chips.