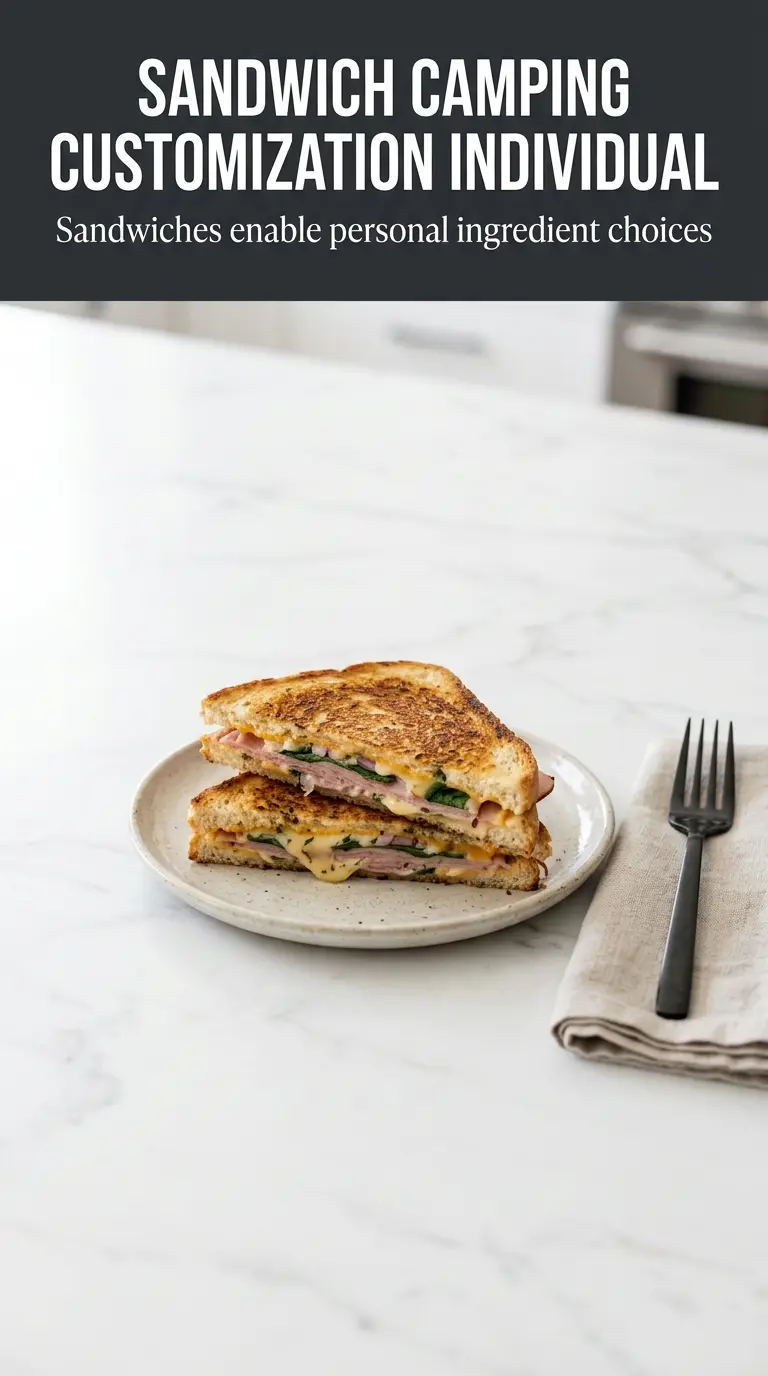
Golden bread, melted cheese, and smoky grilled edges turn a campfire sandwich into the kind of meal people remember after the fire dies down. The bread gets crisp without turning dry, the cheese softens into the fillings, and the whole thing tastes bigger than the short ingredient list suggests. It’s the sort of food that earns its place on a camping menu because it feels hearty without asking for much gear or cleanup.
The trick is building the sandwich with the butter on the outside, not the inside. That gives the bread direct contact with the heat and helps it brown evenly before the cheese has a chance to run out. Medium heat matters here, too. Campfire grates can swing from gentle to aggressive fast, and if the fire is too hot, the bread chars before the center turns molten.
Below, I’ve included the small details that keep this sandwich from turning greasy or limp, plus a few smart swaps if you’re working with different bread, cheese, or dietary needs.
I loved how the cheese melted all the way through without the bread burning. Cooking it over the medium part of the fire gave me crisp edges and a gooey center, and the mustard with the ham made it taste like a real sandwich, not just camp food.
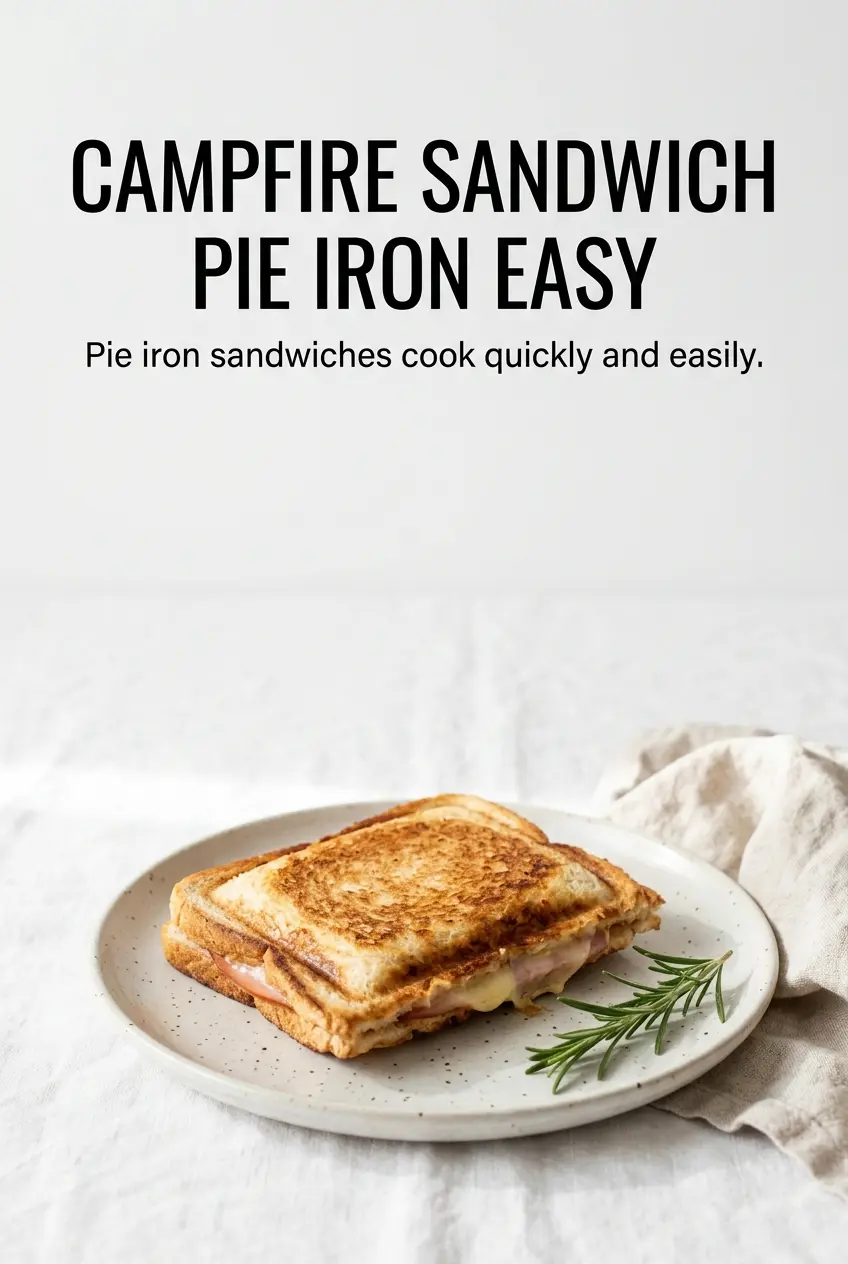
Save this campfire sandwich for the nights when you want hot, melty layers and a crisp grilled crust over the fire.
The Reason Campfire Sandwiches Go Soggy Before They Brown
A campfire sandwich fails when the bread sits over heat long enough to dry out before the cheese melts. That usually happens because the fire is too hot or the sandwich is packed too thick for the heat source. Butter on the outside helps the bread toast, but it can’t fix a roaring fire that burns the surface before the middle has time to soften.
The better approach is medium heat and a little patience. You want steady contact with the grate, not a flare-up from the flames licking the bread. If the bread is browning too quickly, move the grate higher or shift the sandwich toward a cooler part of the fire until the cheese starts to give and the fillings warm through.
- Butter on the outside — This is what gives you that crisp, grilled finish. If you spread it on the inside, the bread won’t brown as evenly and the filling can slide around before the cheese sets.
- Cheese on both sides of the fillings — That extra layer helps hold the sandwich together while it melts. It also creates a little insulation so the ham and turkey warm without the bread overcooking.
- Medium heat — Campfires are unpredictable, so aim for a spot where you can hold your hand above the grate for a few seconds, not directly over open flames.
What the Cheese and Bread Are Doing Here
- Bread — A sturdy sandwich bread works best because it holds up to heat and the weight of the fillings. Soft, thin sandwich bread can work, but it browns fast and tears more easily when you flip it.
- Butter — Softened butter spreads evenly without ripping the bread. If you use cold butter, you’ll get patchy coverage and uneven browning.
- Cheese — Cheddar gives you a sharper, saltier melt; Swiss stays a little milder and smoother. Pre-sliced deli cheese is the easiest option for camping because it melts at the same rate as the bread browns.
- Ham and turkey — These bring the savory body of the sandwich. If you swap in a thicker deli meat, slice it thin so the sandwich still heats through before the bread gets too dark.
- Mustard and mayo — Optional, but useful if you want a little moisture and tang. Keep the layer thin so it doesn’t leak out and interfere with browning.
Building the Sandwich So It Melts Before It Burns
Butter the Outside First
Spread the softened butter on one side of each bread slice in an even layer right to the edges. That outer layer is what hits the grate, so any bare spots will brown unevenly and go dry before the rest catches up. If the butter is too cold, warm it a few seconds in your hands until it spreads easily.
Stack for Even Melting
Assemble each sandwich butter-side out, then layer bread, cheese, ham, turkey, cheese, and bread. Putting cheese on both sides of the meat helps the sandwich hold together once it starts to melt, and it keeps the fillings from sliding around when you flip it. Don’t overstuff it, or the center will stay cool while the outside finishes first.
Toast Over Steady Heat
Place the sandwiches on the campfire grate over medium heat and let the first side cook for 4 to 5 minutes. Look for deep golden bread and edges that feel crisp when you nudge them with a spatula. If you hear aggressive sizzling or see the butter smoking hard, the fire is too hot and the bread will scorch before the cheese softens.
Flip Only When the Bread Releases
Turn the sandwiches carefully and cook the second side for another 4 to 5 minutes. The bread should release easily from the grate once it’s browned; if it sticks, give it another minute instead of forcing it. Pull them off when both sides are golden and the cheese is fully melted, then cut right away so the steam doesn’t make the crust soften.
How to Adapt Campfire Sandwiches for Different Fires and Eaters
Make It Vegetarian
Skip the ham and turkey and use sliced tomato, roasted red peppers, or a handful of sautéed mushrooms if you have them cooked ahead of time. You’ll lose some of the salty deli flavor, so use a sharper cheese or a little mustard to keep the sandwich from tasting flat.
Gluten-Free Bread Works, With Care
Use a sturdy gluten-free sandwich bread that can handle flipping without falling apart. These breads brown faster and can dry out quickly, so keep the heat a touch lower and watch the first side closely.
Use Different Cheese for a Different Melt
Cheddar gives a sharper bite, while Swiss melts a little silkier and tastes milder. If you use a very soft cheese, it may run sooner, so keep the sandwich closed and the heat moderate until the bread is fully browned.
Add Mustard or Mayo for More Moisture
A thin swipe of mustard adds tang, and mayo adds a little richness without changing the grilling method. Keep either one light, or the filling can slip and the bread can steam instead of crisping.
Storage and Reheating
- Refrigerator: Store leftovers wrapped tightly for up to 2 days. The bread softens, but it still reheats well.
- Freezer: Not the best choice. The bread turns dry and the texture gets a little tough once thawed.
- Reheating: Reheat in a skillet over low heat or in a toaster oven until the outside crisps again and the center warms through. Don’t use high heat, or the bread will brown before the cheese loosens.
Answers to the Questions Worth Asking
Campfire Sandwich
Ingredients
Equipment
Method
- Butter one side of each bread slice so the exterior crisps on the grate.
- Build each sandwich with butter-side out: bread, cheese, ham, turkey, cheese, then bread on top.
- Place sandwiches on a campfire grate over medium heat so they contact the bars and develop grill marks.
- Grill for 4-5 minutes per side, until the bread is golden and the cheese fully melts.
- Remove sandwiches from the heat, cut in half, and serve hot with melted cheese visible at the center.