Melty chocolate under a blanket of toasted marshmallows is the kind of dessert that disappears fast, which is exactly why this skillet s’mores dip earns a permanent spot near the fire. The chocolate stays soft and spoonable, the marshmallows turn bronzed and sticky on top, and every graham cracker dunk gets a little bit of both in one bite.
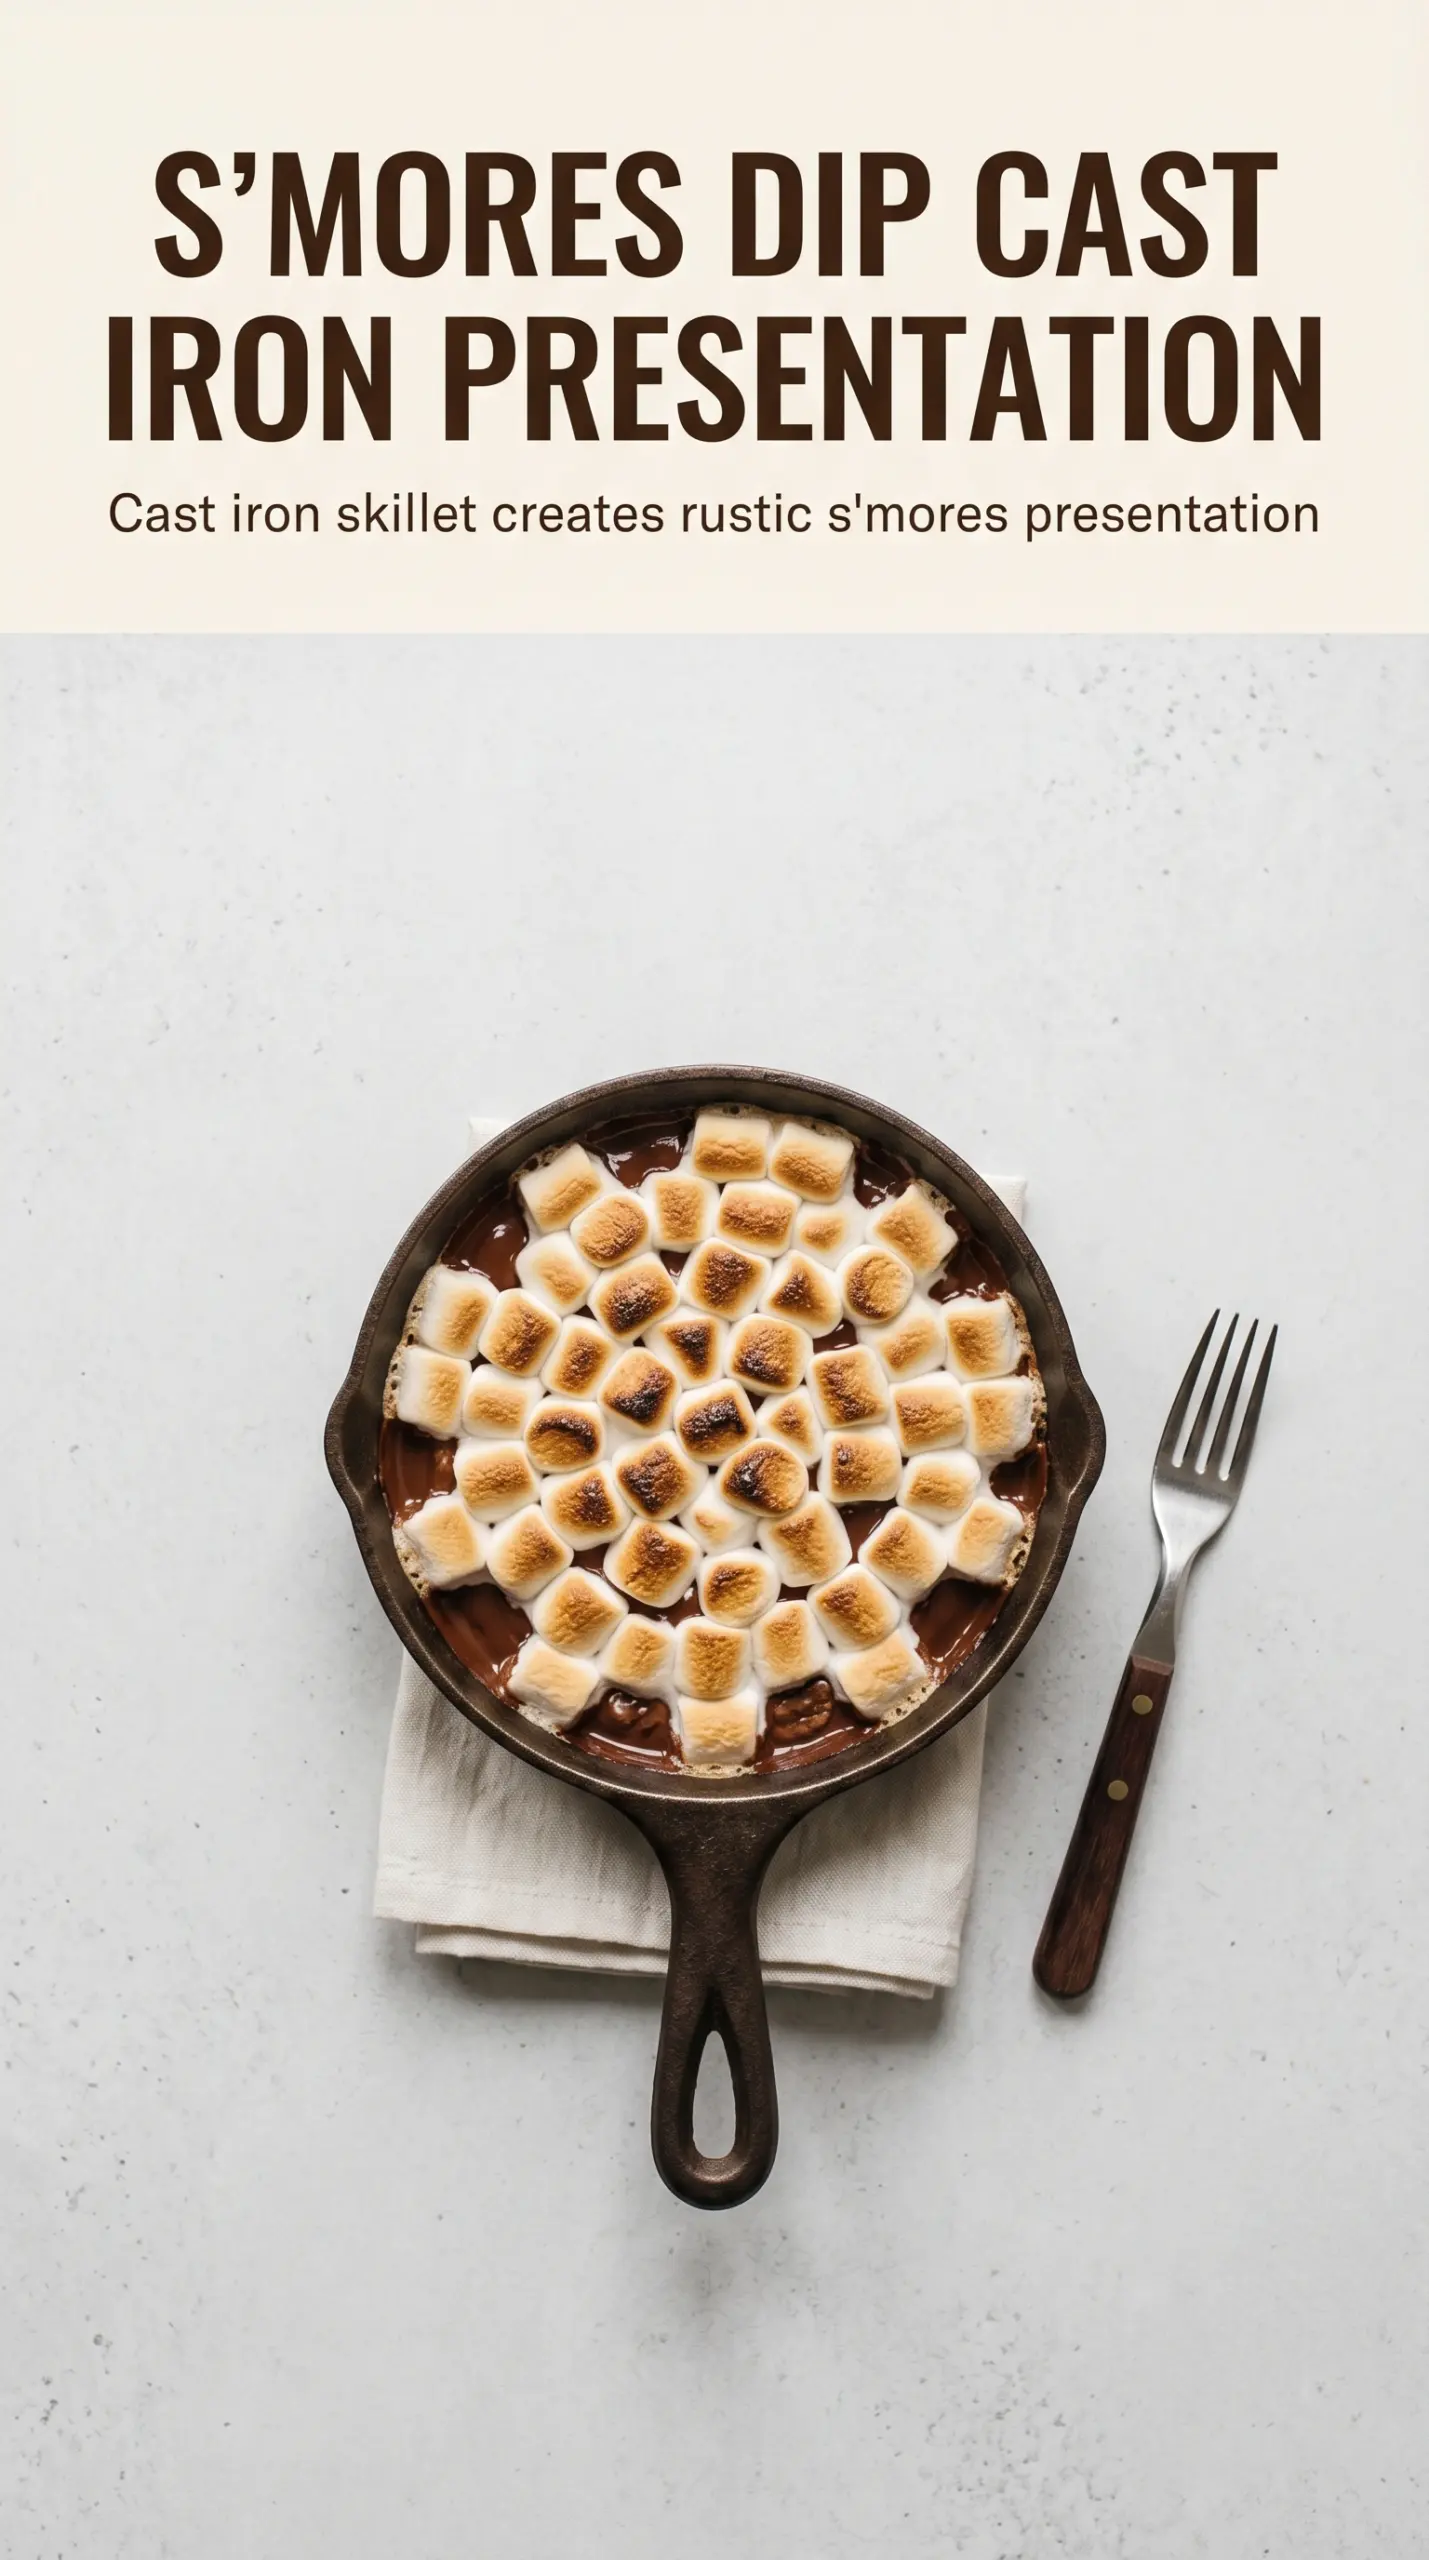
The trick is using a cast iron skillet so the bottom heat melts the chocolate evenly while the top gets enough direct heat to toast the marshmallows. A thinner pan can scorch the chocolate before the topping is ready, and a deep dish won’t give you that classic pull of chocolate and marshmallow together. Keep the heat at medium and watch the color on top, not just the clock.
Below you’ll find the small details that keep the chocolate smooth, the marshmallows golden instead of burnt, and the whole thing ready to serve the second it comes off the fire.
The marshmallows browned evenly and the chocolate stayed smooth all the way to the last cracker. I brought the skillet off the coals right when the tops turned golden, and it was gone in minutes.
Keep this campfire s’mores dip handy for the nights when you want toasted marshmallows, melted chocolate, and graham cracker dipping in one skillet.
The Part That Keeps the Chocolate From Seizing Under the Marshmallows
The biggest mistake with skillet s’mores dip is blasting it with heat and expecting the chocolate to behave. Chocolate chips need gentle, even warmth. If the skillet is too hot, the marshmallows can brown before the chocolate underneath has turned smooth, which leaves you with a scorched top and a stubborn, clumpy center.
Cast iron helps because it holds heat and spreads it across the pan instead of creating hot spots. That matters here more than in a lot of campfire desserts. You want the chocolate melted enough to dip into, but still thick enough to hold the marshmallow topping in place when you scoop through it.
- Medium heat matters. Slow melting gives the chocolate time to soften without seizing or scorching at the edges.
- Cast iron earns its keep. It keeps the base steady while the top toasts, which is what gives you that layered result.
- Watch the color, not just the clock. The marshmallows should be golden on top and puffed, with a few darker spots for flavor.
Why These Three Ingredients Work Best Together
- Chocolate chips — Chips are convenient and melt into a smooth base, but not every brand behaves the same. If yours run thick once melted, a handful of chopped chocolate bars will give you a silkier finish. Semi-sweet chips keep the dip from turning overly sweet under all those marshmallows.
- Mini marshmallows — Minis melt and toast faster than large marshmallows, which matters over a fire. They cover the surface in an even layer, so you get a consistent browned top instead of big gaps. If all you have are large marshmallows, cut them in half so they melt more evenly.
- Graham crackers — Their dry, crumbly texture is the point. They break through the marshmallow cap without collapsing into the chocolate, and their mild sweetness keeps each bite balanced. If you want a sturdier dipper, use pretzel rods or shortbread cookies, but they change the classic s’mores feel.
Getting the Skillet to Melt and Toast at the Same Time
Building the Chocolate Base
Spread the chocolate chips in an even layer across the bottom of the skillet so they melt at the same pace. A crowded pile takes longer to soften in the center, which is how you end up stirring over the fire and disturbing the topping. If the chocolate chips are left in clumps, the marshmallows won’t settle evenly on top.
Covering the Surface With Marshmallows
Scatter the mini marshmallows all the way to the edges, where the heat usually runs strongest. That even layer protects the chocolate from direct flame and gives you a more polished top. If there are bare spots, the chocolate can overheat there before the rest of the pan is ready.
Watching for the Toasted Finish
Set the skillet over medium heat on a grate or suspend it over coals, then watch closely once the marshmallows start to soften. You’re looking for puffed tops with gold edges and a few toasty spots, not a dark crust. If the top is browning too fast, pull the skillet slightly away from the hottest coals and let the residual heat finish the job.
Serving Before It Sets
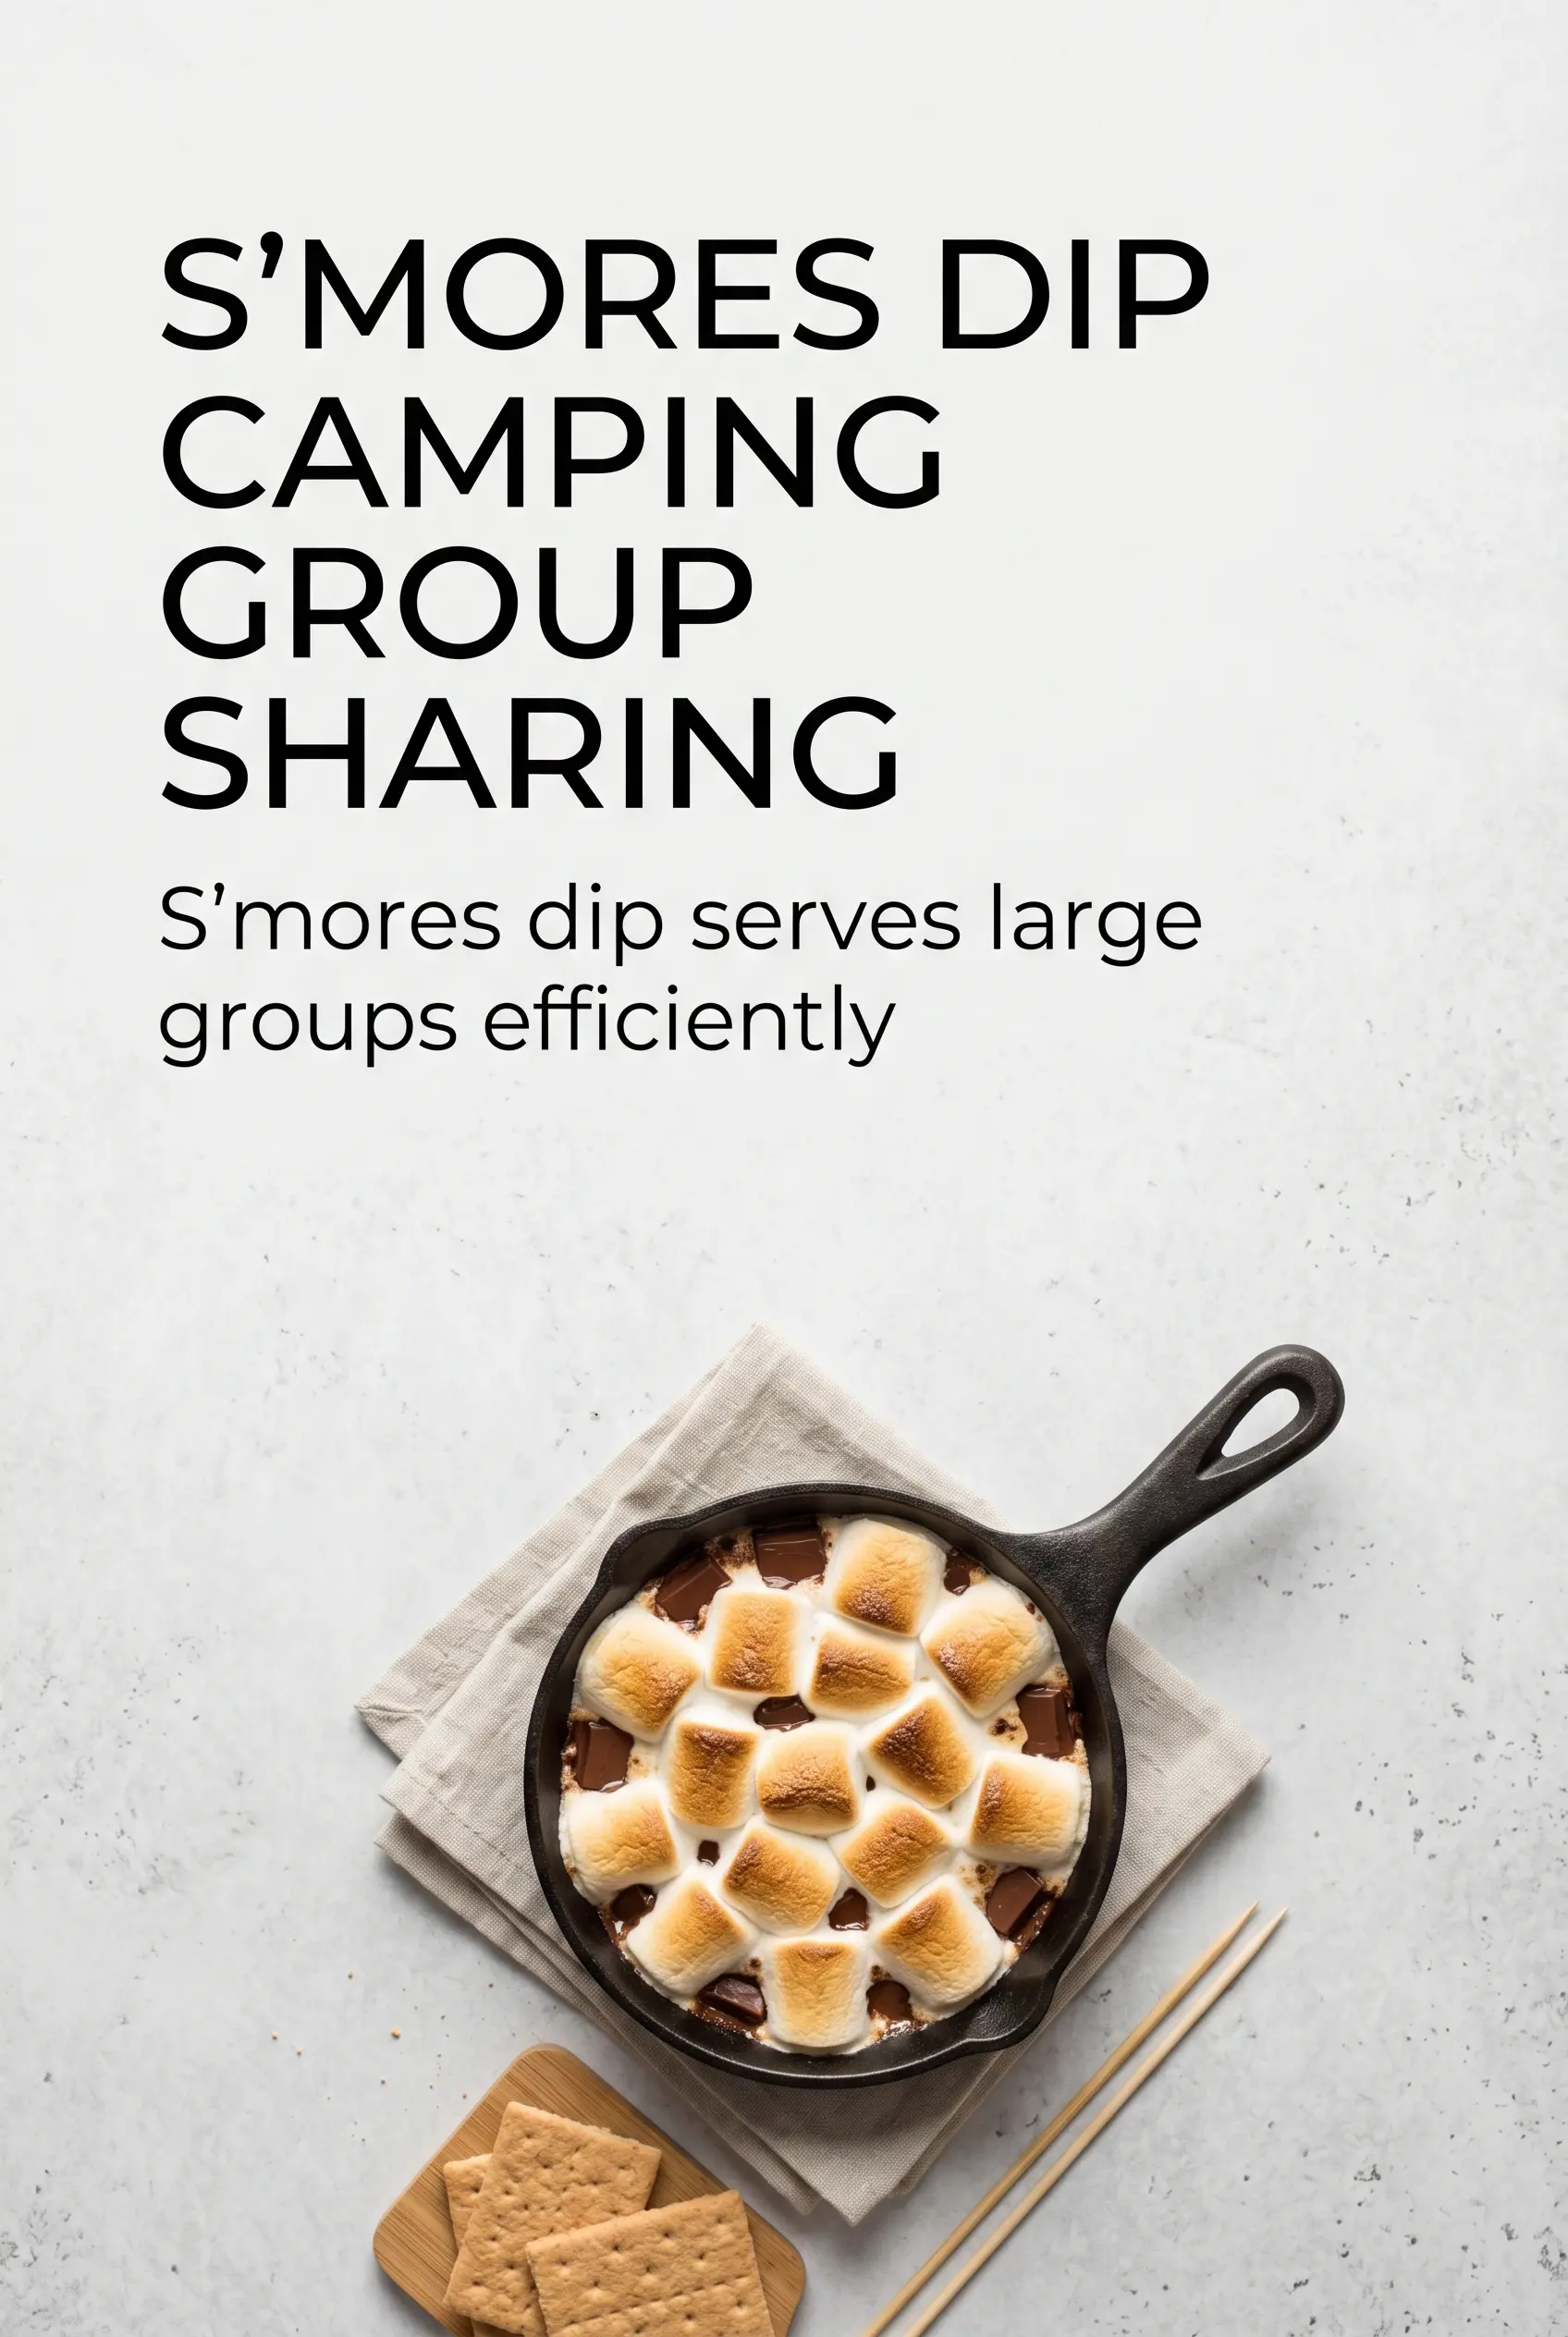
Bring the skillet straight to the table or picnic bench and serve right away with graham crackers. As it sits, the chocolate firms up and the marshmallow top settles, which makes dipping harder. This is one dessert that rewards speed more than patience.
Three Ways to Adapt This Skillet Dessert
Dairy-Free Chocolate Version
Use a dairy-free chocolate chip brand that melts smoothly and skip any chocolate with milk solids. The flavor stays close to the classic version, but the texture can firm up a little faster once it comes off the heat, so serve it promptly.
Extra-Campfire, Extra-Deep Chocolate Flavor
Swap half the chocolate chips for chopped dark chocolate. You get a less sweet base and a deeper cocoa flavor that stands up better to the marshmallows, especially if you’re serving this to adults.
Oven Method for Back-Yard Nights
Bake the skillet at 400°F until the marshmallows are bronzed and the chocolate underneath has melted, usually about 6 to 8 minutes. This gives you the same gooey center without needing a campfire, and the result is a little more controlled because the heat comes from one direction.
Storage and Reheating
- Refrigerator: Store leftovers covered for up to 3 days. The marshmallows will lose their toasted top and the chocolate will set firm.
- Freezer: I don’t recommend freezing this dessert. The marshmallows turn tough and the texture gets odd once thawed.
- Reheating: Warm it gently in a low oven until the chocolate softens again. Don’t use high heat, or the marshmallow layer will overbrown before the center loosens.
Answers to the Questions Worth Asking
Campfire S'mores Dip
Ingredients
Equipment
Method
- Spread chocolate chips in the bottom of a cast iron skillet for an even dipping layer.
- Top evenly with mini marshmallows so they cover the chocolate in a single, blanket-like layer.
- Place the skillet on a campfire grate over medium heat or suspend it over coals and watch closely as it warms.
- Cook for 8-10 minutes until the chocolate fully melts and the marshmallows turn golden and toasted, with puffy tops and lightly browned edges.
- Remove from heat and serve immediately with graham crackers for dipping while the dip is hot and fluid.