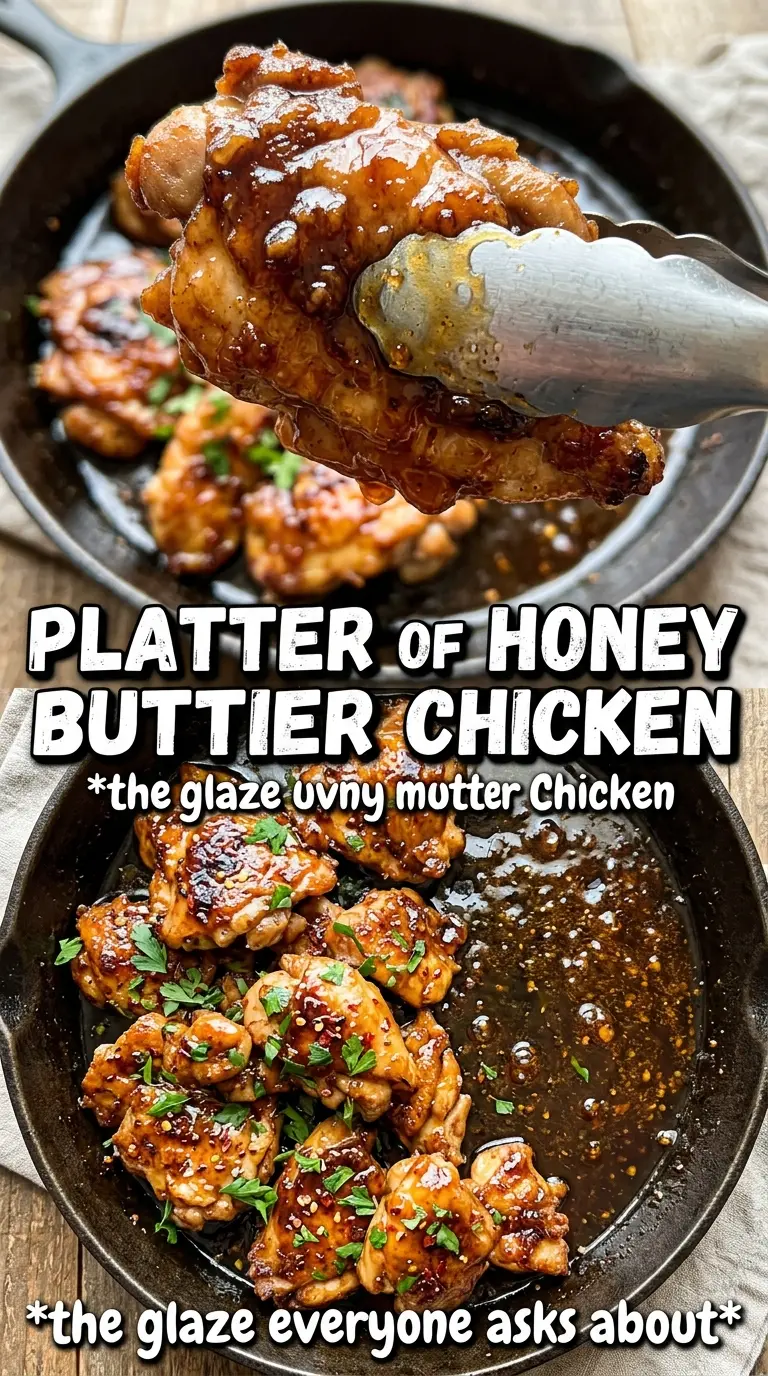
Honey butter chicken lands on the plate with glossy edges, tender chicken, and a sauce that clings instead of sliding off. The sweet-savory glaze turns sticky in the pan and coats every bite with buttery garlic and a little tang from vinegar, which keeps the whole dish from tasting flat. It’s the kind of skillet dinner that disappears fast because it tastes like you spent a lot longer on it than you did.
The trick is getting color on the chicken first, then building the sauce in the same pan so the browned bits help flavor the glaze. Honey by itself can turn one-note and heavy, so the soy sauce and apple cider vinegar pull it back into balance. That balance is what makes the sauce taste rich instead of sugary, and it’s what keeps the chicken tasting savory all the way through.
Below, I’ll show you how to keep the sauce glossy instead of grainy, which pan cues matter most, and how to adapt this recipe if you need a dairy-free version or want to use chicken thighs instead.
The glaze thickened up beautifully in the skillet and coated the chicken instead of pooling at the bottom. I loved how the vinegar kept the honey from tasting too sweet.
Save this honey butter chicken for the nights when you want a glossy skillet glaze and a dinner that comes together in 30 minutes.
The Trick to a Glossy Honey Butter Glaze, Not a Burnt One
The biggest mistake with honey sauces is rushing them over high heat. Honey darkens fast, and once the sugars start to scorch, the sauce turns bitter instead of buttery and rich. This recipe works because the chicken gets fully seared first, then the sauce is brought together over medium heat where it can simmer and thicken without breaking.
Another thing that matters is pan choice. A wide skillet gives the sauce enough surface area to reduce quickly, which means it coats the chicken instead of turning into a thin puddle. If the glaze looks loose when the chicken goes back in, keep basting for those last couple of minutes; that’s where the sauce turns from shiny liquid to a clingy coating.
- Heat control — Medium-high is right for the sear, but medium is the ceiling once the honey goes in. That shift keeps the glaze from turning dark too fast.
- Pan fond — Those browned bits from the chicken add depth to the sauce. Don’t wipe the pan out before you make the glaze.
- Basting — Spoon the sauce over the chicken as it finishes. That extra motion helps the glaze stick and gives you that lacquered finish.
What Each Ingredient Is Actually Doing in This Skillet
- Chicken breasts — Boneless, skinless breasts give you a fast-cooking base that soaks up the sauce well. Pound them to even thickness if one end is much thicker than the other so they finish at the same time.
- Butter — This is what gives the glaze its rich, rounded finish. Don’t swap in all oil here; you’ll lose that silky coating.
- Honey — Honey is the body of the sauce, and it’s what makes it cling. Use a good regular honey; wild or strongly floral honey can take over the whole dish.
- Soy sauce — A small amount deepens the color and keeps the sweetness in check. If you need gluten-free, use tamari with the same measurement.
- Apple cider vinegar — This sharpens the sauce just enough to keep it lively. Lemon juice can work in a pinch, but vinegar gives a steadier tang and better balance here.
- Garlic — Garlic gets cooked briefly in the butter so it perfumes the sauce without turning harsh. If it browns, start over; burnt garlic will show up in every bite.
Building the Sear Before the Sauce Comes Together
Seasoning and Browning the Chicken
Coat the chicken generously with salt, pepper, garlic powder, and smoked paprika before it ever hits the pan. The chicken should sizzle the second it touches the oil, and you want a deep golden crust on both sides before you think about removing it. If the pan is crowded or the heat is too low, the chicken steams and the glaze won’t have a good base to cling to. Work in batches if your skillet is small.
Making the Pan Sauce
After the chicken comes out, lower the heat and melt the butter in the same skillet. Add the garlic and cook it just until fragrant, about a minute, because the butter should smell nutty and garlicky, not browned. Stir in the honey, soy sauce, and vinegar, then let the sauce simmer until it looks slightly thicker and glossy around the edges. If it boils hard, it can separate or turn too dark.
Finishing the Chicken in the Glaze
Return the chicken to the pan and spoon the sauce over the top as it finishes cooking. The last couple of minutes are where the sauce tightens and turns sticky, so keep turning the chicken until the glaze coats each piece in a shiny layer. The chicken is done when it reaches 165°F in the thickest part and the sauce has an amber sheen. Pull it off the heat right then, because overcooking makes the glaze dry out and the chicken turns stringy.
Chicken Thigh Swap for a Juicier Finish
Boneless, skinless chicken thighs work well here and stay extra juicy. They take a few minutes longer than breasts, and the sauce clings even better because of the richer surface fat. Use the same glaze, but cook until the thighs hit 165°F to 175°F and the juices run clear.
Dairy-Free Version That Still Tastes Rich
Swap the butter for a dairy-free butter substitute that melts well and has a neutral flavor. You’ll still get a glossy sauce, though it won’t have quite the same rounded finish as real butter. Keep the heat gentle so the substitute doesn’t separate.
Gluten-Free Adjustment
Use tamari or a gluten-free soy sauce in place of regular soy sauce. The flavor stays close, and the sauce still gets that savory depth that keeps the honey from tasting flat. Check your seasonings too, especially any pre-mixed garlic or spice blends.
Storage and Reheating
- Refrigerator: Store leftovers in an airtight container for up to 4 days. The sauce will thicken as it chills.
- Freezer: It freezes well for about 2 months, though the glaze loses a little shine after thawing. Freeze the chicken and sauce together in a sealed container.
- Reheating: Warm gently in a skillet over low heat with a splash of water to loosen the sauce. Microwave heat can make the chicken rubbery and push the glaze toward grainy, so use short bursts if that’s your only option.
Questions I Get Asked About This Recipe
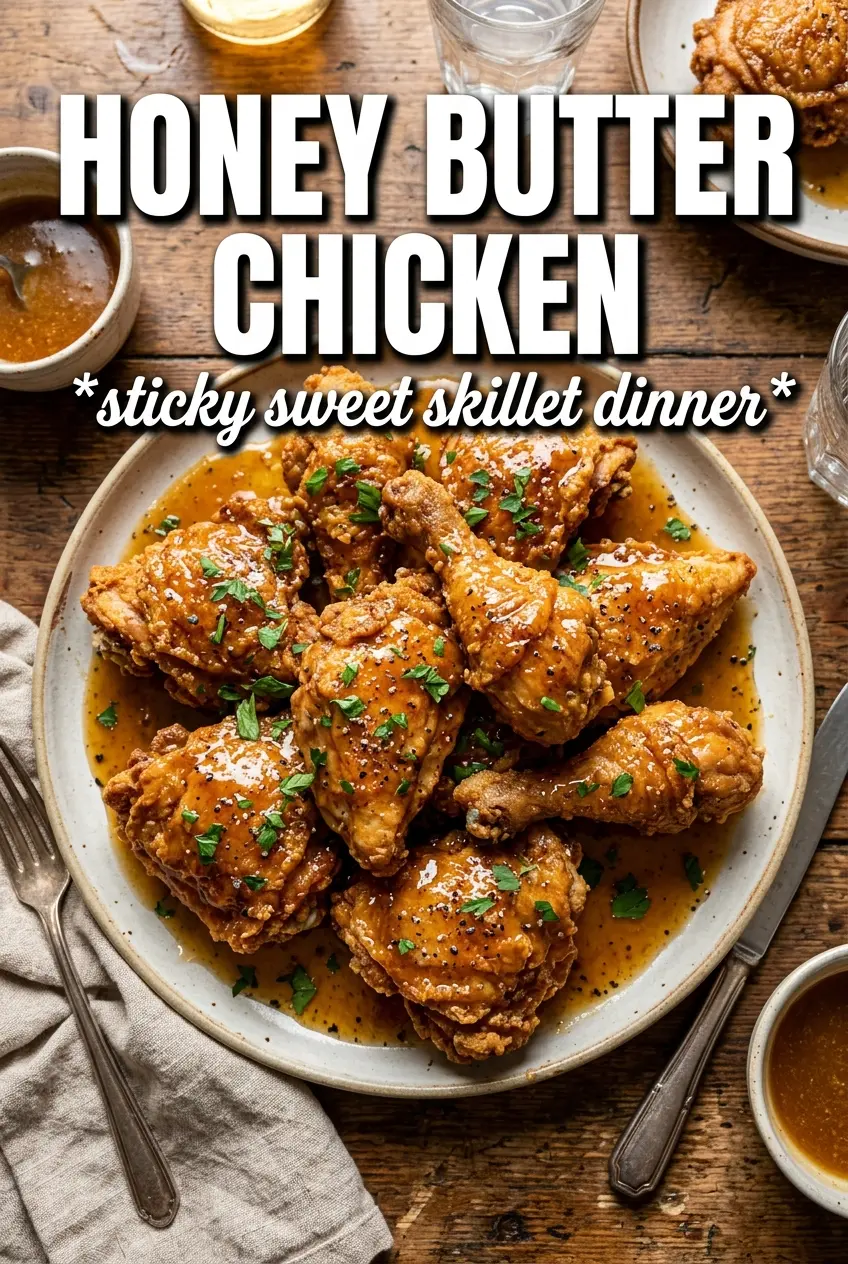
Honey Butter Chicken
Ingredients
Equipment
Method
- Season the boneless skinless chicken breasts with salt, pepper, garlic powder, and smoked paprika, then add olive oil to a large cast iron skillet and heat over medium-high heat. Sear for 5-6 minutes per side until golden and the internal temperature reaches 165°F, then remove.
- In the same pan, melt the butter over medium heat. Add the minced garlic and cook for 1 minute, stirring until fragrant.
- Stir in honey, soy sauce, and apple cider vinegar, then bring the mixture to a simmer. Return the chicken to the pan and cook for 2-3 minutes, turning and basting until the sauce caramelizes and coats the chicken.
- Plate the chicken and drizzle with any remaining sauce from the pan. Finish with fresh thyme leaves and flaky sea salt.