Pumpkin waffles for babies come out soft, lightly spiced, and sturdy enough to hold in little hands without turning dry or crumbly. The edges get just enough golden color to add flavor, but the inside stays tender and moist, which is exactly what you want for baby-led feeding or a simple toddler breakfast.
What makes this version work is the balance of pumpkin puree and milk, plus a gentle hand with the batter. Pumpkin adds moisture and body, while the waffle iron gives you a finger-food shape with a little structure. There’s no added salt, and the maple syrup is optional for older babies, so the flavor stays mild and baby-friendly without tasting flat. Cooling the waffles all the way before cutting matters too; warm waffles can seem soft and fragile, then fall apart once they hit the plate.
Below, I’ve included the small details that matter most, from getting the batter smooth without overmixing to cutting the waffles into safe strips for your baby’s age and stage.
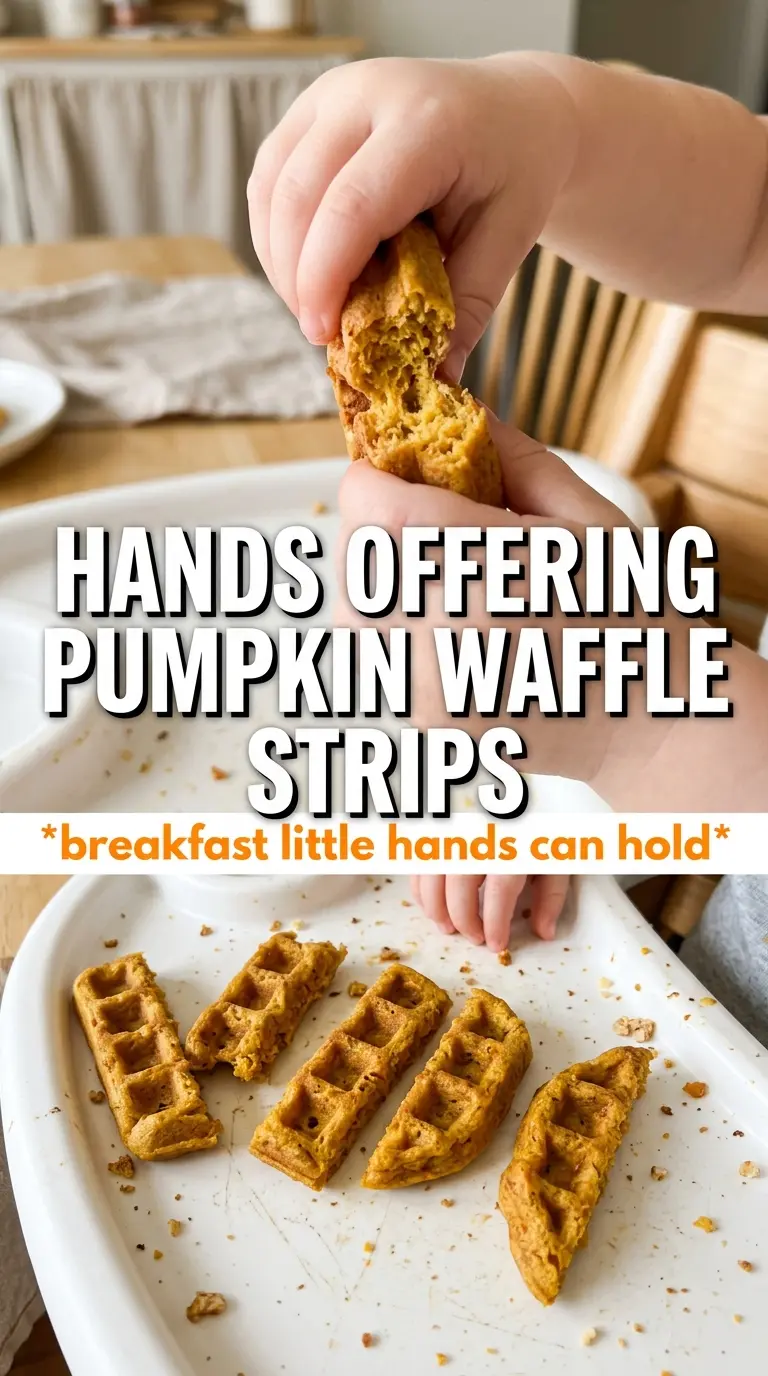
The waffles stayed soft enough for my 10-month-old to gum easily, and the pumpkin flavor was mild instead of overpowering. I cut them into little strips and froze the extras, then they reheated beautifully in the toaster oven.
Save these soft pumpkin waffles for babies for an easy finger-food breakfast with mild spice and freezer-friendly leftovers.
The One Thing That Keeps Baby Waffles Soft Instead of Dry
The biggest mistake with baby waffles is treating the batter like standard waffle batter and cooking it until it’s deeply crisp. That gives you something too dry for little eaters. Here, pumpkin puree does more than add color; it holds onto moisture and keeps the crumb tender even after the waffles cool. The batter should be thick enough to mound a little when it hits the iron, but not so thick that it turns pasty or bakes up dense.
Another thing that helps is keeping the spice level gentle. Cinnamon, nutmeg, and ginger should read as warm in the background, not bold. If your baby is new to single-ingredient foods or prefers very mild flavors, this balance keeps the waffles approachable without tasting bland to adults.
What the Pumpkin, Flour, and Milk Are Each Doing Here
- Pumpkin puree — This is the moisture source and the reason the waffles stay soft after cooling. Use plain pumpkin puree, not pumpkin pie filling, which brings sugar and spices you don’t want here.
- Whole wheat or all-purpose flour — Whole wheat adds a little more nuttiness and fiber, while all-purpose makes a lighter crumb. Either works, but if your baby is very new to textures, all-purpose gives the gentlest result.
- Milk or formula — Milk loosens the batter and helps the waffles cook through without turning heavy. Formula is a great option if that’s what your baby already drinks, and it blends in without changing the flavor much.
- Egg — The egg binds everything so the waffles hold together when cut into strips. Don’t skip it unless you’re using an egg substitute that you already know works well for your family, because the structure matters here.
- Butter and maple syrup — Butter adds tenderness, while maple syrup is optional for babies over 1. Leave the syrup out for younger babies and the waffles still taste pleasantly sweet from the pumpkin alone.
How to Mix, Cook, and Cut Them for Little Hands
Making the Batter Without Overworking It
Whisk the dry ingredients first so the baking powder, baking soda, and spices are spread evenly through the flour. In a separate bowl, whisk the pumpkin, egg, milk, melted butter, maple syrup if using, and vanilla until smooth and glossy. When the wet goes into the dry, fold just until you stop seeing streaks of flour; if you beat it hard, the waffles turn tougher and less tender.
Cooking Them in a Small Waffle Iron
Preheat and grease the waffle iron well before the batter goes in. Pumpkin batter tends to stick more than plain batter, especially in older irons, so a thin coat of oil or nonstick spray helps the waffles release cleanly. Cook until the waffles are golden and set, about 3 to 4 minutes, but don’t wait for deep browning because that can dry out the interior. If the steam is still pouring out heavily, they need a little longer.
Cooling and Cutting for the Right Stage
Let the waffles cool completely on a rack before you slice them. Warm waffles compress when you cut them and can seem gummy in the middle, even when they’re cooked through. For younger babies, cut into narrow strips they can grasp in a fist; for older babies and toddlers, smaller bite-size pieces work once chewing skills are more developed. Serve with soft fruit like banana or cooked apple, and keep the pieces easy to squish between your fingers.
How to Adapt These Waffles for Different Ages and Pantries
For babies under 1 year
Leave out the maple syrup completely and skip any added salt. The waffles still taste softly sweet from the pumpkin, and this keeps them appropriate for younger babies without changing the texture.
Gluten-free version
Use a cup-for-cup gluten-free flour blend that includes xanthan gum. The waffles should still hold together well, though they may be a little more delicate when warm, so let them cool fully before cutting.
Dairy-free swap
Use melted coconut oil or a neutral oil in place of the butter, and choose formula or a milk alternative your baby already tolerates. The waffles stay soft, though butter gives the most tender, rich crumb.
Make-ahead and freezer-friendly batch
Bake a full batch, cool them completely, then freeze the waffles in a single layer before transferring to a freezer bag. This keeps them from sticking together and makes breakfast easy to portion out one strip at a time.
Storage and Reheating
- Refrigerator: Store in an airtight container for up to 3 days. They’ll soften a little as they sit, which is fine for baby-led feeding.
- Freezer: Freeze for up to 2 months, separated with parchment so they don’t stick. Thawing isn’t required if you’re reheating from frozen.
- Reheating: Warm in a toaster oven, toaster, or dry skillet until heated through. Avoid the microwave if you can; it makes the waffles rubbery instead of lightly crisp on the outside and soft inside.
Questions I Get Asked About This Recipe
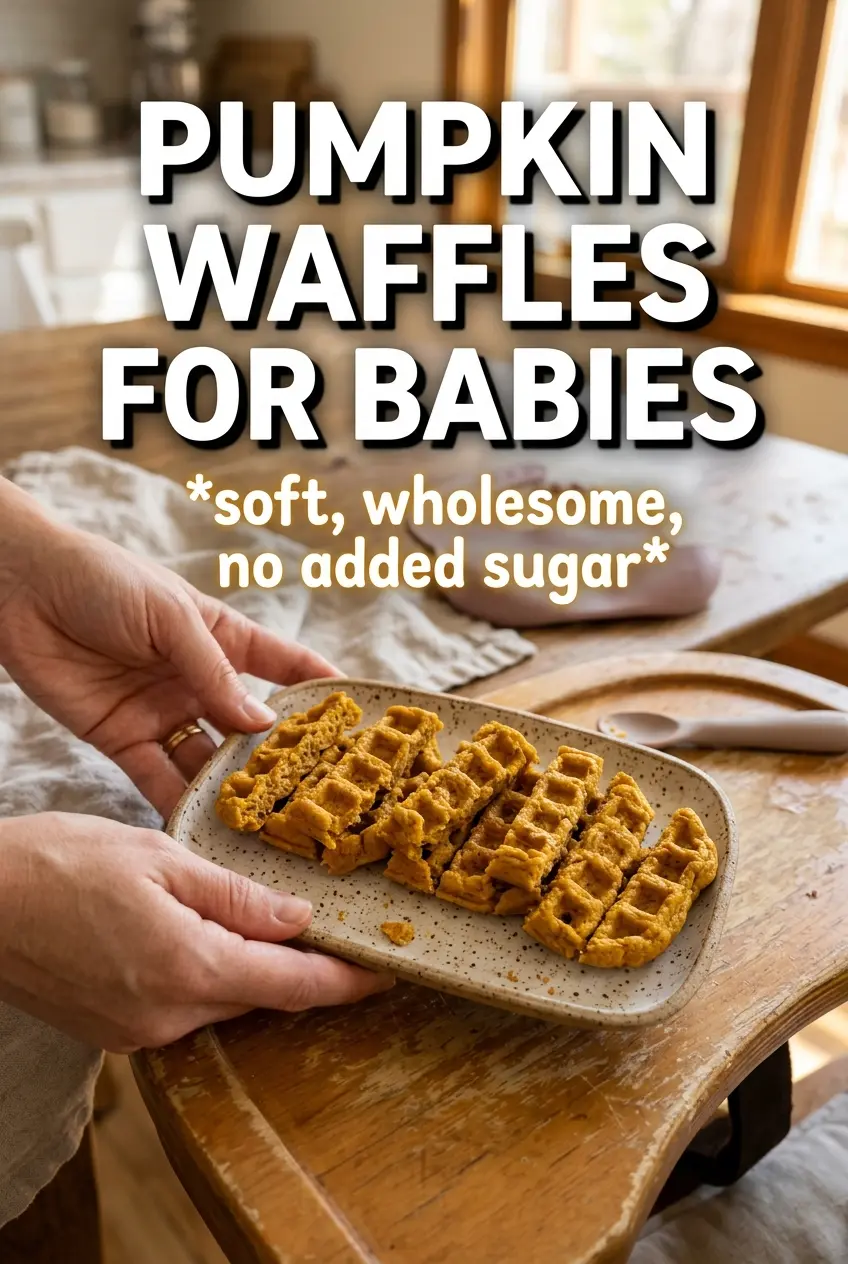
Pumpkin Waffles For Babies
Ingredients
Equipment
Method
- Preheat a small waffle iron and grease it well so the waffles release cleanly.
- In a bowl, whisk together whole wheat flour, baking powder, baking soda, cinnamon, nutmeg, and ginger (do not add salt for babies under 1).
- In a second bowl, whisk pumpkin puree, egg, whole milk or formula, melted unsalted butter, maple syrup if using, and vanilla extract until smooth.
- Pour the wet mixture into the dry mixture and fold just until smooth, without overmixing.
- Pour batter into the waffle iron, using enough to fill but not overflow.
- Cook for 3-4 minutes, until the waffles are golden and set.
- Transfer waffles to a rack or plate and cool completely to room temperature before serving to prevent burns.
- Cut into appropriate finger-food strips for your baby's age and stage so they’re easy to pick up.
- Serve with soft fresh fruit such as banana slices or cooked apple.