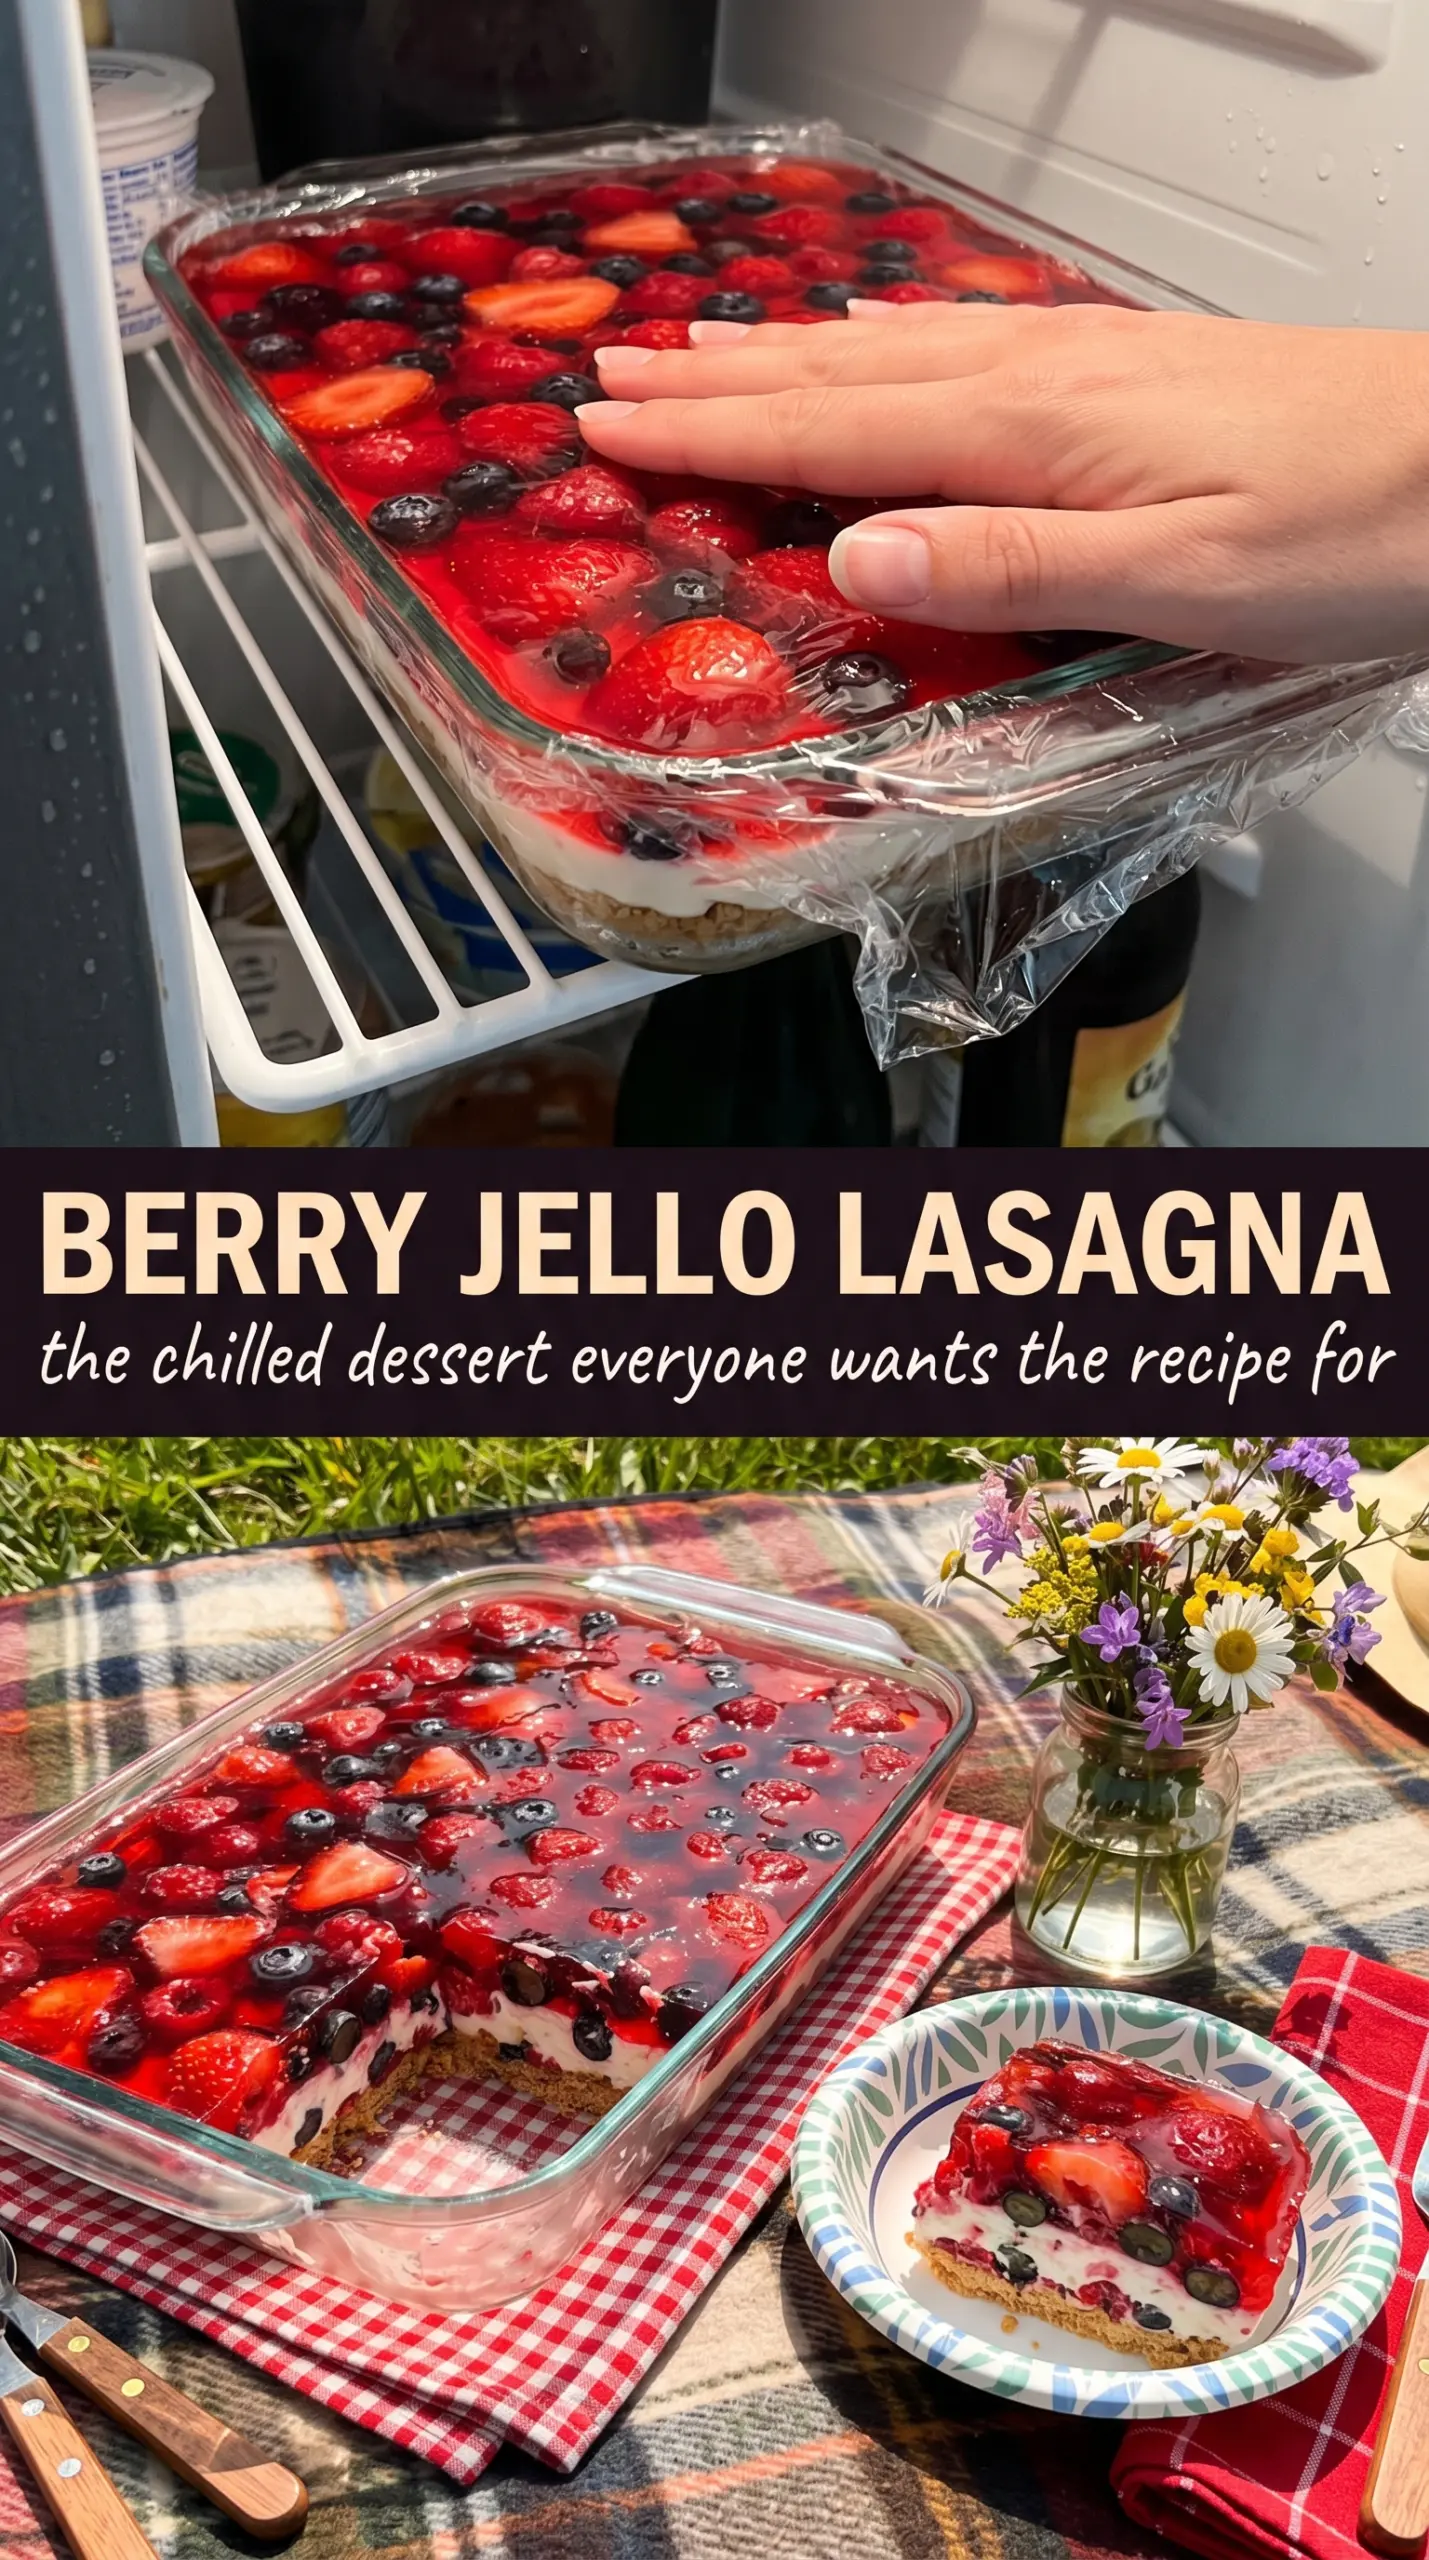
Ruby-red strawberry Jell-O, a fluffy cream cheese middle, and a bright blue topping make this layered dessert look like you spent all day on it, even though the actual hands-on work is fast. The best part is the contrast: a buttery Golden Oreo crust that holds its shape, a tangy-sweet cream layer that cuts cleanly, and Jell-O that stays glossy and distinct instead of bleeding into the filling.
The trick is in the temperature control. The Jell-O needs to cool all the way to room temperature before it goes on the cream layer, or it can melt and streak through the filling. The crust also needs a short chill before the cream cheese layer goes in, which keeps the base firm enough to slice into neat squares later.
Below you’ll find the small details that keep the layers sharp, plus a few swaps for making this berry Jell-O dessert fit a different crowd or a different pantry.
The layers set up beautifully and the Jell-O stayed separate from the cream cheese instead of running together. I chilled each layer like you said and got clean slices that held up on the plate.
Like this strawberry-blueberry Jello lasagna? Save it to Pinterest for the next time you need a make-ahead dessert with clean layers and easy slicing.
The Part That Keeps the Jell-O From Eating the Cream Layer
Most layered Jell-O desserts fail for one reason: the liquid goes on too warm, and the cream cheese layer softens before the Jell-O has a chance to settle. That creates streaks, dents, or a filling that never feels fully set. Cooling the Jell-O to room temperature gives you a narrow but manageable pour that spreads gently instead of sinking in.
The other place people get into trouble is the crust. A loose cookie base turns crumbly when you cut the squares, especially once the dessert has chilled and the butter firms up. Press it firmly into the dish and give it that first cold rest so the bottom layer acts like a real foundation instead of a pile of crumbs.
- Chilled Golden Oreo crust — Golden Oreos bring a sweet vanilla-cookie flavor that fits the berry layers better than chocolate cookies would. Crush them finely so the base packs tightly, and don’t skip the 20-minute chill or the crust will shift under the filling.
- Softened cream cheese — This gives the middle layer its tang and body. Cold cream cheese leaves tiny lumps that won’t fully smooth out, and that’s the first thing people notice when they cut into the dessert.
- Whipped topping — This lightens the cream cheese layer enough to spread without tearing the crust. Homemade whipped cream can work, but it won’t hold as long in the fridge; use it only if you’re serving the dessert the same day.
- Strawberry and berry blue Jell-O — These are doing the visual work here, and the flavors stay clean and bright because they’re not overloaded with extra fruit. Any berry pairing works, but the red-and-blue contrast is what makes the slices look sharp.
What Each Ingredient Is Actually Doing in This Recipe
- Primary ingredient (the star) — Quality matters most. Choose the best you can find.
- Cooking medium (oil, butter, or broth) — This carries flavors and prevents dryness.
- Seasonings (salt, pepper, spices, herbs) — Layer flavors so nothing overpowers. Build depth gradually.
- Aromatics (garlic, onion, herbs) — Cook with fat to bloom flavors. Become the foundation.
- Supporting ingredients — Complement the main ingredient without overpowering it.
- Sauce or liquid (if applicable) — Brings flavors together. Balance richness with acid.
- Acid (lemon, vinegar, wine, or other) — Brightens and prevents flat-tasting results.
- Final finish (garnish, glaze, or sauce) — Prevents one-dimensional taste and adds visual appeal.
Layering the Dessert So the Slices Stay Clean
Building the Cookie Base
Mix the crushed Golden Oreos with the melted butter until every crumb looks damp, then press the mixture firmly into the bottom of the 9×13 dish. Use the bottom of a measuring cup to pack it down evenly; loose spots turn sandy when you slice. A 20-minute chill sets the butter just enough that the crust stops moving when the cream layer goes on.
Whipping the Middle Layer Smooth
Beat the softened cream cheese and powdered sugar until the mixture looks completely smooth before the whipped topping goes in. If the cream cheese is still cool in the center, you’ll end up with little white flecks that never disappear. Fold in half the whipped topping just until combined, then spread it gently over the chilled crust so you don’t drag crumbs upward into the filling.
Pouring the Jell-O Without Breaking the Layers
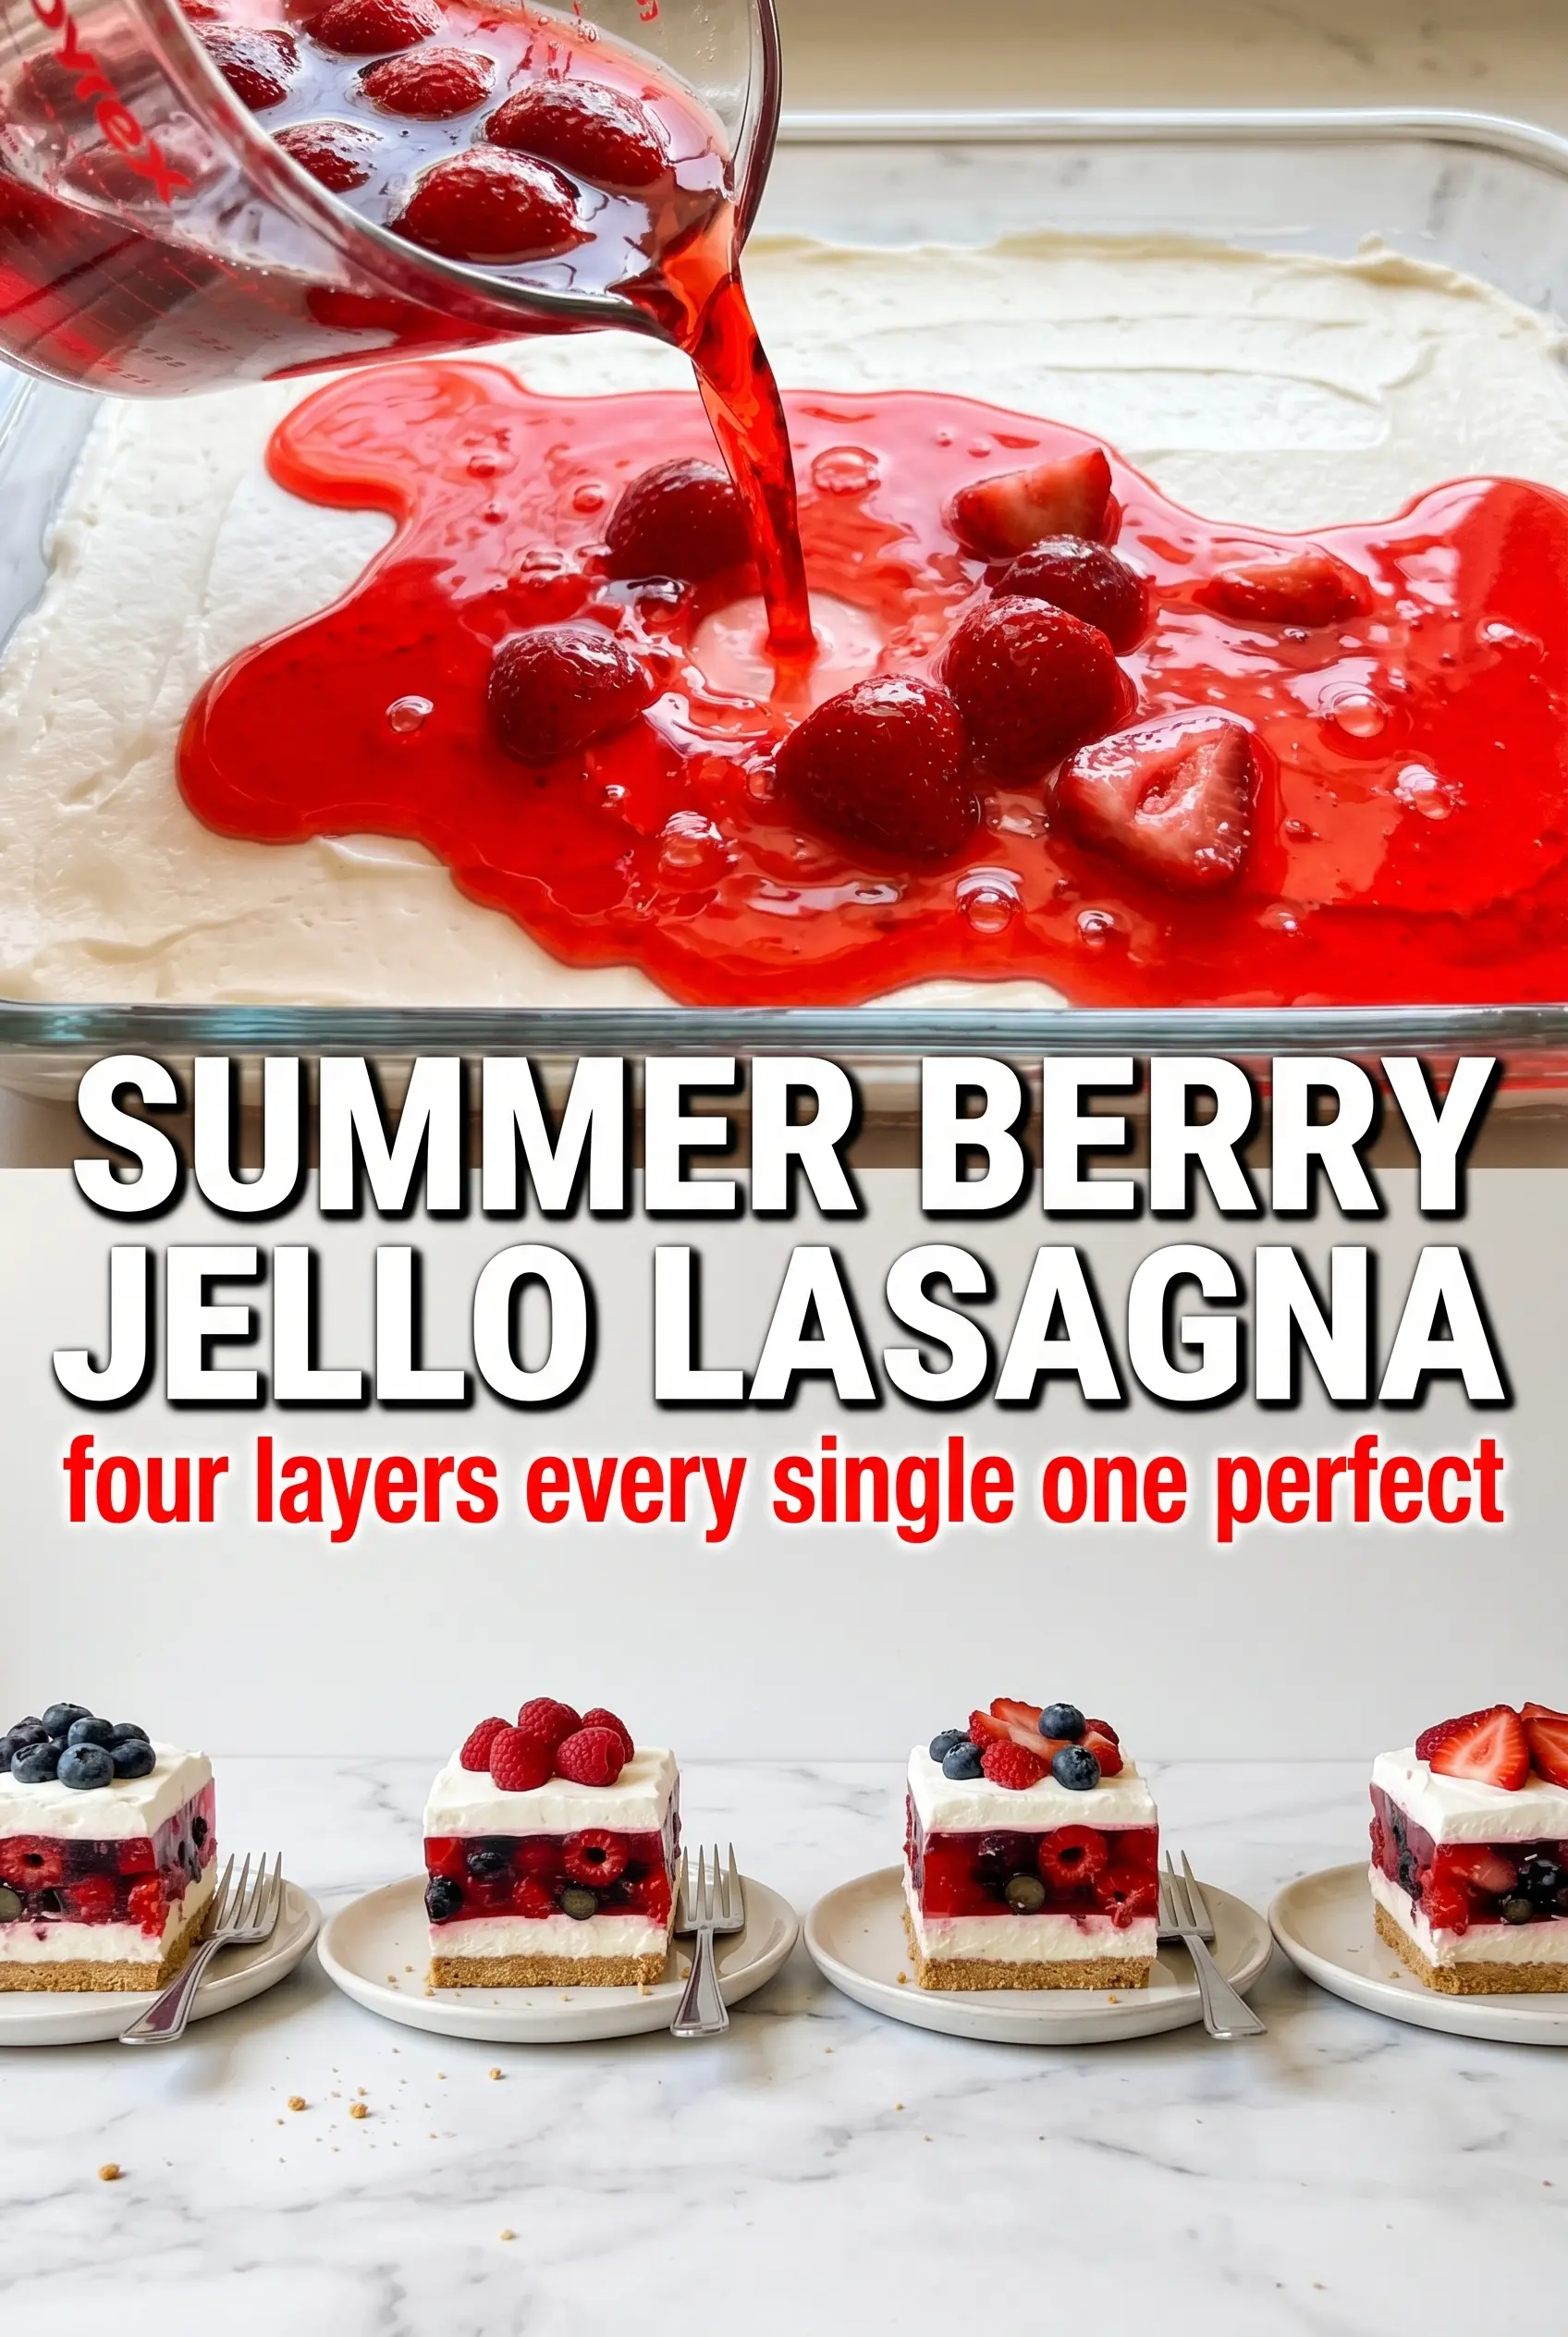
Dissolve each box of Jell-O in boiling water, then stir in the cold water and let it cool until it no longer feels warm at all. If it starts to thicken around the edges, it’s too far gone and you need to remelt a fresh batch — partially set Jell-O pours in clumps and makes uneven ridges. Pour slowly over the back of a spoon or in a thin stream so it lands softly instead of punching a hole through the cream layer.
Finishing With the Top Layer
After the blue layer is fully set, spread the remaining whipped topping over the top and chill the whole dish again before slicing. The extra rest keeps the top from smearing when the knife goes in. For the cleanest rectangles, wipe the blade between cuts and use a long knife that reaches all the way through the crust in one motion.
How to Bend This Dessert for Different Pantries and Different Crowds
Make it gluten-free with a crisp cookie base
Swap in gluten-free vanilla sandwich cookies or a gluten-free shortbread-style cookie for the crust. You want a cookie that crushes finely and holds together with butter; anything too delicate will turn pasty instead of forming a sliceable base.
Use all strawberry for a softer berry look
If you don’t want the red-and-blue contrast, use strawberry Jell-O for both fruit layers. The dessert will taste a little sweeter and look more uniform, with less dramatic color separation but the same creamy, clean-cut texture.
Lighten the filling with homemade whipped cream
You can replace the whipped topping with about 2 cups of softly whipped heavy cream. It tastes a little fresher and less sweet, but the layer is less stable, so keep the dessert well chilled and serve it within a day for the best texture.
Storage and Reheating
- Refrigerator: Keeps for 3 to 4 days covered. The crust softens a little over time, but the slices still hold together well.
- Freezer: Not a great freezer dessert. The Jell-O and whipped layers can get watery and the texture turns a little grainy after thawing.
- Reheating: No reheating needed. Serve straight from the fridge, and if the knife drags, let the pan sit at room temperature for 10 minutes before cutting.
Answers to the Questions Worth Asking
Summer Berry Jello Lasagna
Ingredients
Equipment
Method
- Mix crushed Golden Oreos with melted butter until evenly coated, then press firmly into the bottom of a 9x13 dish for a compact base. Refrigerate for 20 minutes to firm up.
- Beat cream cheese and powdered sugar until smooth, then fold in half the whipped topping to make a fluffy spread. Spread evenly over the chilled crust, then refrigerate while you prepare the Jell-O.
- Dissolve strawberry Jell-O in 1 cup boiling water, stir in 1/2 cup cold water, and let cool to room temperature without letting it set. Pour gently over the cream cheese layer to avoid mixing, then refrigerate for 1 hour until set.
- Dissolve berry blue Jell-O in 1 cup boiling water, stir in 1/2 cup cold water, and cool to room temperature. Pour gently over the set strawberry layer, then refrigerate for 1 more hour until set.
- Spread the remaining whipped topping over the top to seal the layers, then chill for another 30 minutes. Slice into rectangles to serve once fully firm.